
The Webflow Designer lets you build your site structure, design the look and feel of your site, and add content, interactions, animations, and custom code to create fully functioning websites, landing pages, prototypes, presentations, and more.
In the Designer, you can manipulate HTML content, set CSS properties, and create interactions without writing a single line of code. As you build your website, the Designer outputs clean, semantic, web-ready code that web browsers will use to display your site. You can also export this code from the Designer into other applications.
In this lesson, you’ll learn:
- How to access the Designer
- Anatomy of the Designer
- Multiple-user collaboration
- Why the Designer is an online app
How to access the Designer
You can access the Designer:
- from the Dashboard by clicking your site thumbnail
- from Site settings by clicking Designer in the upper toolbar
- from the Editor by clicking the Menu button in the lower left corner and choosing Designer
Designer requirements: supported browsers
Webflow officially supports the Designer on the last three major versions of all modern browsers, including Chrome, Edge, Firefox, and Safari.
The degree of browser support depends upon features used (e.g., filter has partial support in Edge). For features that have limited support in some browsers, additional details can be found in their associated articles:
- CSS transforms 3d - Used by Interactions
- CSS transitions - Used by Interactions
- CSS flexbox - Used in Style panel > Layout
- CSS filters - Used by Interactions
- CSS grid - Used in Style panel > Layout
Webflow does not support Internet Explorer. While sites made in Webflow will continue to support all industry standard features supported in modern web browsers, we cannot guarantee that sites will function correctly in Internet Explorer. Learn more about sunsetting Internet Explorer support.
Pro tip: You can determine your browser and operating system version with What’s My Browser.
Designer requirements: supported screen resolutions
The Designer requires a mouse-and-keyboard device (i.e., desktop or laptop computer) that has a screen width of at least 1268px. This requirement is the sum of the left sidebar, the Designer canvas, and the right sidebar.
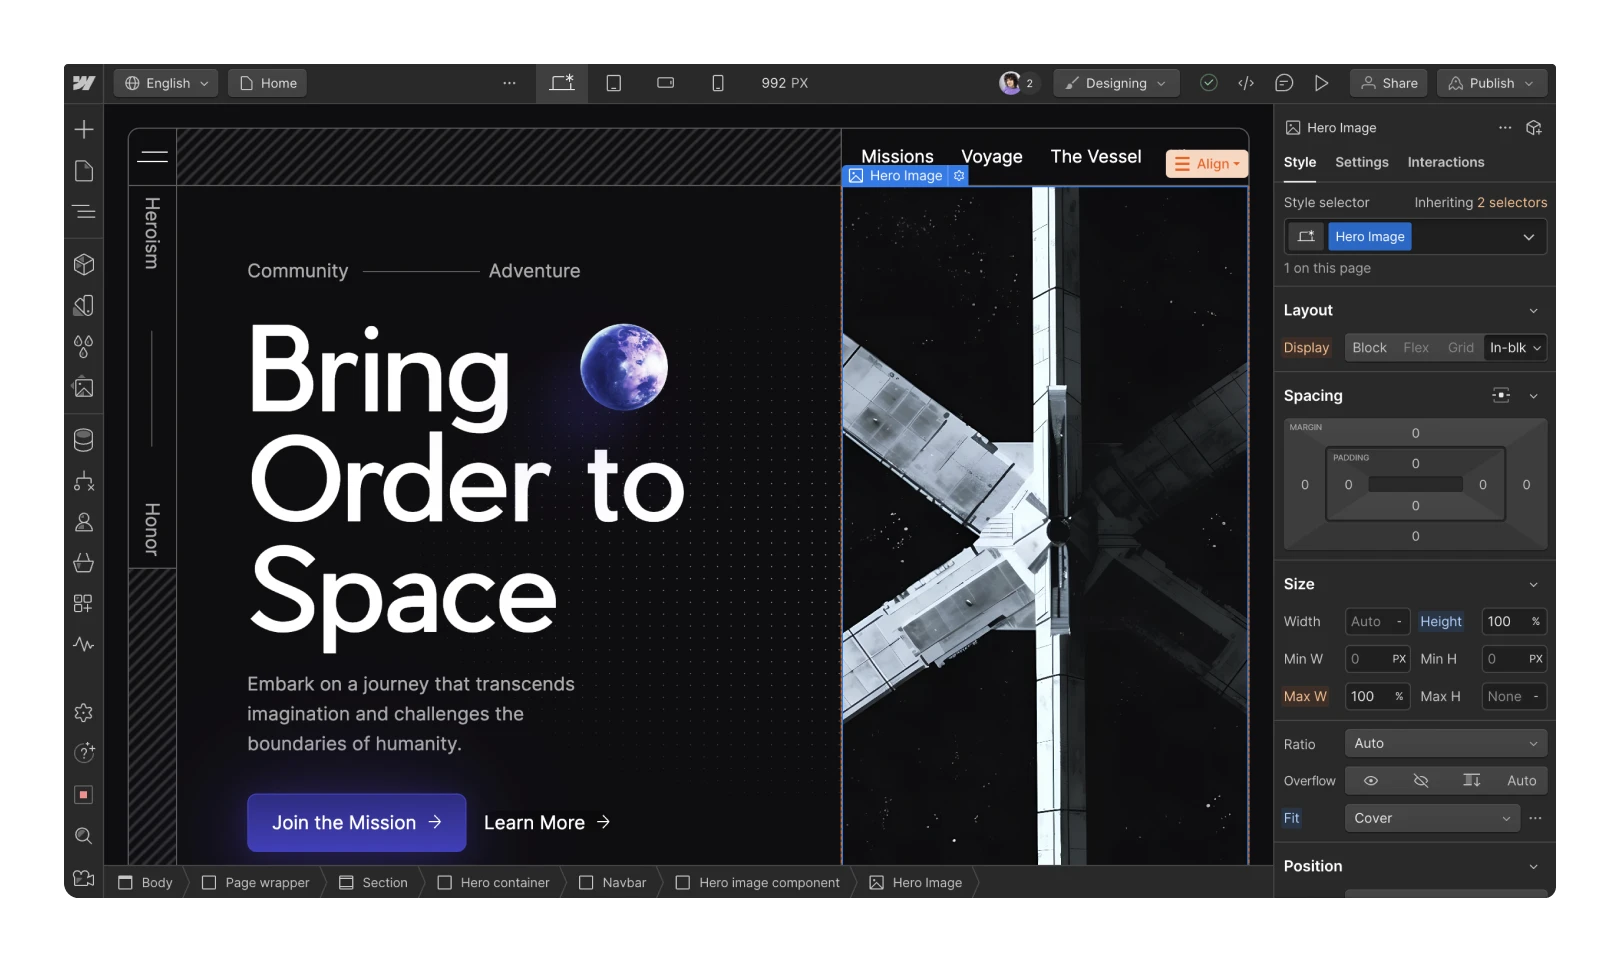
Anatomy of the Designer
The Designer consists of the main canvas and a set of toolbars and panels. Read on for an overview of:
- The left toolbar and panels
- The canvas
- The top bar
- The bottom navigation breadcrumb bar
- The right panels
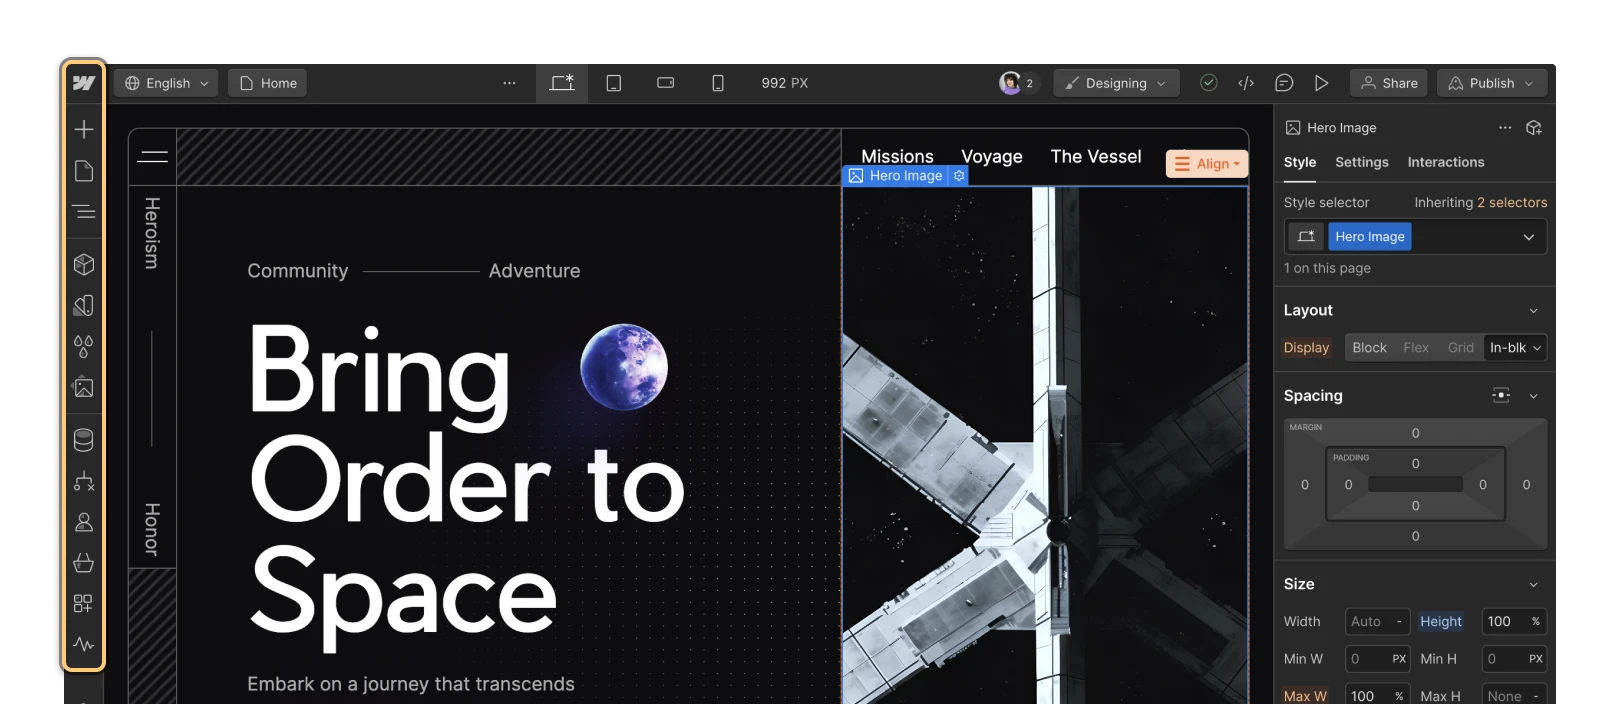
The left toolbar and panels
The left toolbar provides a set of links and tools that let you structure your website. The icons at the top of the left toolbar hide away many of the Designer panels, but will expand the panels when clicked:
- Main menu
- Add panel
- Pages panel
- Navigator panel
- Components panel
- Variables panel
- Style selectors panel
- Assets panel
- CMS panel
- Logic panel
- Users panel
- Ecommerce panel
- Apps panel
- Site activity log
- Settings panel
- Help settings
- Audit panel
- Quick find
- Video tutorials panel
Main menu — Webflow logo
When you click the Webflow icon, a dropdown menu appears which lets you navigate to the Dashboard, the Site settings of the currently open site, or the Editor. From the main menu, you can also:
- use Quick find
- undo your last action
- re-do your last action
- export code
- view keyboard shortcuts
- open CSS preview
- get help or send feedback
Add panel — shortcut: A
The Add panel allows you to add elements from the Elements tab or prebuilt layouts from the Layouts tab.
Pages panel — shortcut: P
The Pages panel allows you to organize and manage your site pages and page settings. Learn more about the Pages panel.
Navigator — shortcut: Z
The Navigator shows the element hierarchy on the canvas for the current page. Here, you can interact with these elements. Learn more about the Navigator.
Components panel — shortcut: Shift + A
The Components panel allows you to create components and add them to the canvas. Learn more about components.
Variables panel
The Variables panel lets you view and create variables so you can reuse them for a consistent design experience. Learn more about variables.
Style selectors panel — shortcut: G
The Style selectors panel lets you view, rename, clean up, and search for classes and tags in use on your site. Learn more about the Style selectors panel.
Assets panel
The Assets panel allows you to upload and organize assets (e.g., documents, images, and animations) for use on your site. Learn more about the Assets panel.
CMS panel
The CMS panel allows you to create, view, and modify Collections and Collection items. Learn more about CMS Collections.
Logic panel
The Logic panel allows you to create, view, and modify automated workflows (also known as “flows”). Learn more about Logic.
Users panel
The Users panel allows you to create and manage user accounts and access groups for members of your site. Learn more about the Users panel.
Ecommerce panel
The Ecommerce panel is where you can create and modify products and product categories. Here, you can also view the orders you’ve received. Learn more about Ecommerce.
Apps panel
The Apps panel displays all installed apps available on your site and/or Workspace. Learn more about Apps.
Site activity log
The Site activity log gives you and your teammates valuable visibility into the most important design changes made to your site. It logs publish activity, backup creation and restoration, page creation, deletion, duplication, and renaming, and any changes to classes, components, and/or custom code. Learn more about the Site activity log.
Note: The Site activity log is available for Webflow Enterprise customers and Enterprise partners. Any team member in the Designer (using Design mode or Edit mode) can see the Site activity log and its details.
Settings panel
The Settings panel allows you to manage various settings, such as Search settings and Backup settings, and Localization settings. Here, you’ll also find the Interface tab, where you can choose your preferred brightness setting for the Designer interface.
Help settings
Help settings provide you with tools to make it easier to use the Designer.
- Help and feedback — allows you to browse Webflow help guides right in the Designer. From here, you can also navigate to the Webflow University guides, video courses or the Webflow Forum. You can also send us feedback or a help request.
- Keyboard shortcuts — shows keyboard shortcuts that help you speed up your design workflow in the Designer. You can also view these shortcuts by pressing Shift + /.
- CSS preview — shows the CSS generated for the selected element on the canvas. This preview also allows you to copy the generated CSS to use wherever you’d like.
Audit panel — shortcut: U
The Audit panel displays any common accessibility-related issues on your site and provides suggestions to address them. Learn more about the Audit panel.
Quick find — shortcut: Command + E (on Mac) or Control + E (on Windows)
Quick find is a search tool that helps you speed up your workflow and boost your efficiency as you build your site in Webflow. Learn more about Quick find.
Video tutorials panel
The Video tutorials panel provides a convenient way to watch all of Webflow’s free video courses.

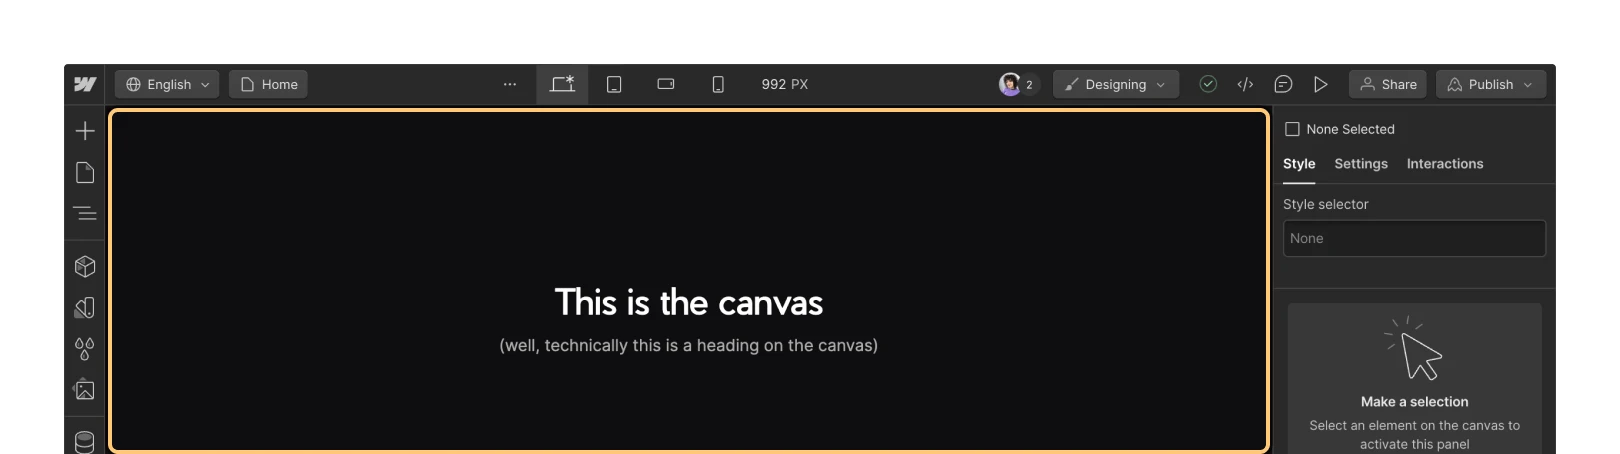
The canvas
The largest area in the Designer is the canvas. This is where you can interact with the page and design in real-time. You can select elements, move them around, and edit content right on the page. Learn more about the canvas.
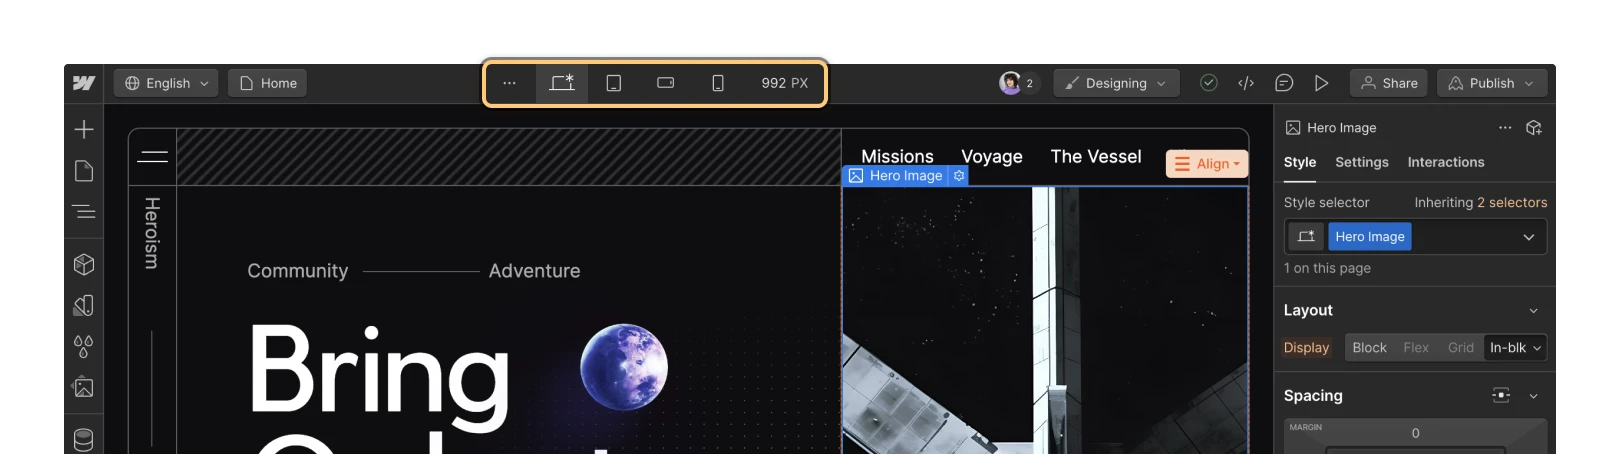
The top bar
The top bar provides another set of view settings as well as some useful tools for saving, publishing, and even exporting your site. Starting from the left-hand side, next to the menu button, and moving across the screen to the right, you have the following set of tools:
- Locale view
- Page indicator
- Breakpoints
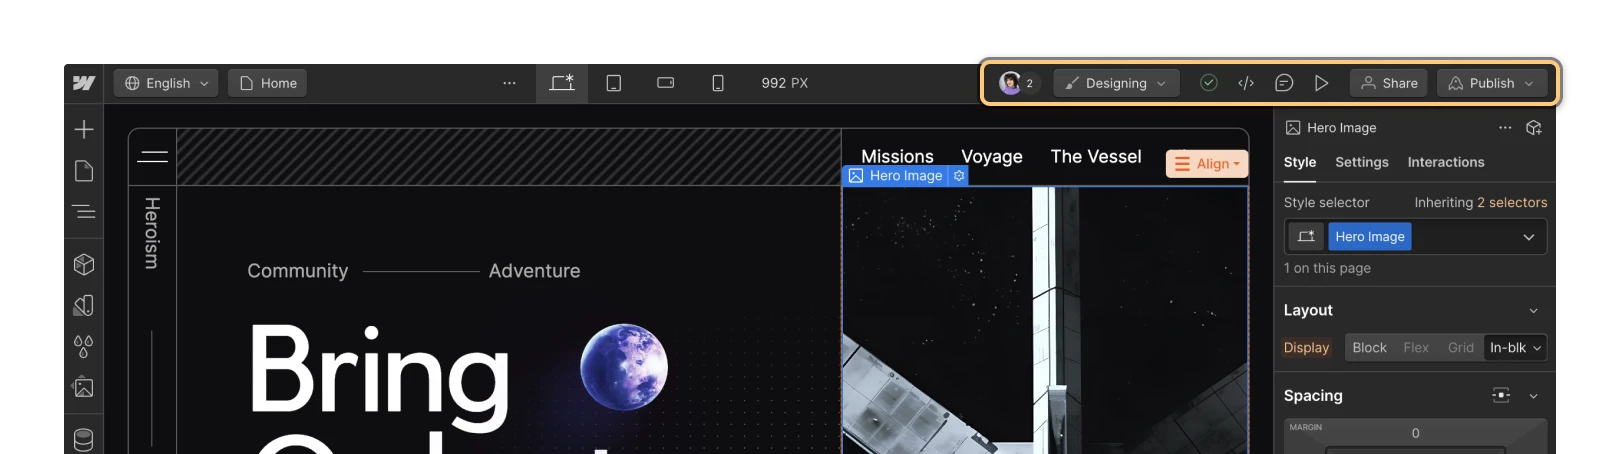
- Team avatars
- Mode status
- Save indicator
- Export code
- Comment
- Preview
- Share
- Publish
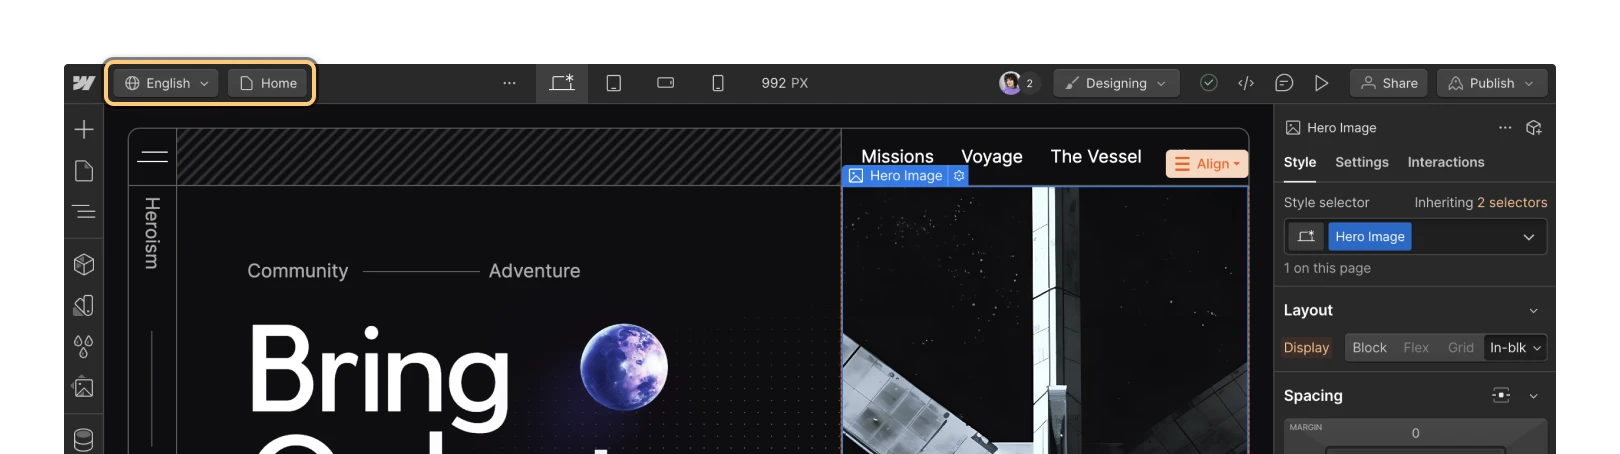
Locale view
The Locale view shows which locale you’re currently viewing and/or editing. When clicked, the Locale view dropdown lets you choose and navigate to any secondary locale(s) you’ve set up on your site. Learn more about Localization in Webflow.
Page indicator
The Page indicator shows which page you’re currently on. When clicked, the Page indicator opens the Pages panel.
Breakpoints
The Breakpoint icons allow you to switch between different breakpoints to preview and edit the way your site looks on different device sizes. Learn more about breakpoints.
Team avatars
The Team avatars display any teammates working on the site with you in real-time. This may appear as a team count (e.g., “2”) if you and your teammates are working on different pages of the site. You can click the avatars or the count to view more details about which pages your teammates are designing or editing.
Mode status
The Mode status dropdown indicates whether you’re currently designing or editing. When clicked, you can switch between design mode and edit mode, or create a page branch to design without affecting the main site.
Save indicator
The Save indicator shows when your work is being saved – indicated with a gray “spinning arrows” icon – and when your work has been successfully saved – indicated with a green “circled checkmark” icon.
Your work in the Designer is saved automatically. You can also manually save your site by pressing Command + S in iOS or Control + S in Windows. Clicking the Save indicator will not save your site.
Export code
The Export code button allows you to export the code of the current site, which is prepared for download in a zip file. Learn more about code export.
Comment
The “comment” icon lets you enter comment mode to view and add comments on your design. Learn more about comment mode.
Preview
The Preview “play” icon allows you to toggle between the preview and design modes of the Designer, and allows you to preview how your site will appear and function when published.
Note: Preview mode does not display custom code embeds or apply custom code functionality to your site preview. Any custom code scripts or embeds will take effect when the site is published or exported. Learn more about previewing custom code.
Share
The Share button allows you to enable and share a preview link to the current page of the Designer with your friends or the Webflow community when you need advice or design help. It also allows you to invite content editors to collaborate on your site.
With a read-only link, anyone with the link can open and manipulate the layout and design of your site in the Designer. Changes cannot be made to your site when it’s opened in read-only mode – this mode is only used for troubleshooting and exploration purposes. Learn more about sharing read-only links.
Any content editors you invite can view your site and edit site content (e.g., text, links, images, products, and CMS content) or change page settings in the Webflow Editor. Learn more about inviting content editors.
Publish
The Publish button allows you to choose your publish destination (i.e., what domains you’d like to publish to) and publish your changes. Learn more about publishing.
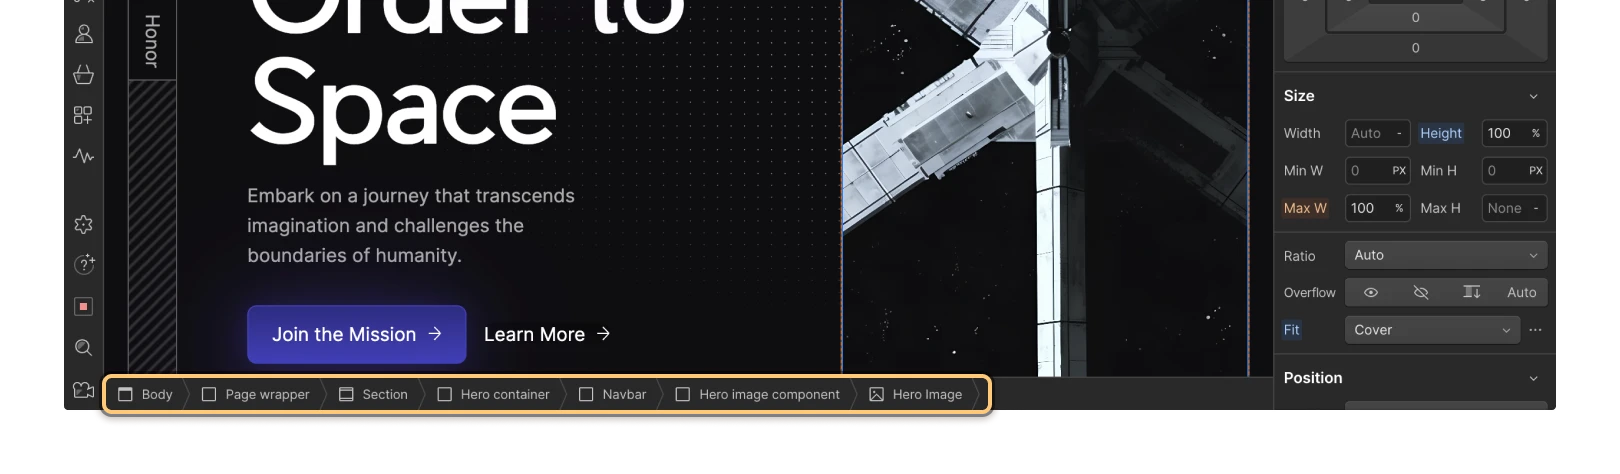
The navigation breadcrumb bar
The navigation breadcrumb bar shows you the hierarchy of the selected element. You can see where the element is located inside other parent elements (e.g., in the image below, the Body is the parent element of the Section element) and select any of its parent elements by clicking on its label in this breadcrumb bar.
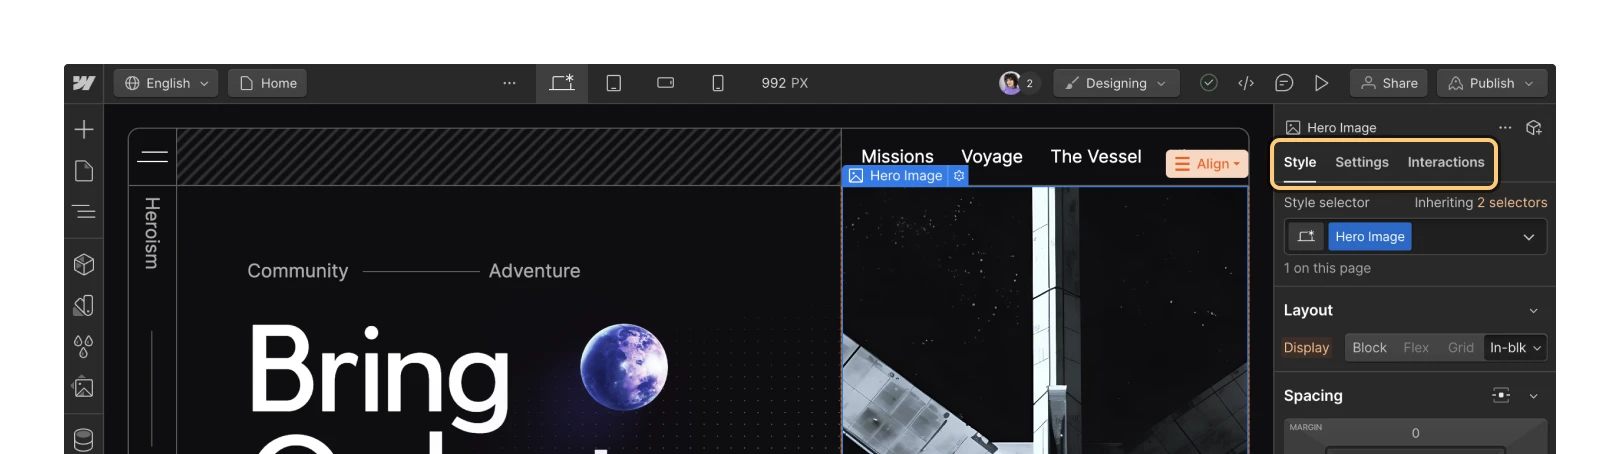
The right panels
The three remaining panels on the right side of the Designer give you extremely granular control over your element styles, settings, and interactions:
Style panel — shortcut: S
The Style panel is where you can access and modify all CSS properties available for the selected element. You can enter or choose these values in their appropriate fields and the styles will instantly be applied to your elements on the canvas. Learn more about the Style panel.
Element settings panel — shortcut: D
The Element settings panel gives you access to various settings available for the currently selected element.
Interactions panel — shortcut: H
The Interactions panel allows you to create interactions and apply them to the selected element. Learn more about Interactions.
Multiple-user collaboration
Multiple teammates can edit content together in the Webflow Designer while one teammate designs and builds out the site structure. To keep the design process fluid, you can hand off design control between your teammates and see where other people are working within your site, all in real-time. Learn more about collaboration in the Webflow Designer.
Why the Designer is an online app
The Webflow Designer is an online app/hosted program because we believe that web design tools should let you design in the browser and immediately reflect the results. Here are a few more reasons why Webflow is a hosted program rather than a downloadable program:
- What you see is what you get (WYSIWYG) — everything you do in Webflow has a direct effect on the HTML and CSS of your website. What you see in Webflow is always what you’ll see when you publish your site.
- Pushing updates and improvements is fast — as a hosted app, we can develop, test, and push new features and bug fixes to our servers in minutes. That way, everyone is always running the latest and greatest version of Webflow without the need to manually install updates.
- True collaboration — with web design workflows becoming more collaborative, having an online platform makes it easier for entire teams to access and edit a website.