
The list element can be used to create numbered or bulleted lists.
In this lesson:
Add a list

To add a list element to your site, click the Add panel (shortcut: A) and drag a List onto the Webflow canvas.

The list is made of the main element and three list items.

Set the list type
Depending on the settings, the main list element will be an unordered (bulleted) list or ordered (numbered) list. By default, the list is set to be unordered which will display bullet points to the left of each list item inside. You can switch between ordered and unordered lists in 2 ways:
- Select the main list element and press Enter
- Select the main list element and go to Settings panel > List settings, then change the type

You can also remove the bullets and numbers in the list settings by choosing no bullets.

Add content to a list
By design, the list items don’t have any default content. This is because the list items can hold many different types of content — headings, paragraphs, images, videos, and even other lists. To add content to a list, simply drag it into a list item. You can also double click inside the list items to begin typing if all you want is plain text. Another way to enter text edit mode is to select the list item and press Enter/Return.

Nest lists
You can nest lists by adding a list inside a list item (you can't nest list elements).

To nest a list within a list item:
- Drag a List from the Add panel onto the canvas
- Nest a child List within a list item of the parent List
- Nest a text element (paragraph, text block, heading, etc.) in the list item of the parent List element, above the child List
Note: Make sure you create the structure of the nested list before adding text to the list item. A nested list cannot be placed inside of a parent list item after the parent list item is edited (although you can add an element to the parent list item and still nest a child list inside afterwards).


Create new list items
To create a new list item, select an existing list item and copy and paste. Alternatively, you can right click on a list item and select Duplicate from the menu.

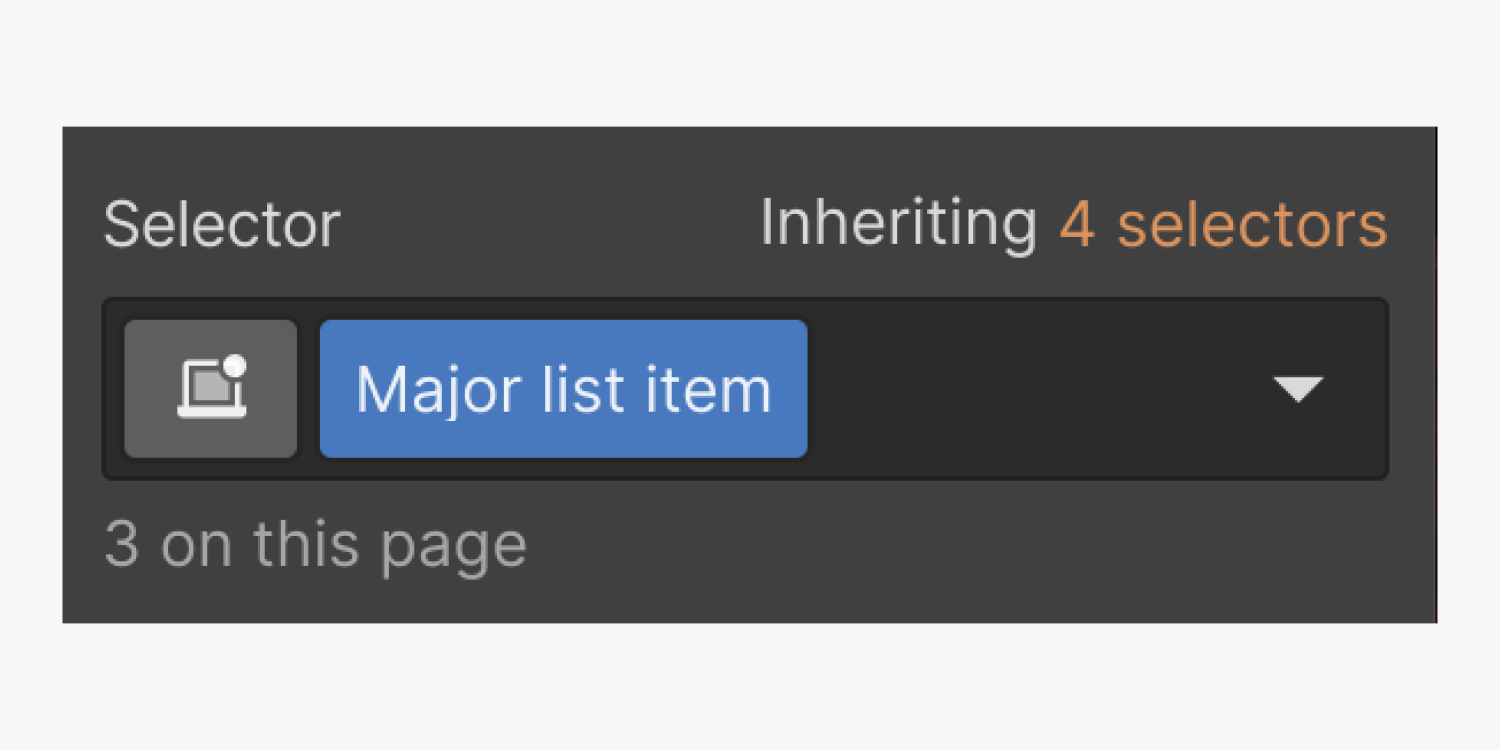
Style a list
You can style both the list and the list items using the Style panel.
List
The main list element — the ordered and unordered list element — can be styled by creating a class or by styling the tag. When you style the All ordered lists tag or All unordered lists tag, you’ll be defining the default styling for these elements throughout your site.
- Select the main List element
- Open Style panel > Selector field
- Select All ordered lists (or All Unordered lists)
- Customize your styles

You can increase or decrease the space where the bullets (or numbers) are by selecting the list and adjusting the left padding.

List item
You can apply the same class to all of the list items so they have a consistent look. It’s common to change the bottom margin to create space between list items and the left margin to create space between the text and the bullet or number.
Default styles can be set on all list items throughout your entire site by editing the All list items tag:
- Select a List item
- Open Style panel > Selector field
- Select the All list items tag
- Add styles
Note: Changing the All list items tag will affect all list items whether they are inside either an ordered or unordered list.
