
Web Payments, such as Apple Pay and Google Pay, allow your customers to skip the default checkout process and quickly check out of your store by using their digital wallets.
If you’ve enabled Web Payments for your site, your store’s cart and checkout page will automatically display the relevant Web Payment button on supported browsers. You can also manually add the Web payments component into your cart or onto checkout page from the Add panel.
In this lesson
- Enable Web Payments
- Style web payment buttons
- Understand how customers pay with Web Payments
Enable Web Payments
Web Payments are enabled by default on all checkout pages. You can disable this payment method by deleting the Web Payments element from your page.
You may need to publish your site to your custom domain to verify your domain for Apple pay.
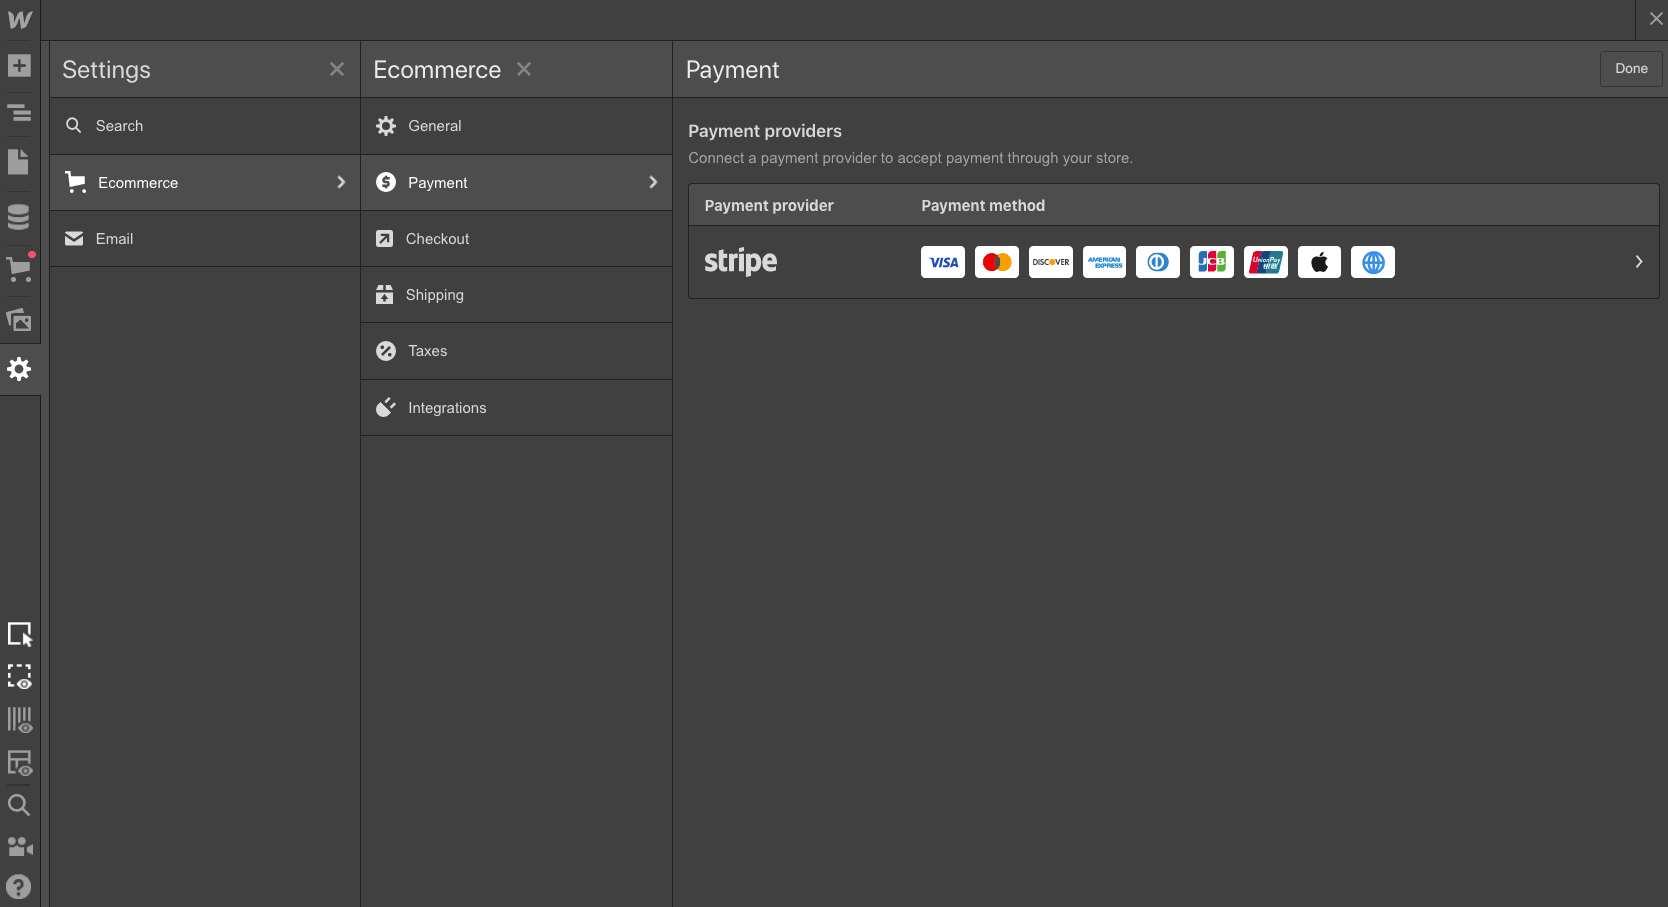
You can also manually enable or disable Web Payments in your Ecommerce payment settings (Settings → Ecommerce → Payment → Stripe → Web Payments) but first, you must:
Style web payment buttons
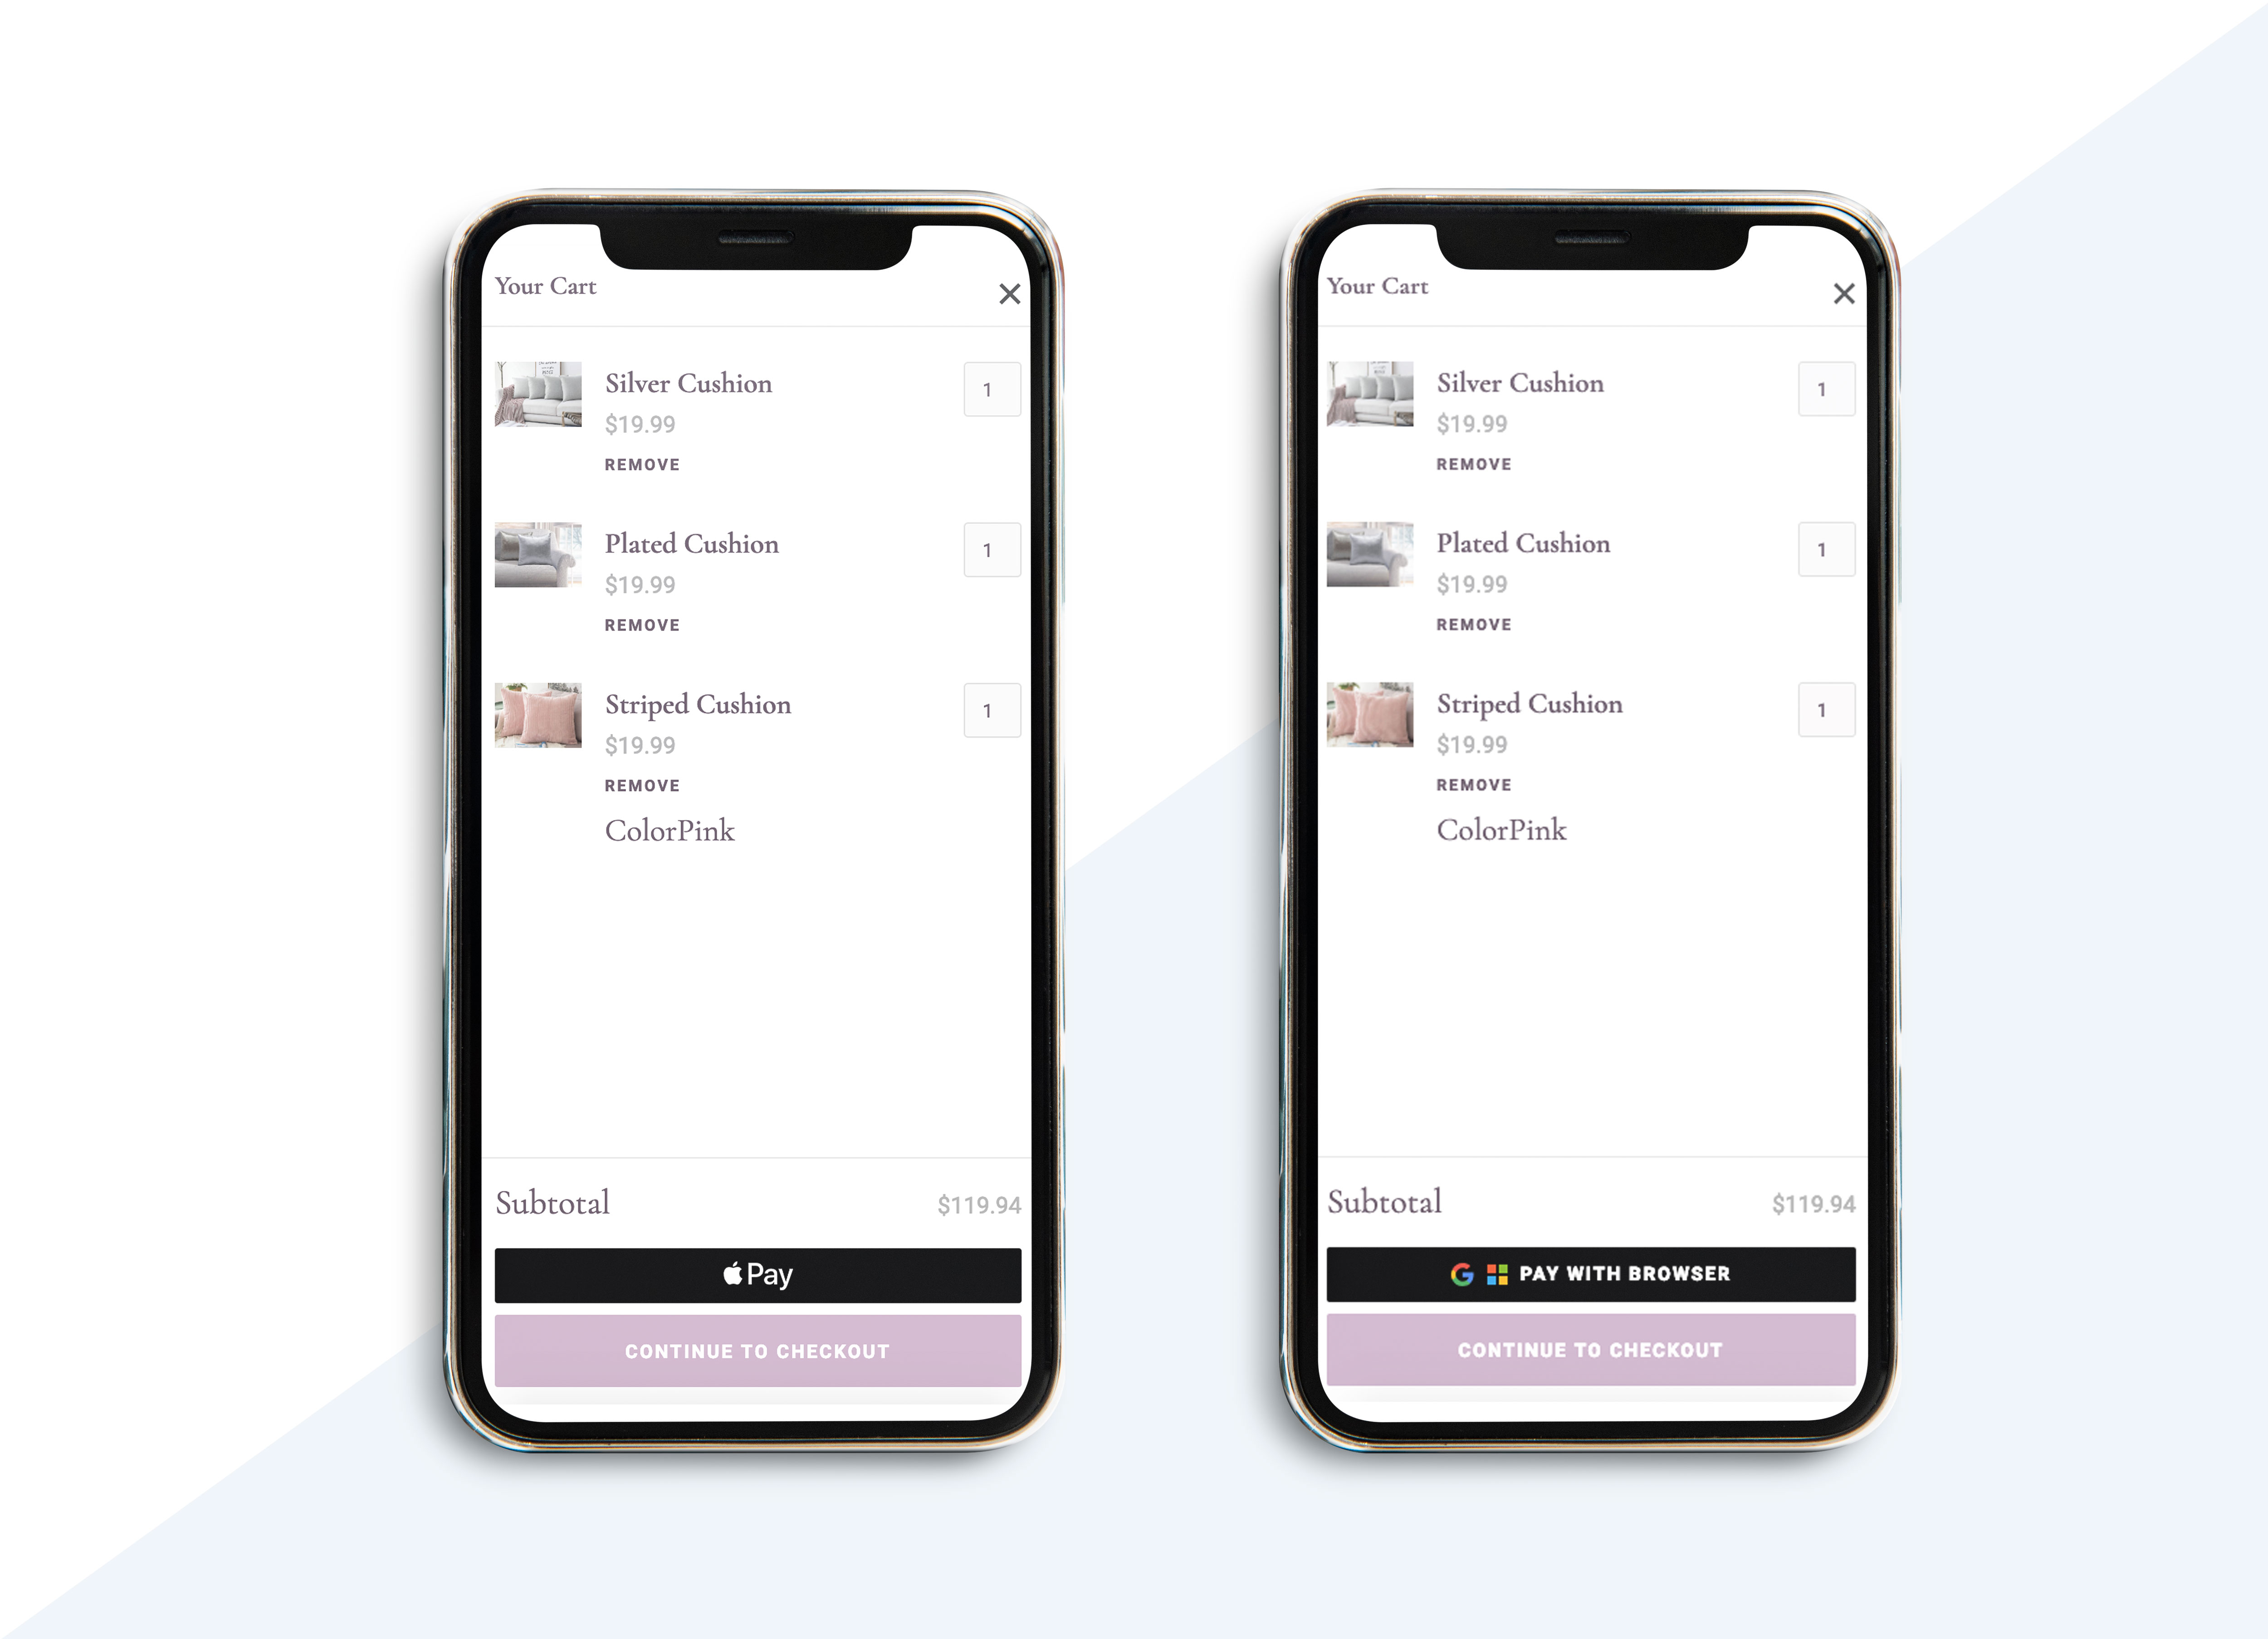
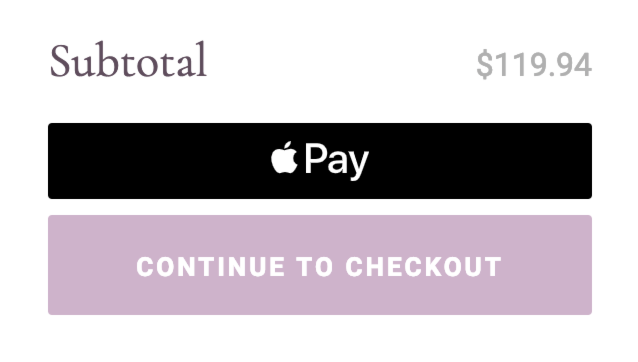
If you’ve enabled Web Payments, you’ll see the default “Apple pay” button in your cart. Then, once you select the button, you’ll be able to access the different payment buttons from the “Web payment settings” section in the Elements settings panel.
You can also add a Web Payments element into your checkout form or your cart from the Add panel.
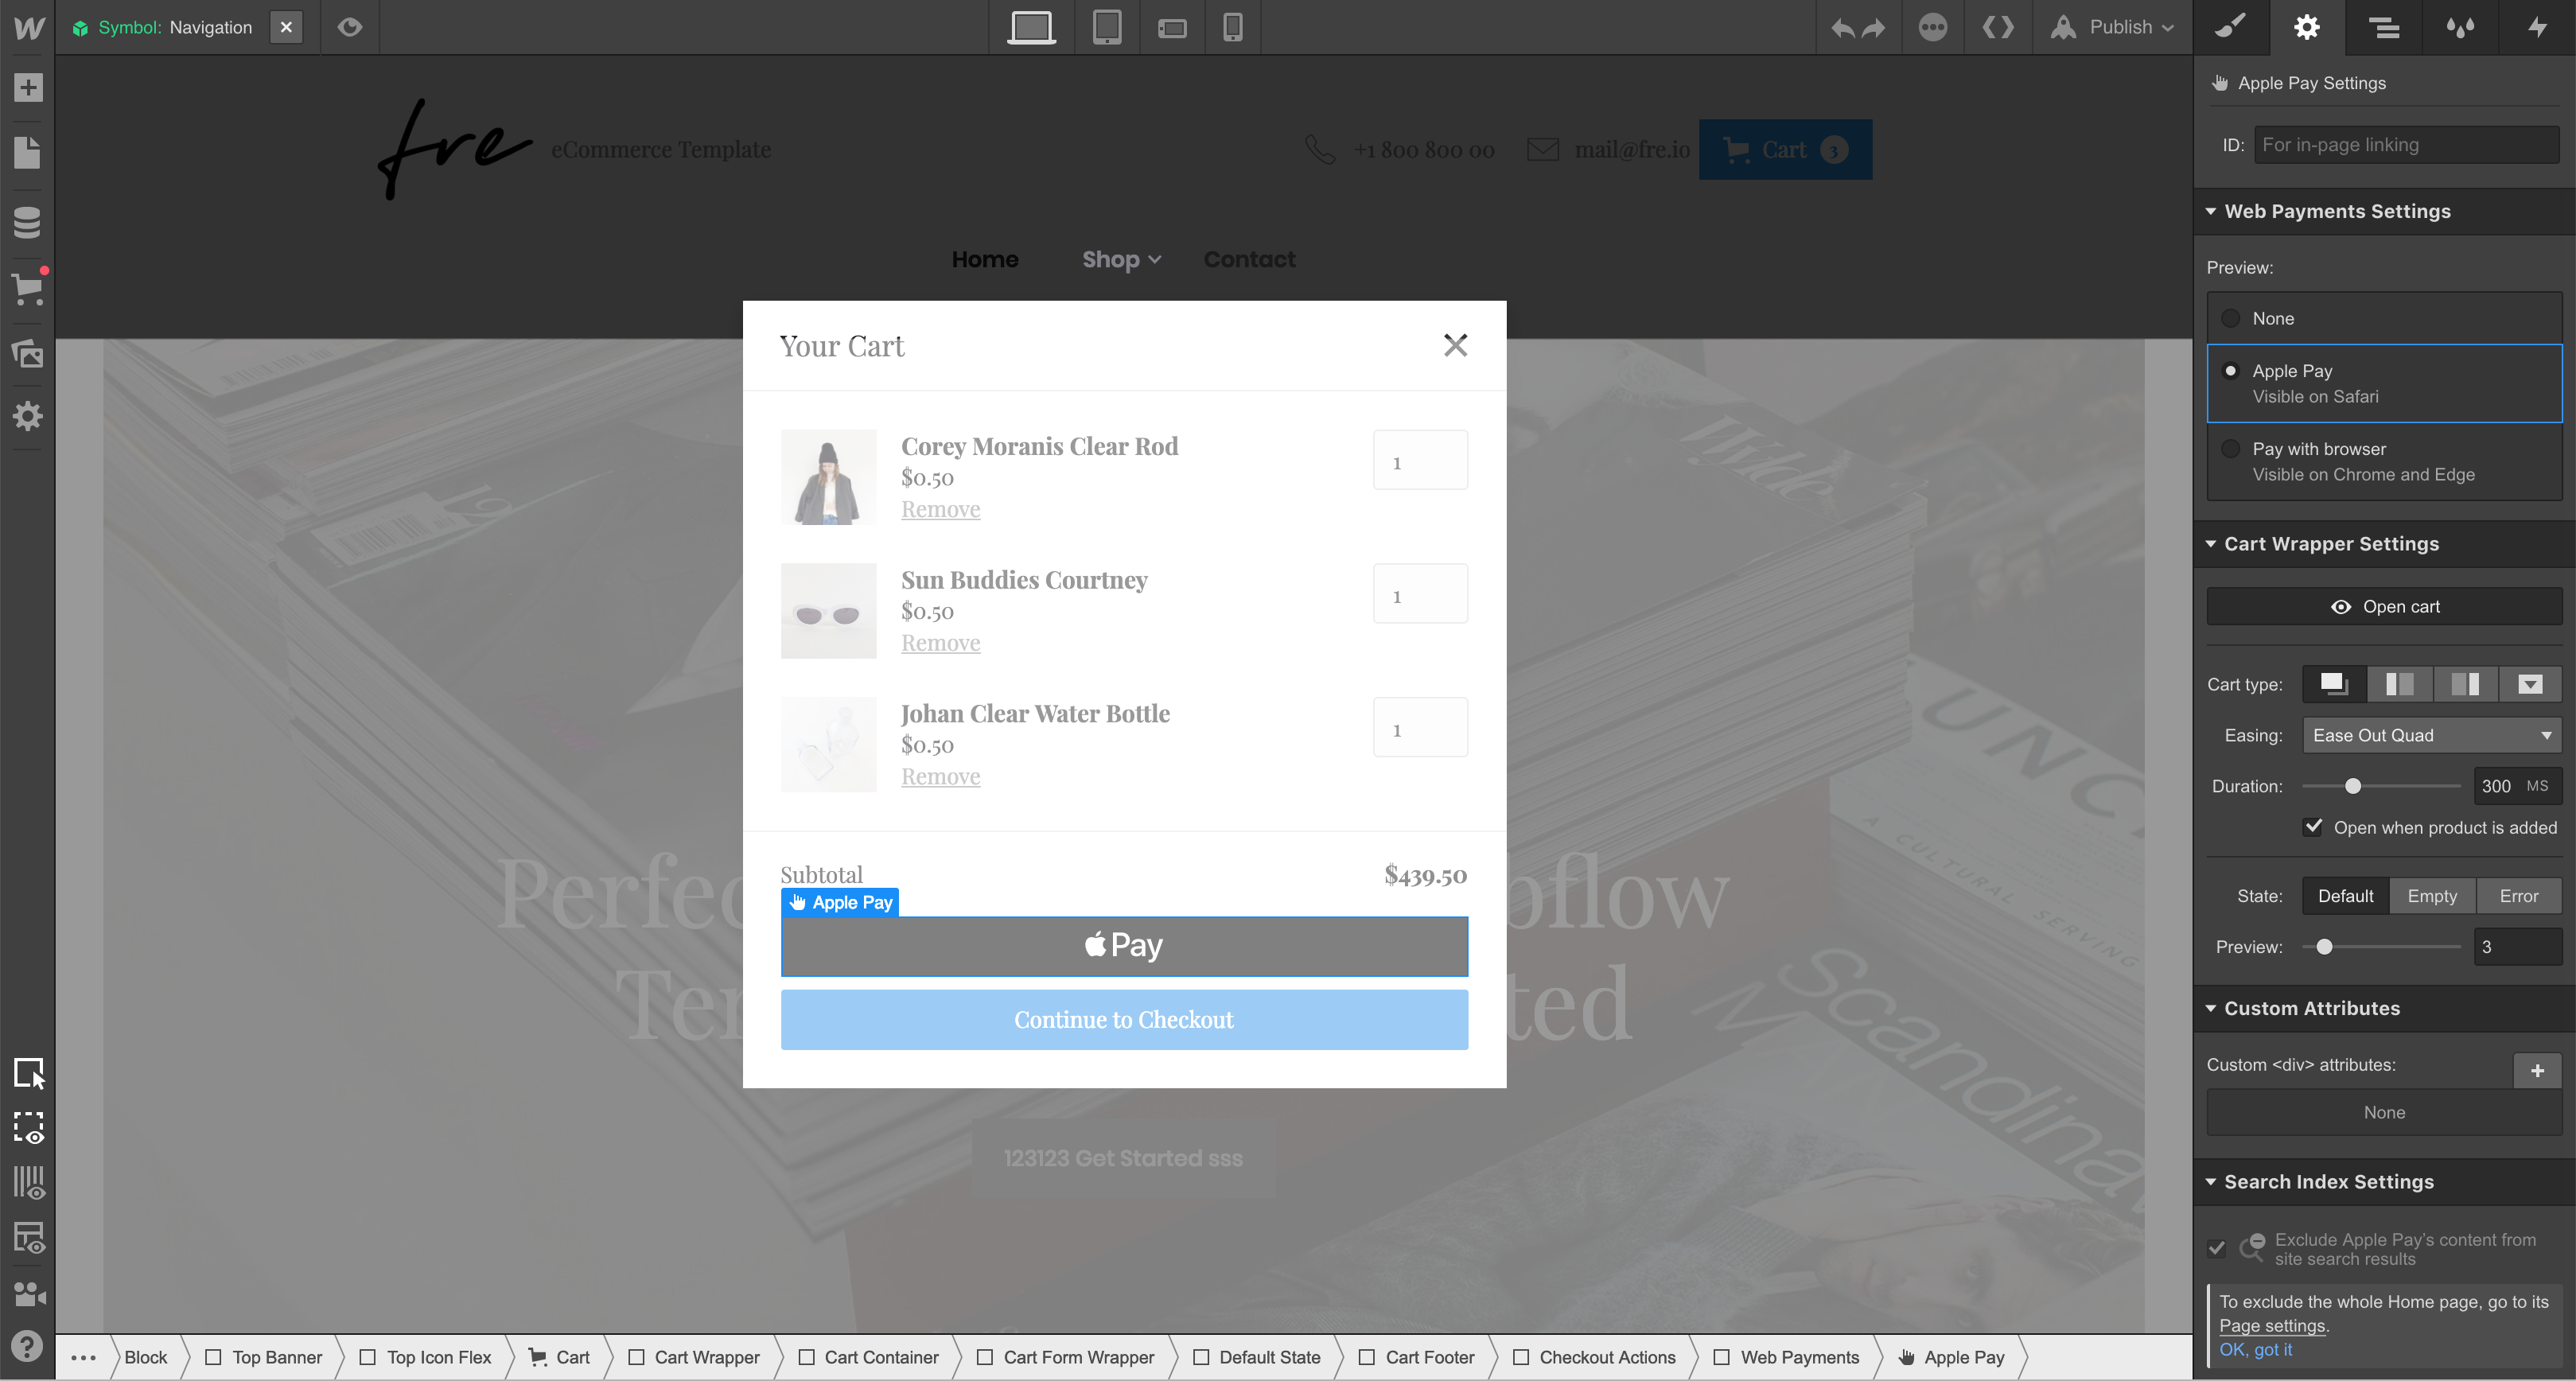
Now, you can select each option in the Web Payments Settings to preview and customize each button.
Need to know
You won't be able to customize the “Apple Pay” button much, that's because the "Apple Pay" button must adhere to the branding and user interface guidelines described in the Apple Pay Identity Guidelines [↗] and Human Interface Guidelines [↗].
You can also customize the look and feel of your web payment buttons even before you enable Web Payments for your live site. To access the payment buttons, in this case, you’ll need to select the “Web Payments" wrapper in the Navigator. Then, you’ll be able to access the “Web payment settings” section in the Elements settings panel.

Web Payments in the checkout page
Web Payments also live in the checkout page. So, don't forget to customize them there as well. If you've removed the Web Payments component from the checkout page, you can add it back from the Add panel.
Learn more: Customizing the checkout experience
Understand how customers pay with Web Payments
Web Payment options are only visible to shoppers visiting your store on supported browsers where they have stored payment methods available. So, the specific payment method available to customers depends on the browser and device they’re using.
Shoppers who can see Web Payments can bypass your site’s native checkout process by clicking the Web Payment button and authorizing the transaction through Touch ID, a PIN, or a passcode. If shoppers have also stored their billing and shipping information, Web Payments can reduce checkout friction, especially on mobile devices.
Apple pay
Apple Pay is available for shoppers who have stored payment details (credit or debit cards) on their iPhone, iPad, or Apple Watch. Apple Pay also supports Web Payments on Safari on iPhone, iPad, or Mac OS.
Resources:
- Apple pay [↗]
- Apple Pay device compatibility [↗]
- Guidelines for businesses that wish to incorporate Apple Pay into their websites [↗]
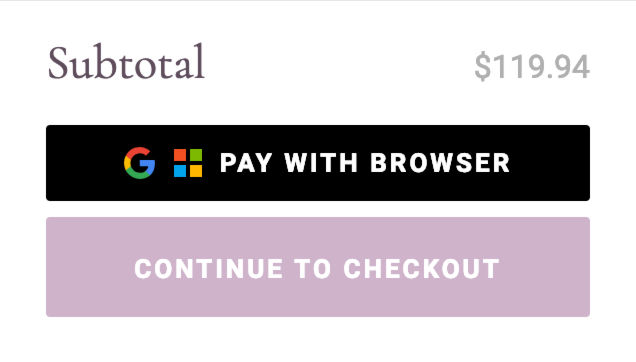
Pay with browser
Google Pay and Microsoft Pay are available for users who have stored their payment and shipping details on Android and Windows devices. Google Pay is also available for Chrome desktop and Android, but not iOS. Microsoft pay is also available for websites visited on a Microsoft Edge browser.
Resources:
Need to know
Currently, Firefox and other mobile browsers do not support Web Payments. Additional payment methods will become available as these browsers start supporting Web Payments.
The Web Payments checkout process
As we stated above, choosing to pay for an order using a web payment method bypasses your store’s native checkout process. A browser-native checkout process is initiated to complete the purchase. This window shows an order summary and the shipping rates applied. The shopper may have to choose a payment method if they have more than one card stored in their account. The same is true for billing and shipping details. Then, they can authorize the payment and the order will be placed. They'll be taken to your stores "order confirmation page" and receive an email confirming the order as well.
Note: Since web payments bypass your store's native checkout process, you won't be able to collect additional information at checkout
Important: You can't customize the web payment checkout experience that uses the browser’s native UI.
Web Payments and SCA compliance
If your online store is in the European Economic Area (EEA) [↗], any customer from EEA countries will be required to provide an additional layer of authentication to confirm payment for the purchase. Card-based payment methods such as Apple Pay [↗] and Google Pay [↗] already have a built-in layer of authentication that offers a frictionless checkout experience for online buyers while also complying with the new PSD2 SCA requirements [↗].