Try it: build a form
Ready to give it a shot?
In this practice activity, you’ll start with a partially completed form, then add and configure fields, adjust layout, and refine styles, just like you’ve seen in this course.
Because it all takes place in a sandbox link, you can explore without worrying about breaking anything. You can focus on testing ideas and getting real experience working with forms in Webflow.
Access the activity site here. Watch the video below for instructions on how to get started.
What “sandbox” means
This project is shared as a sandbox link and is read-only. That means:
- It is not added to your Workspace
- Changes aren’t saved and are lost anytime you close or refresh the page
- You can’t publish from it, so live form submissions can’t be collected
- No one else can see your work and you can’t permanently break anything
You’re free to experiment. Adjust classes. Change layout. Rename fields. Test settings. If something stops working, you can refresh the page and start again.
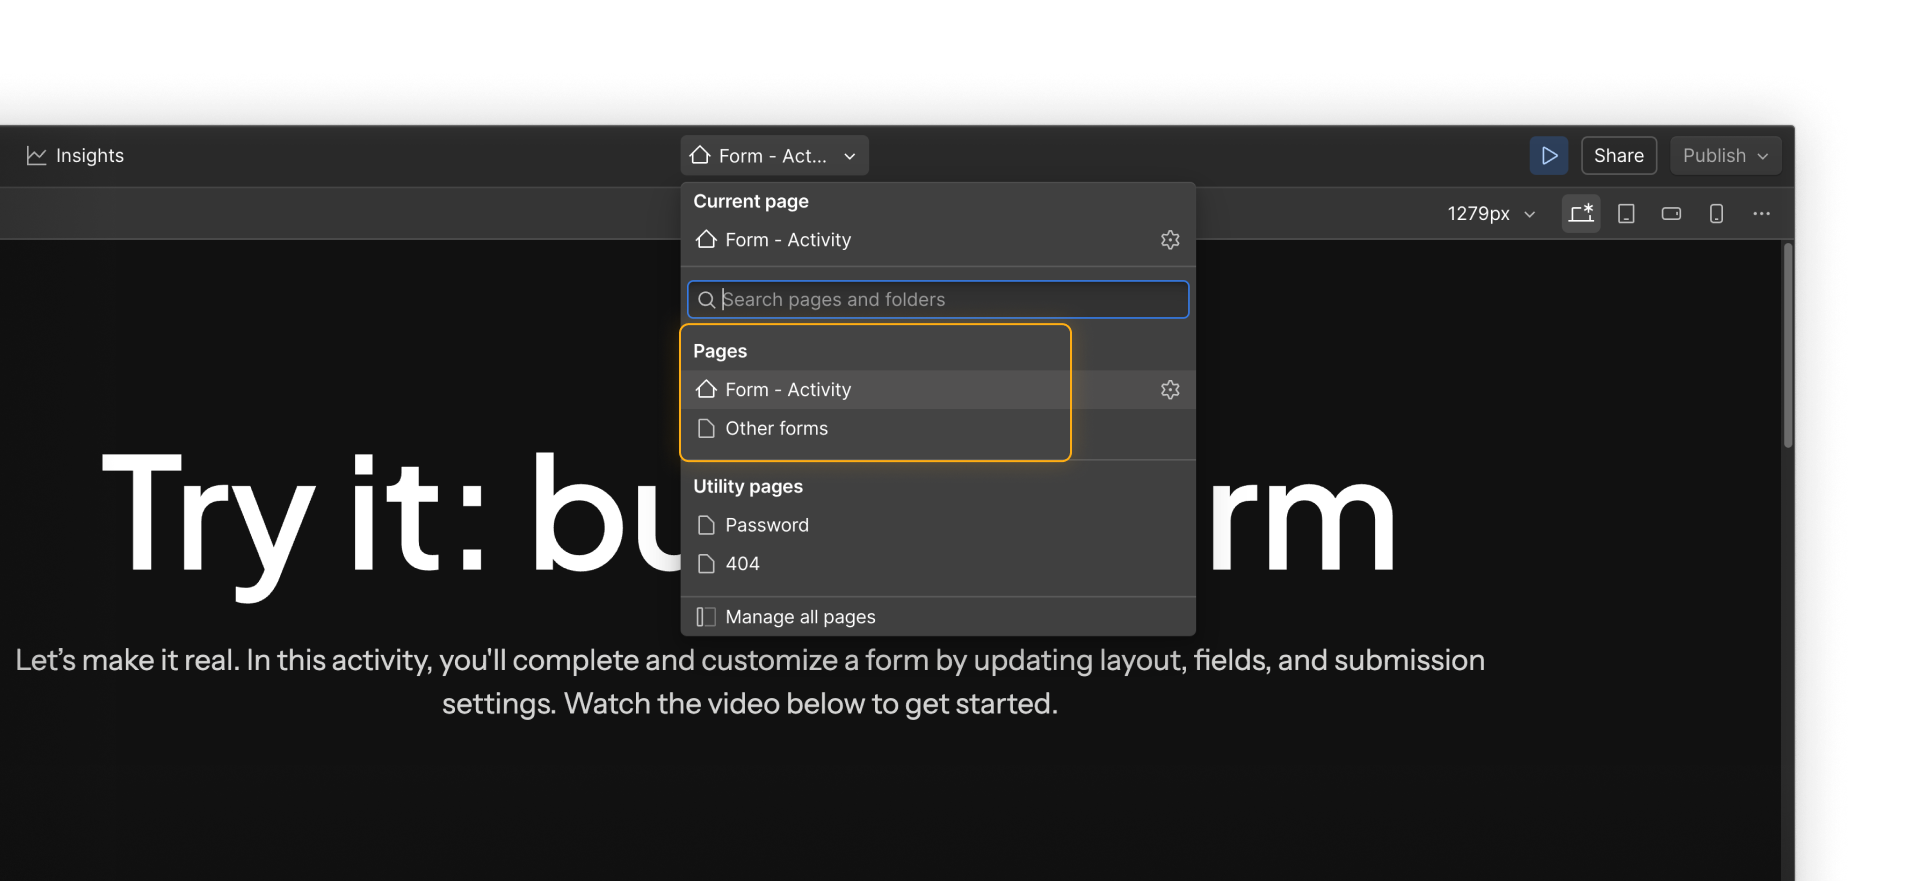
Explore both pages
This read-only site includes two pages:
- Page 1 (Form - activity) is where you’ll complete the main activity.
- Page 2 (Other forms) includes additional form examples you can explore after you finish, so you can see how different layouts, field types, and settings show up in real designs.
What else?
Now that you understand what native Webflow forms can do, let’s explore when it might make sense to extend or replace them with other tools and workflows.