Page templates
New pages often need some of the same structure, even when their content changes. A page template gives your team a starting point, using the components, styles, and variables you’ve already prepared.
Static and CMS templates
Webflow has two kinds of page templates. The choice depends on how different each page needs to be from the next.
Static page templates
Provide a starting design and page settings your team customizes for each page. For example, campaign pages might share navigation and a footer but use different combinations of sections.
Collection page templates
Provide one shared design for a Collection, with content connected to CMS fields. For example, case studies share a layout. Your team adds or edits Collection items instead of building separate pages.
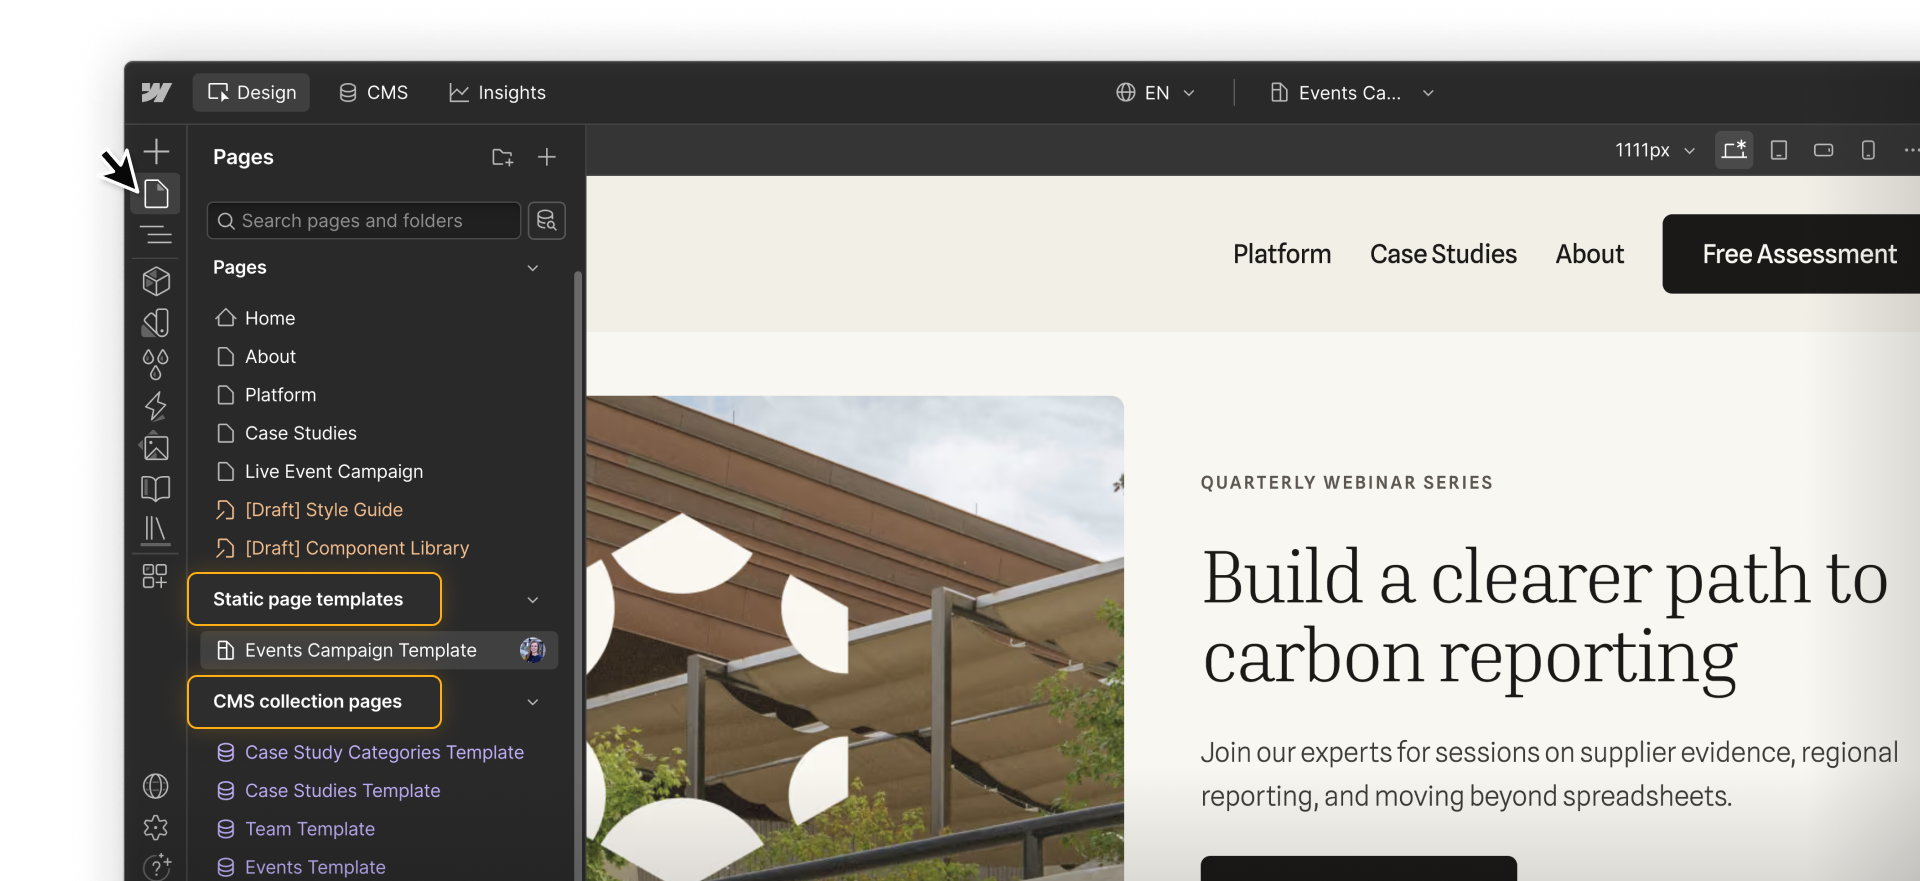
A static campaign page can still display CMS content. For example, a Collection list can show upcoming webinars and link to their CMS detail pages. The campaign gets its own layout, while event details stay in the CMS.
Plan the campaign template
Plan both the page’s layout and the settings each new campaign page will start with.
Layouts and slots
Start with the parts pages should share, then decide where marketers need room to add or rearrange sections.
A campaign template could include:
- Navigation and footer components outside the area where marketers arrange sections.
- A page slot for content, such as a hero, featured webinars, and related case studies.
- Starting components inside the page slot so teammates know what to customize.
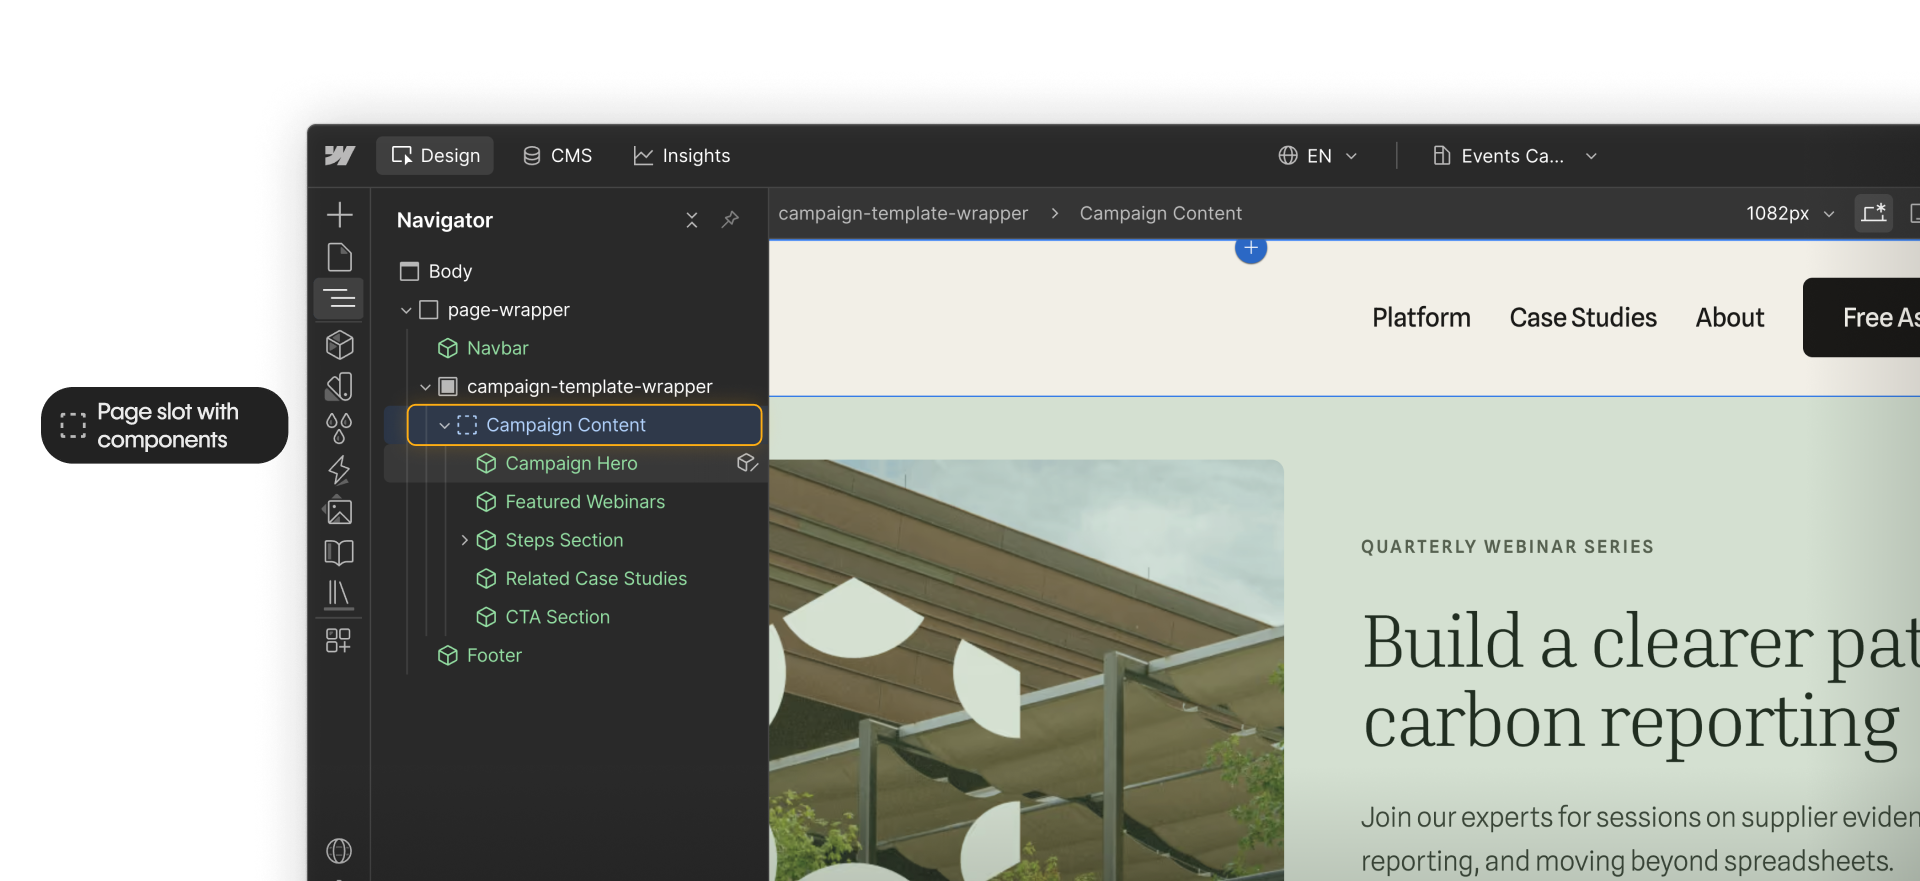
A page slot provides space for components on a static page. A component slot provides space for content inside a component.
For example, a marketer adds the Steps Section to the campaign page’s page slot, then adds two Step Cards to the section’s component slot. They can move the whole section within the page slot or add more cards within the component slot.
Designers can apply a class to style either type of slot. Here, the page slot uses a class to set its width. The component slot uses a class to set the gaps between cards.
Page slots can be added to static pages and static page templates. They can’t be added to CMS Collection pages.
Page settings
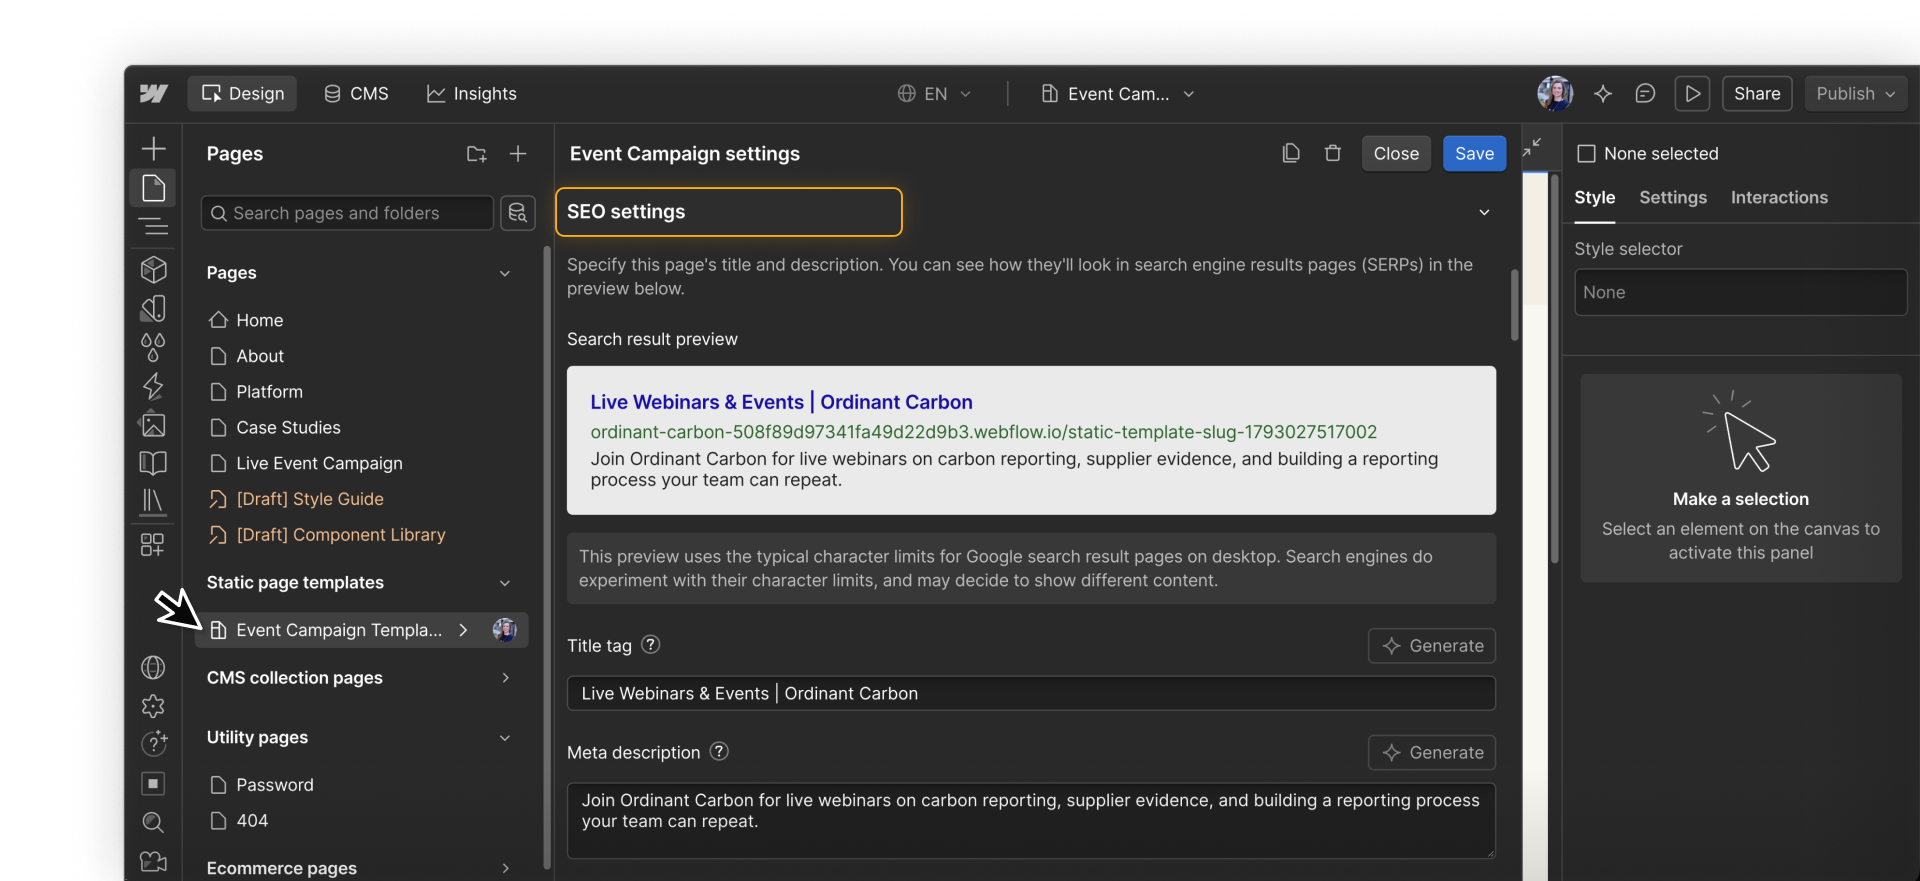
New pages also start with the template’s page settings. Decide which settings can stay consistent and which need updating for each page. For example, each campaign needs its own SEO title and description, so include that in your team’s guidance.
Build from the template
Once the template is ready, a marketer can create a page from it, then add or rearrange sections, customize component content, and update page settings.
Before sharing the template, create a test page and preview it in the Marketer role. Check that someone can:
- Add and rearrange the sections they need.
- Customize component content and choose variants.
- Add Step Cards to the Steps Section’s slot.
- Update the page’s name, URL, SEO title, and description.
Updating template pages
Once your team has created a few pages, what happens when you need to change something?
- Add a section or change the template’s layout: Future pages start with that change. Existing pages aren’t affected.
- Edit a main component, such as the navbar: Pages and templates using that component are affected.
- Change a shared class or variable: Pages and templates with elements using that class or variable are affected.
The template provides the starting page. The shared components, classes, and variables keep working across pages after they’re created.
Collection page templates work differently. Changing a Collection page template’s layout updates every page in that Collection. Editing one item’s CMS fields updates that item’s content. For more detail, see Structure and style Collection pages.
Keep going
Continue to the next lesson to create a static page template and test it in the Marketer role.