Components in CMS rich text
Components can sit alongside paragraphs, headings, and images inside CMS rich text fields. Your team could add a customer testimonial within a case study, a signup form within an article, or a CTA inviting readers to get in touch.
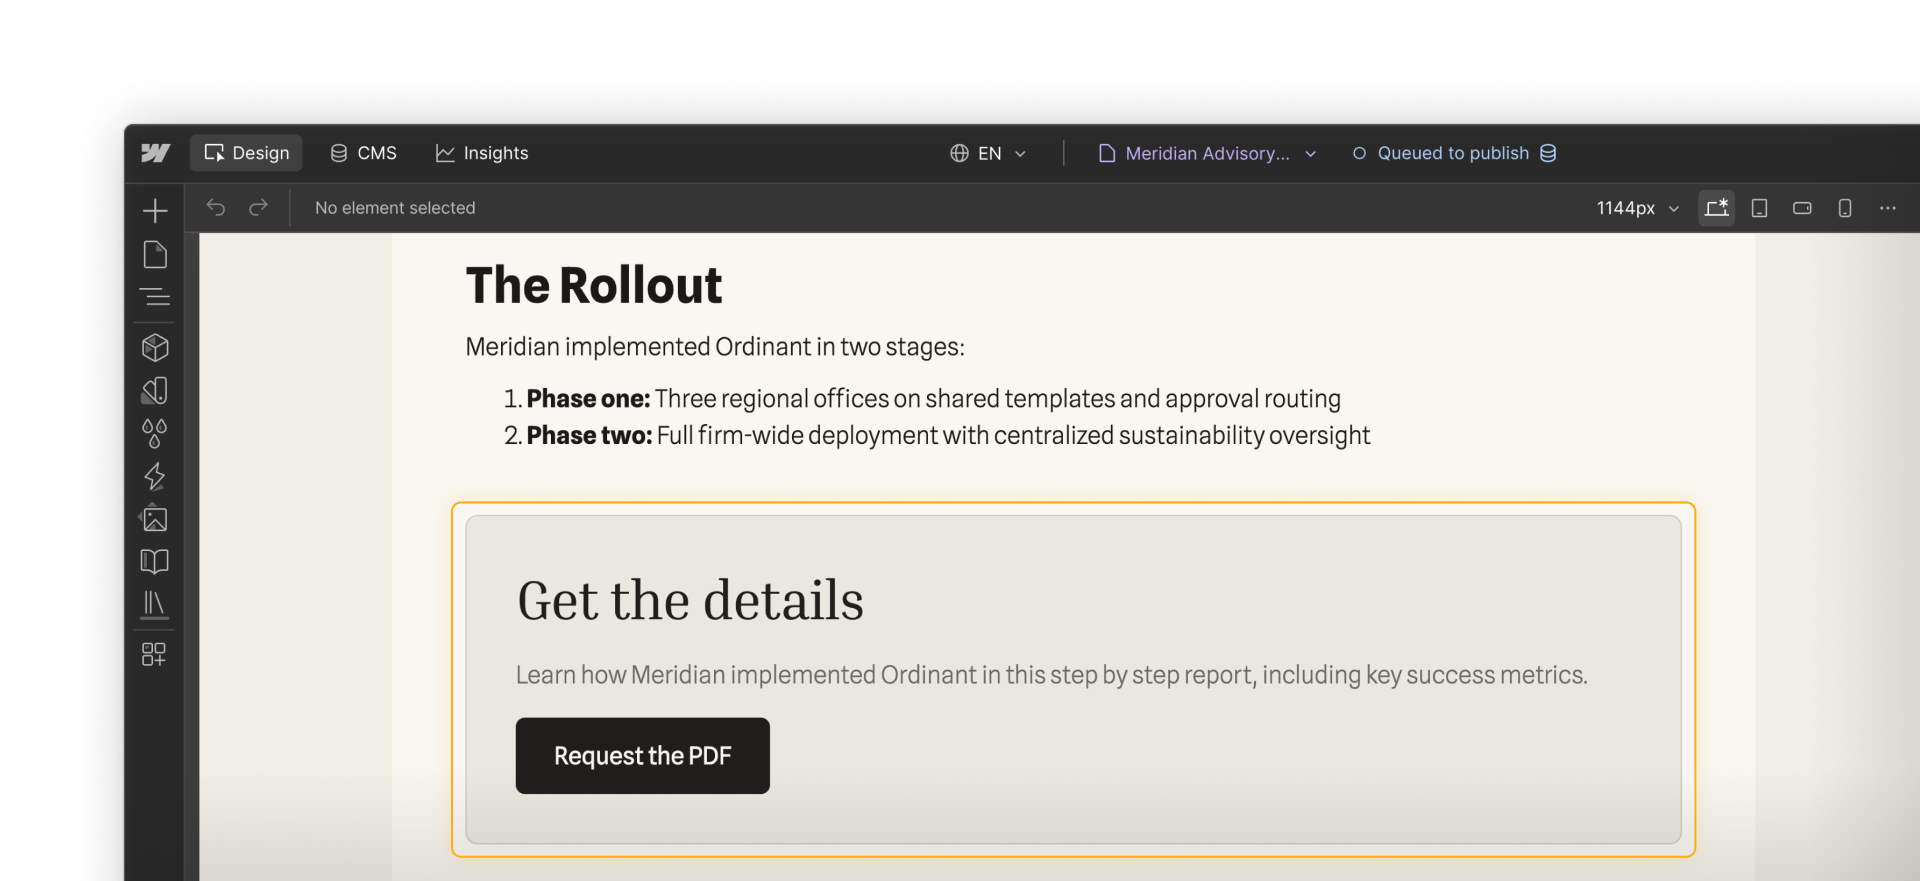
Prepare components
You can use components already on your site in CMS rich text. There’s no extra step to make them available. Even your navbar and footer can appear as options, though neither belongs in the middle of a case study.
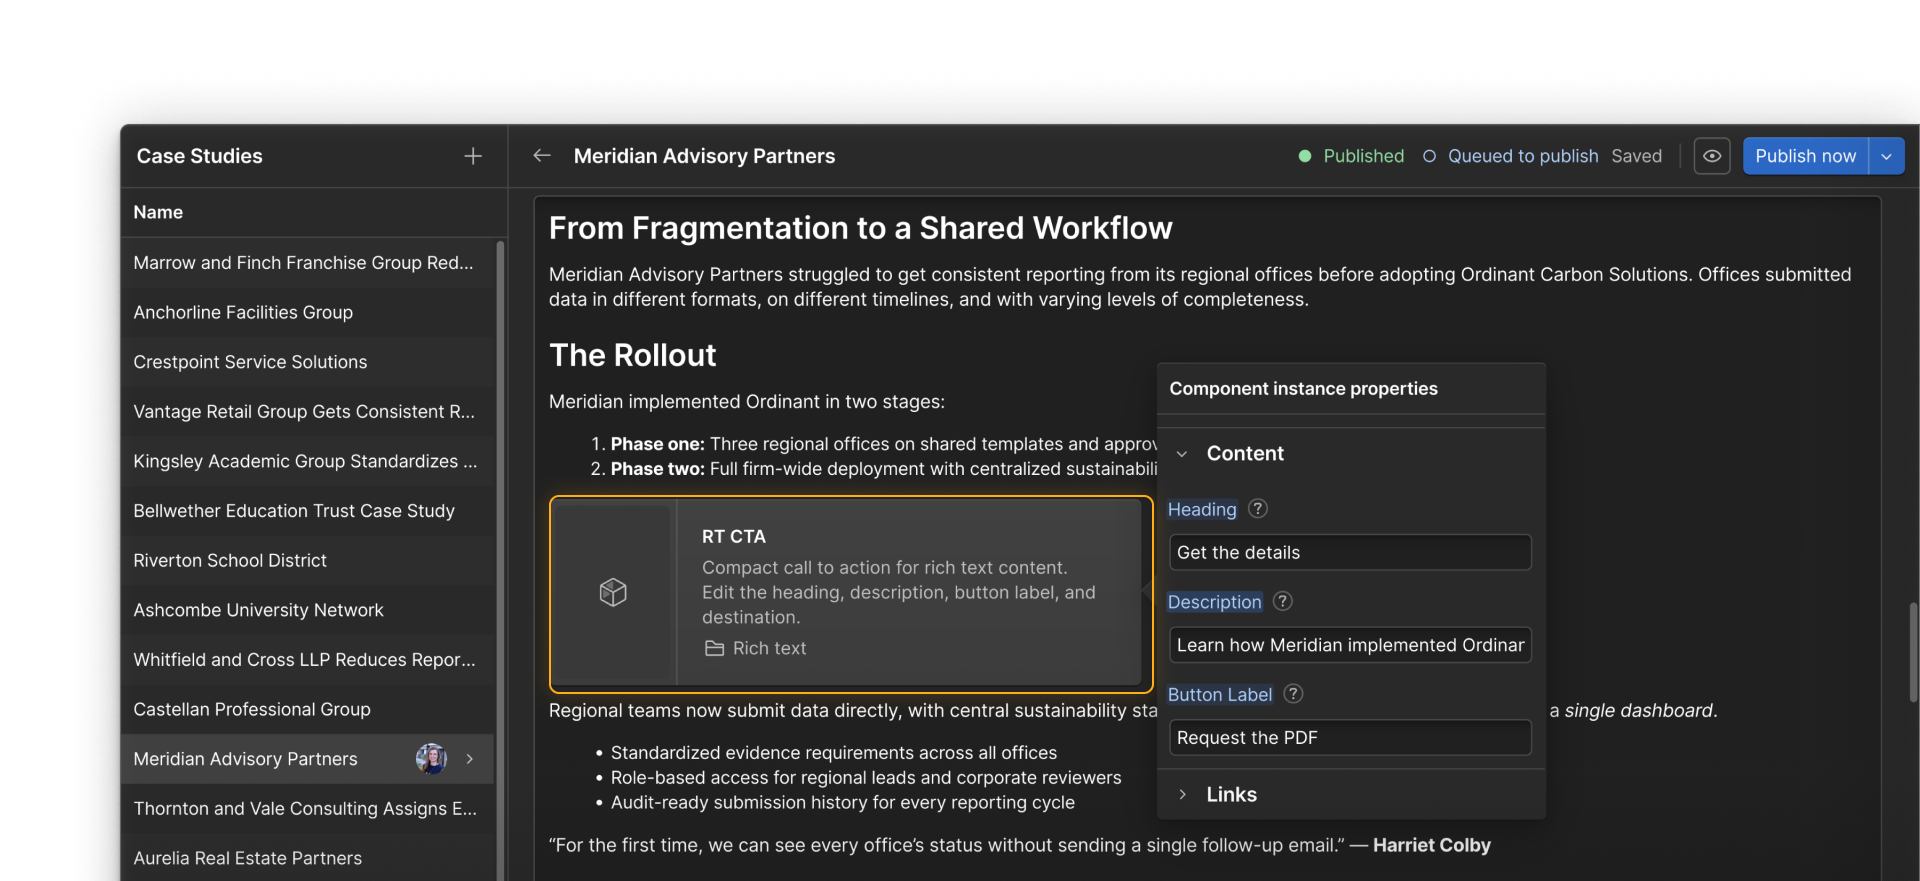
Component properties can be customized on CMS pages, just like components on static pages.
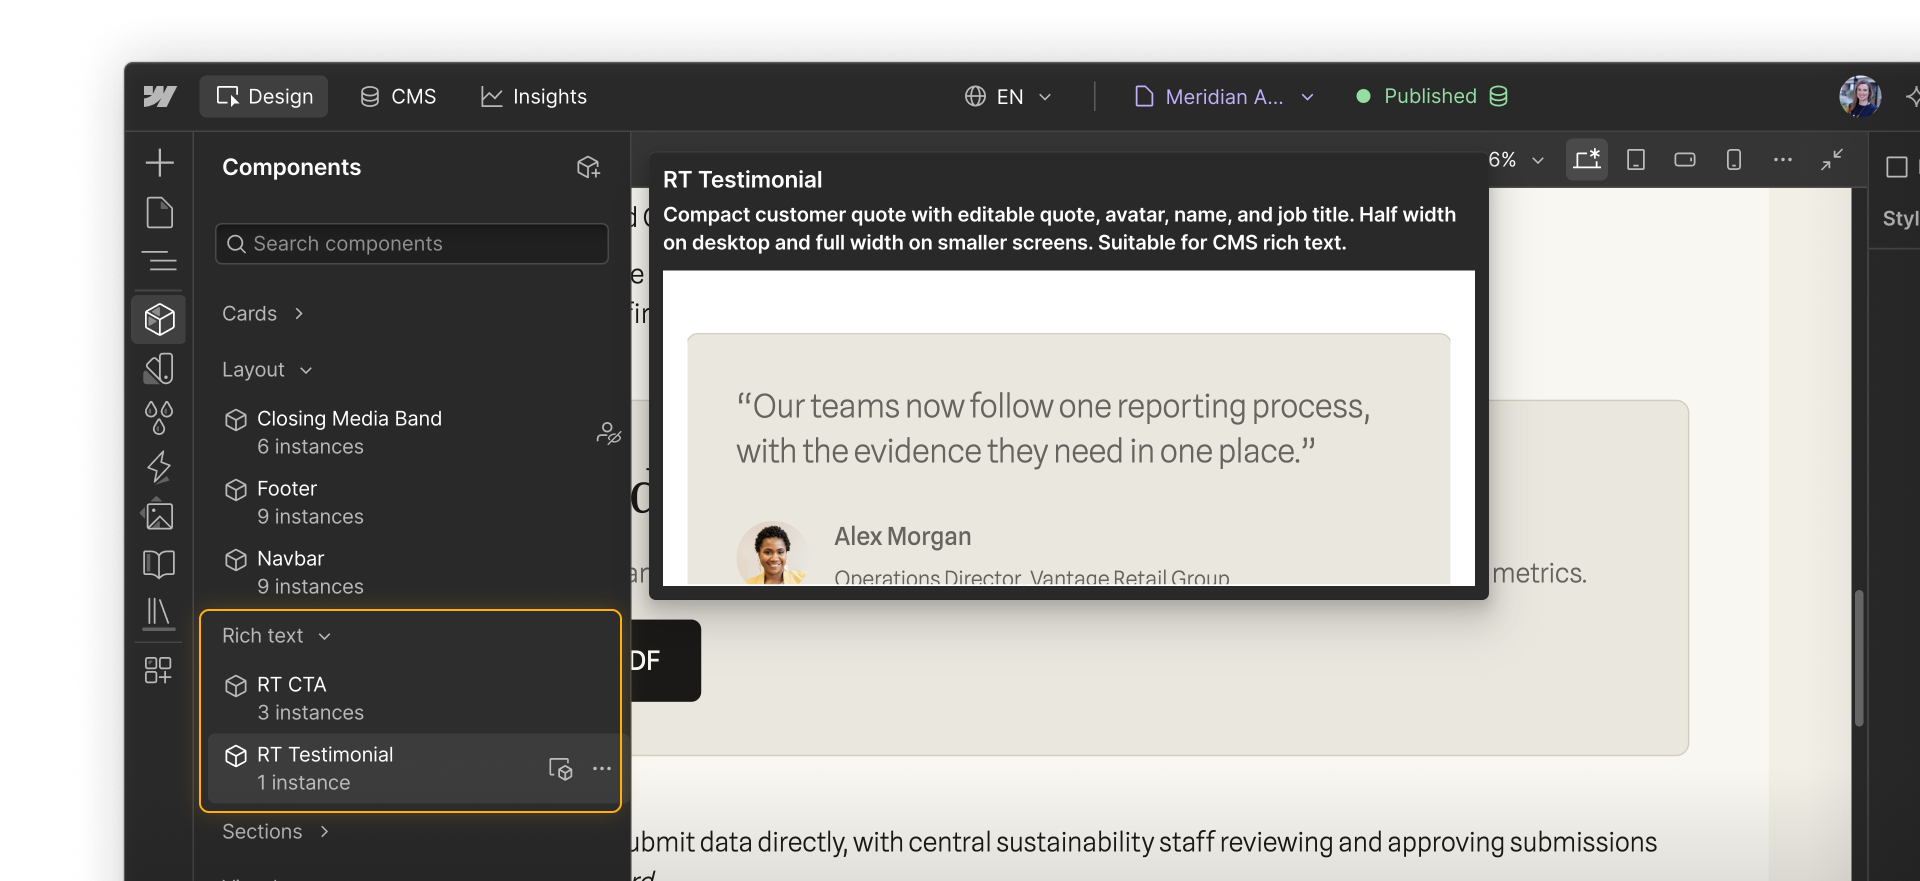
The Show for Marketers setting applies here too. Hiding a component removes it from marketers’ choices everywhere. A component they can’t add to a page slot also isn’t available in rich text.
Help your team choose
Names, descriptions, and groups can help teammates find components that fit within rich text content.
For example, you could group CTAs and testimonials under Rich text and use a prefix such as RT to make them recognizable.
You may already have a CTA that works well within a case study. Try it between paragraphs and check:
- Layout: Does it fit the text column? A full-width CTA might need less padding or a smaller heading here.
- Properties: Can someone change its heading, description, button text, and destination for the case study?
Test it at different screen sizes too. You might reuse the component as it is, add a compact variant, or create a separate component if it needs a substantially different design.
Check the limitations
Some component features aren’t supported within rich text:
- Components containing Collection lists can’t be inserted.
- Component slots can’t be populated within rich text.
- An instance’s properties can’t connect to CMS fields.
- A rich text property inside a component can’t contain another component.
Rich text component properties can include formatting, but not other components. For example, a testimonial’s Quote property could include bold text or a list, but you couldn’t insert a CTA component into that quote.
Add components
You add a component to rich text through the + menu, just like images, videos, and other options. Once inserted, you can customize it through its properties.
In a case study, adding the CTA to the Body field makes it part of that item’s content. It appears wherever the CMS template displays that field, without adding it to every case study.
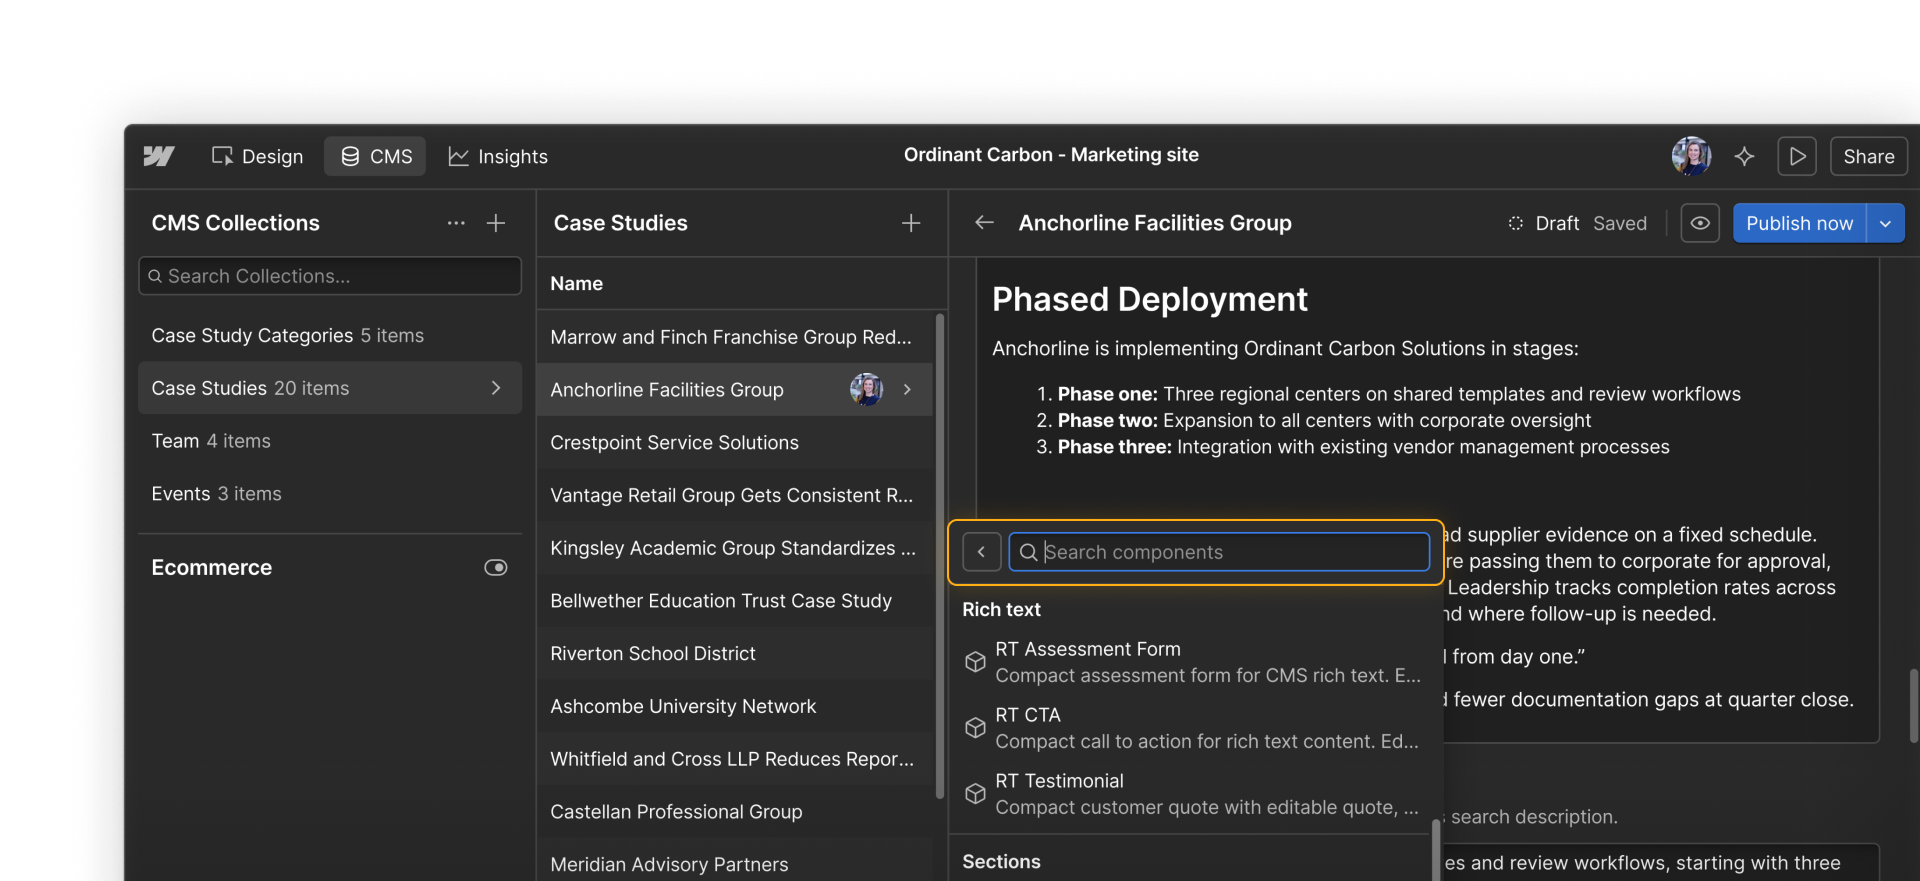
Site managers, designers, and marketers can add components to rich text. Content editors can customize existing instances’ properties, but can’t add, copy, move, or delete them.
Publishing components
Changing a component in CMS rich text doesn’t make it live right away. The publishing step depends on whether you edited one instance’s content or the main component itself:
- Instance content: Publish the Collection item to make changes to its CTA text or link live.
- Main component: Complete a full-site publish to make a new component or changes to its design live.
Publishing an item individually uses the main-component version from the most recent full-site publish. If the component has never been included in a full-site publish, it won’t appear when you publish the item alone.
What’s next?
Continue to the next lesson to share your system’s resources across sites with Shared Libraries.