Components for teams & AI agents
When a marketer builds with your components, they need to find the right ones, understand their options, and update the content. Your setup can make those choices clear before they start.
The same work helps an AI agent recognize which components fit a request and how to customize them.
Make components easy to find
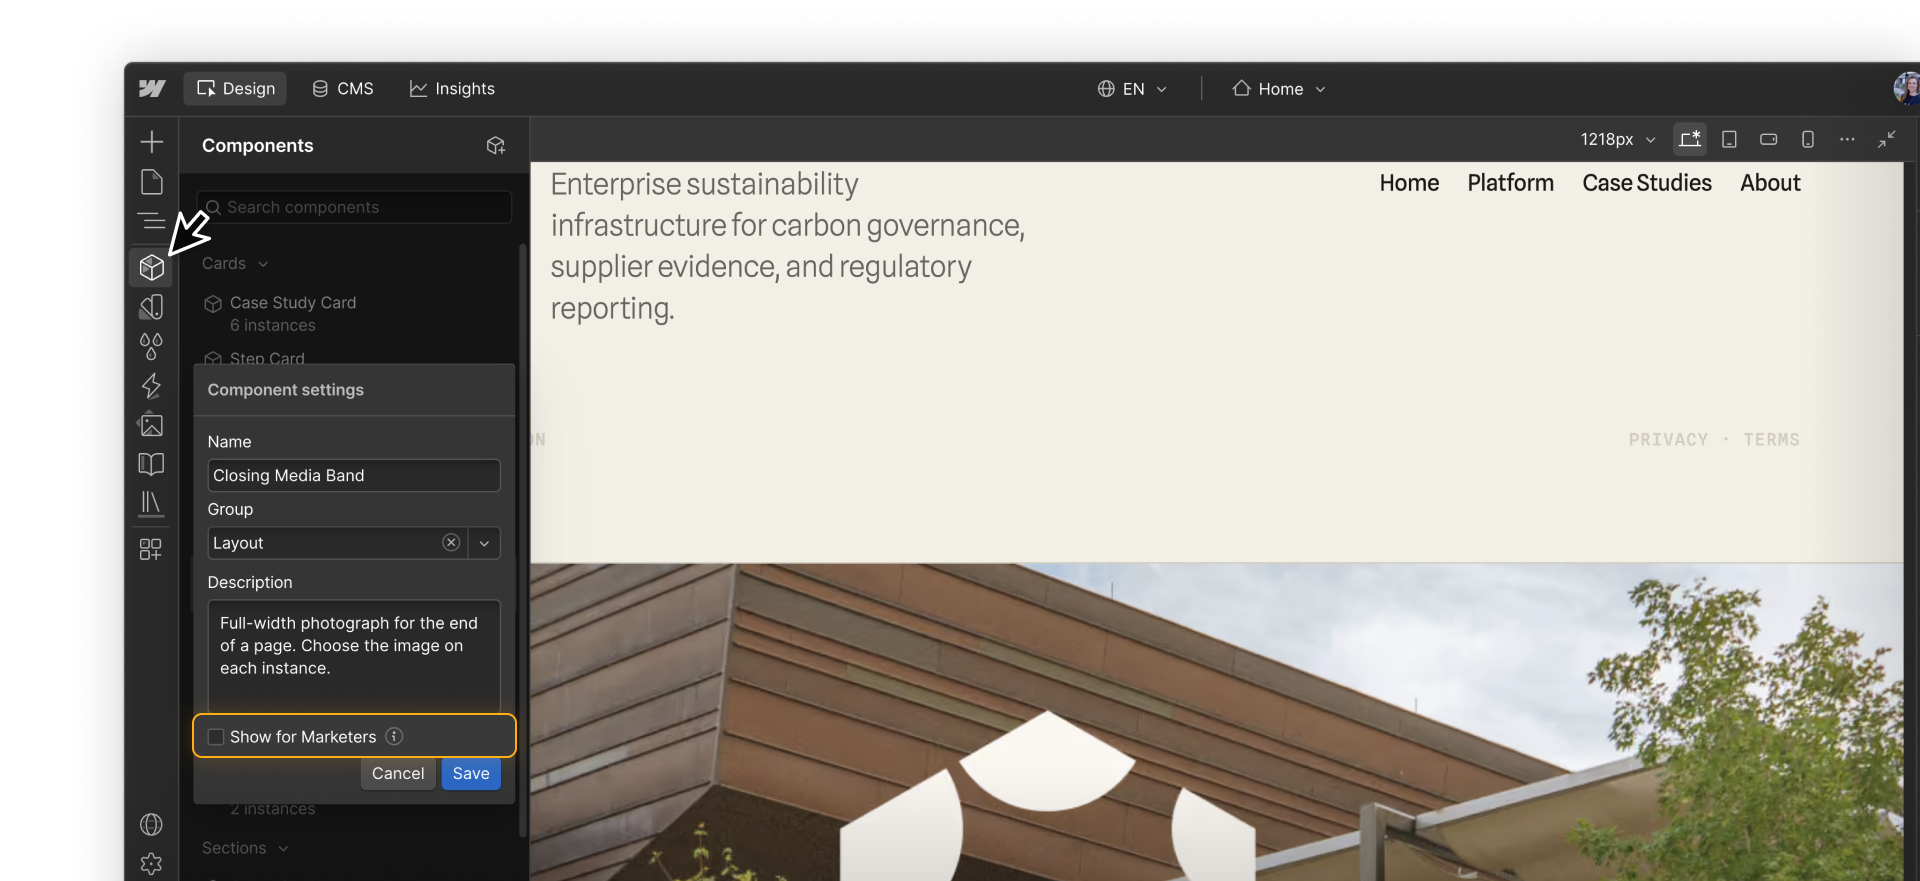
Give components names that describe their purpose, organize related components into groups, and add short descriptions where someone needs more context.
You can also hide components that marketers don’t need to use independently, such as internal layout components. Keep the list focused on the pieces they’re expected to build with.
Make the editing choices clear
A component’s editing options should help someone understand what to change and what each choice does.
Properties
Prepare the properties someone will use to configure the section and its cards:
- Name them by purpose. Step Number, Step Title, and Step Description tell someone what they’re editing.
- Group related properties. Keep the image and its visibility setting together, and order properties to follow the content.
- Set logical defaults. Choose starting content, images, and visibility settings that fit the component’s usual use.
- Add tooltips where needed. Explain something the name alone doesn’t communicate, such as which image to choose or when to hide an optional element.
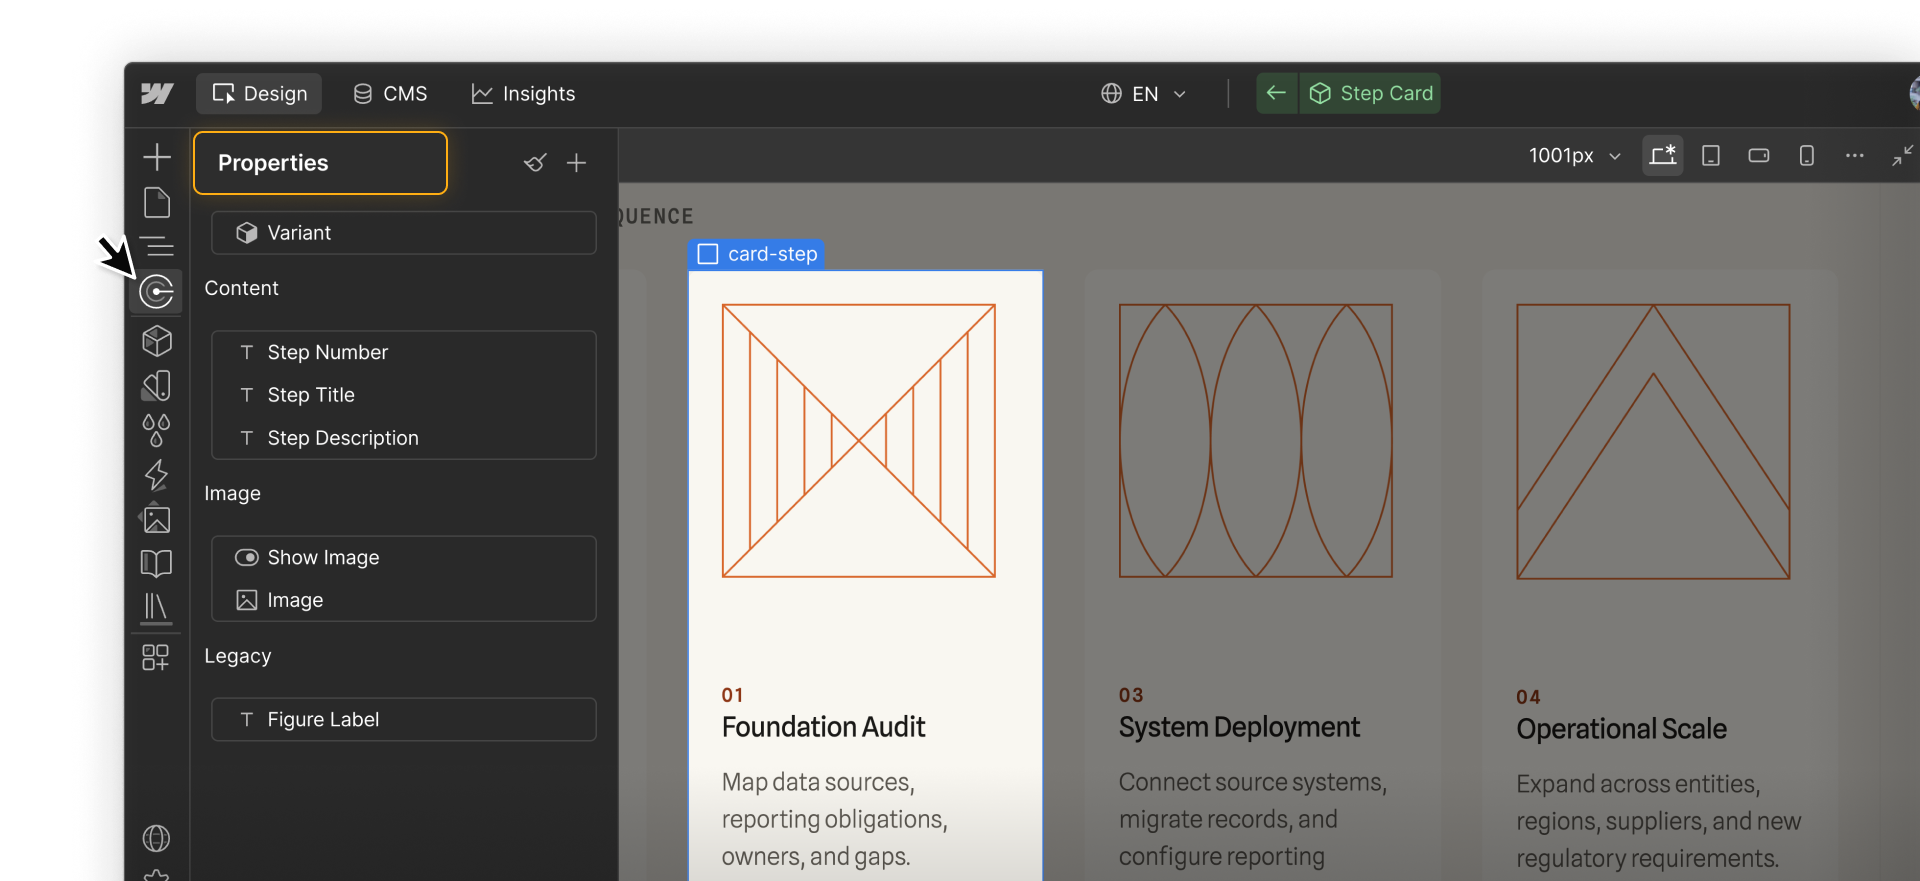
For variants, use names that describe the available choices, such as Dark and Horizontal, and choose the option new instances should use by default. If a choice needs more explanation, add guidance to the component description. For example, a horizontal card layout may work best when there are only one or two cards in a section.
Tip. Ask a teammate to customize a component using its properties and variants. Notice where they need an explanation, then refine the names, groups, tooltips, or defaults.
Slots
Help teammates understand what belongs in each slot and what combinations work well:
- Name slots by purpose. Names like Process steps, Customer quotes, or Related resources help teammates understand what content belongs there.
- Test the combinations. Try different numbers of cards, longer headings, and the intended variants at smaller screen sizes. Adjust the layout, available options, or guidance where needed.
- Choose the available components. Use Allowed components in the slot’s settings to choose which components marketers can add. Designers can still add other content.
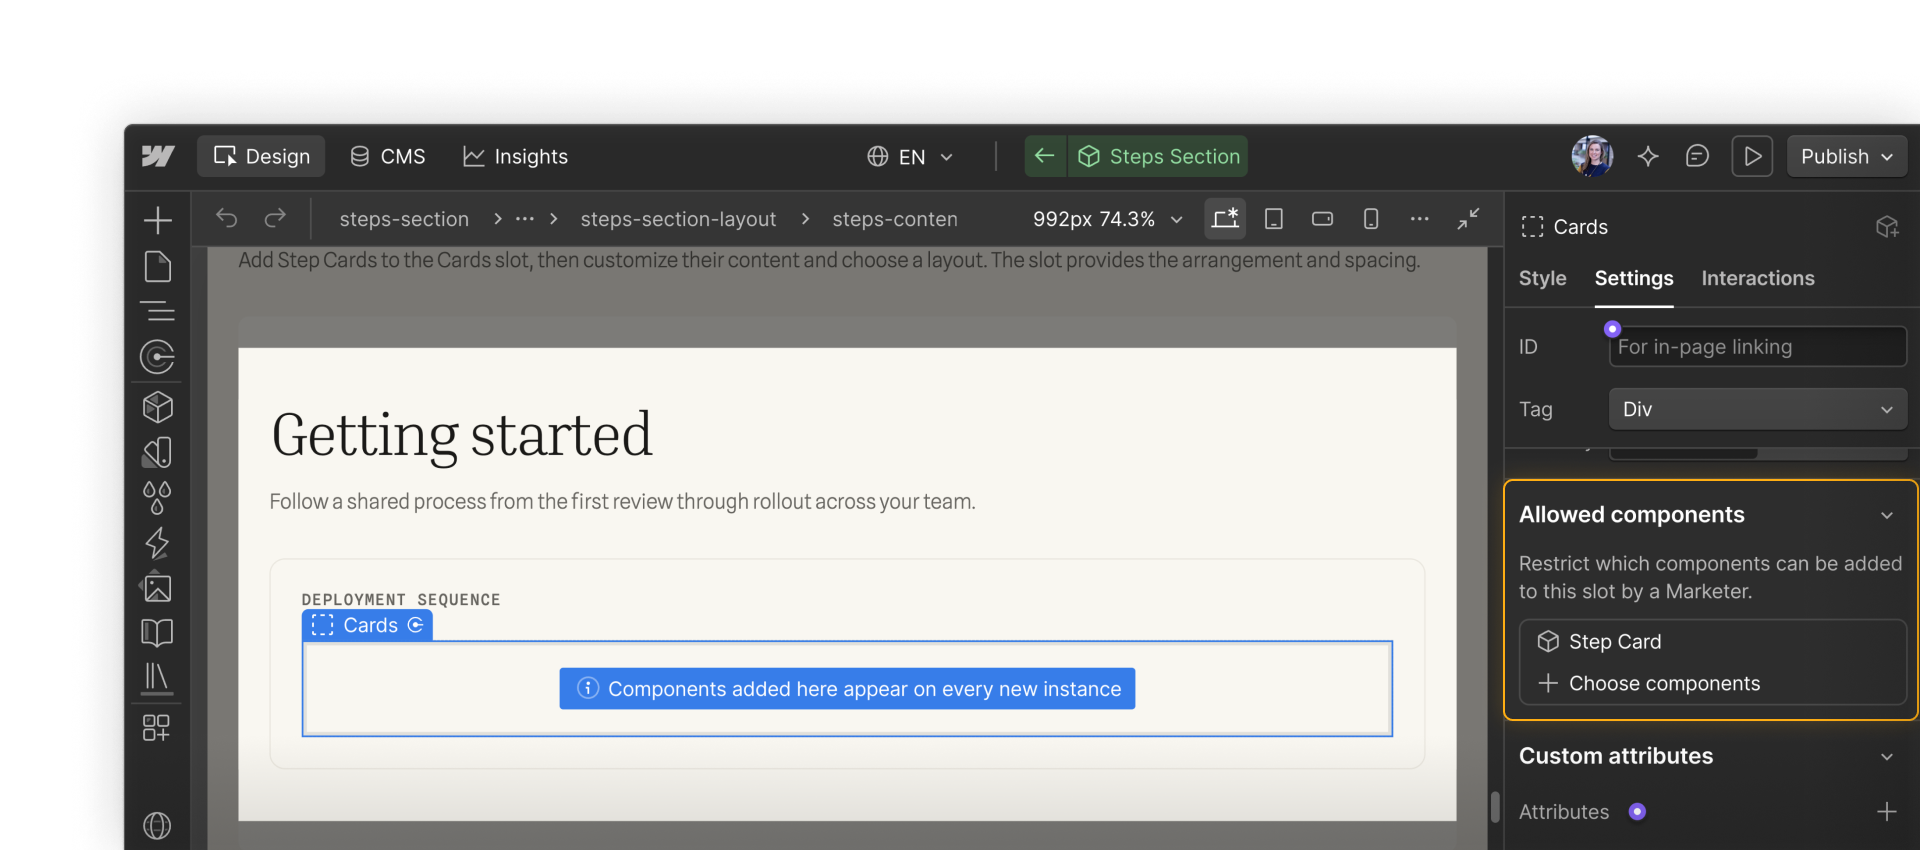
Marketers can add components to a component slot when its parent component sits inside a page slot. The next lesson covers page slots and how to set them up.
Give agents the context they need
You and your marketing teammates can also work with agents through Webflow MCP. Agents follow each teammate’s Webflow role permissions, so your component setup supports both direct editing and work with an agent.
In a prompt, identify which components to reuse and what to change on each instance.
Add an instance of Steps Section to the campaign page. Set its heading to “Getting started.” Add four Step Card instances to its Cards slot, using the Base variant and the step numbers, headings, descriptions, and images supplied below. Reuse the existing components and update their instance properties. If the request needs an option they don’t support, explain the gap before changing a main component or creating something new.
Afterward, check that the agent reused the intended components, updated the right instances, and kept the main components unchanged.
Tip. Add guidance you want agents to follow regularly to Agent Instructions, such as which components to reuse and when to suggest something new. Your teammates won’t need to repeat it in every prompt.
Onward
Continue to the next lesson to arrange components within reusable page templates.