Seats, roles, & permissions
The foundation of team collaboration
The way you set up access in Webflow shapes how your entire team works. Get it right, and people move confidently within their lanes. Get it wrong, and friction builds quickly — drafts go live too early, design systems get broken, and teammates stop trusting the tools.
This section is about getting it right from the start.
Webflow structures access around three core concepts, and understanding how they fit together is the first step to building a team that collaborates with clarity and confidence.
How it works
Webflow structures access around three core concepts:
- Seats determine who can be in your Workspace and what kinds of roles are available to them. There are three seat types: Full, Limited, and Free. Each one is designed for a different kind of contributor.
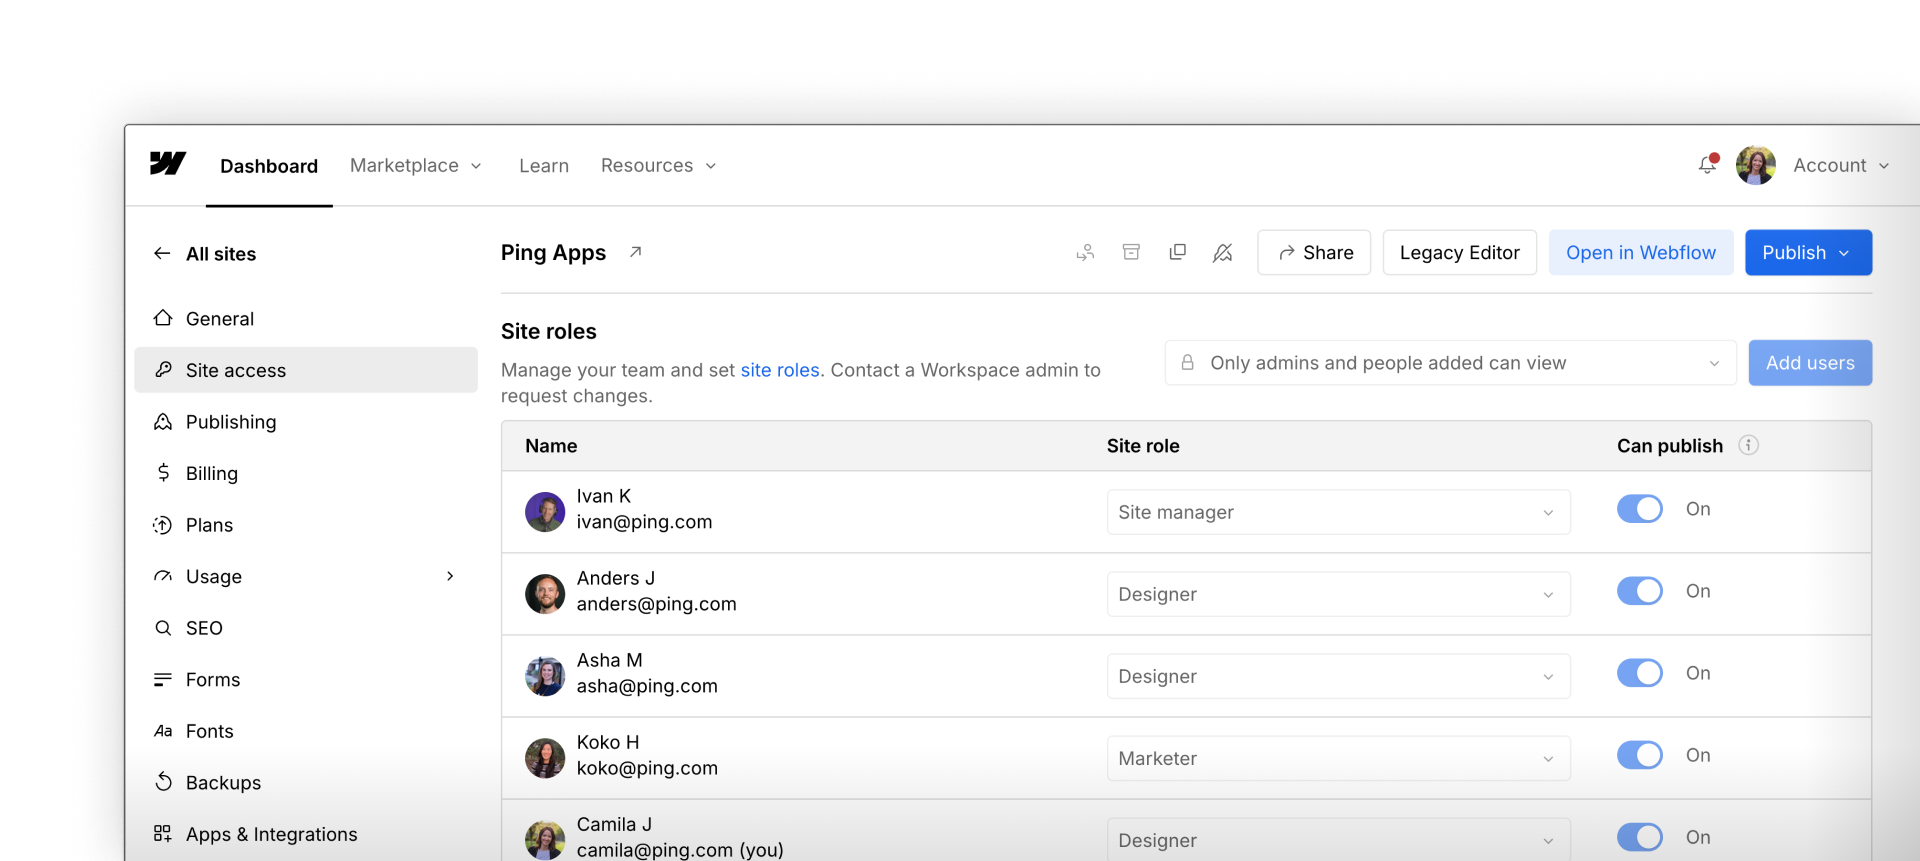
- Roles define what a team member can actually do at the Workspace level and on individual sites. Roles range from Admin and Designer, to Marketer and Content editor, to Reviewer. Each role comes with a specific set of permissions that reflects what that person needs to get their job done.
- Permissions are the guardrails that make it all work. They're not limitations — they're what allow each person to work confidently, without the risk of accidentally affecting parts of the site they shouldn't be touching.

The next three lessons walk through each of these in detail, from setting up Workspace seats and roles to configuring site-level access.
Enterprise feature: On Enterprise plans, you can also create custom roles, tailoring permissions to match exactly what a team member needs to do. See our pricing page to learn more about our plans.
Consider your team
As you go through the next lessons, keep your team in mind. Consider:
- Who on your team needs to build and design, and who just needs to update content?
- Are there teammates who only need to review and give feedback, without making any changes?
- Is anyone currently working with more access than they actually need?
You don't need to have all the answers yet. But by the end of this section, you'll have a clear framework for mapping your team to the right roles, and a concrete plan for setting them up.
Ready to dive in?
Next up, we'll see how Workspace seats and roles work in practice with a full UI walkthrough.