Get started
Set up and plan
Train the team
Build your site
Prepare to launch
Follow these steps from the beginning or jump to the one you need. Your team can work on several stages at once, and teammates will use different parts of this guide at different times.
1Get started
All roles
Get started
Learn what onboarding involves, know where to get help, and confirm your team’s initial site setup.
Watch the Enterprise orientation
See what onboarding involves, which resources and support are available, and where to focus in your first month.
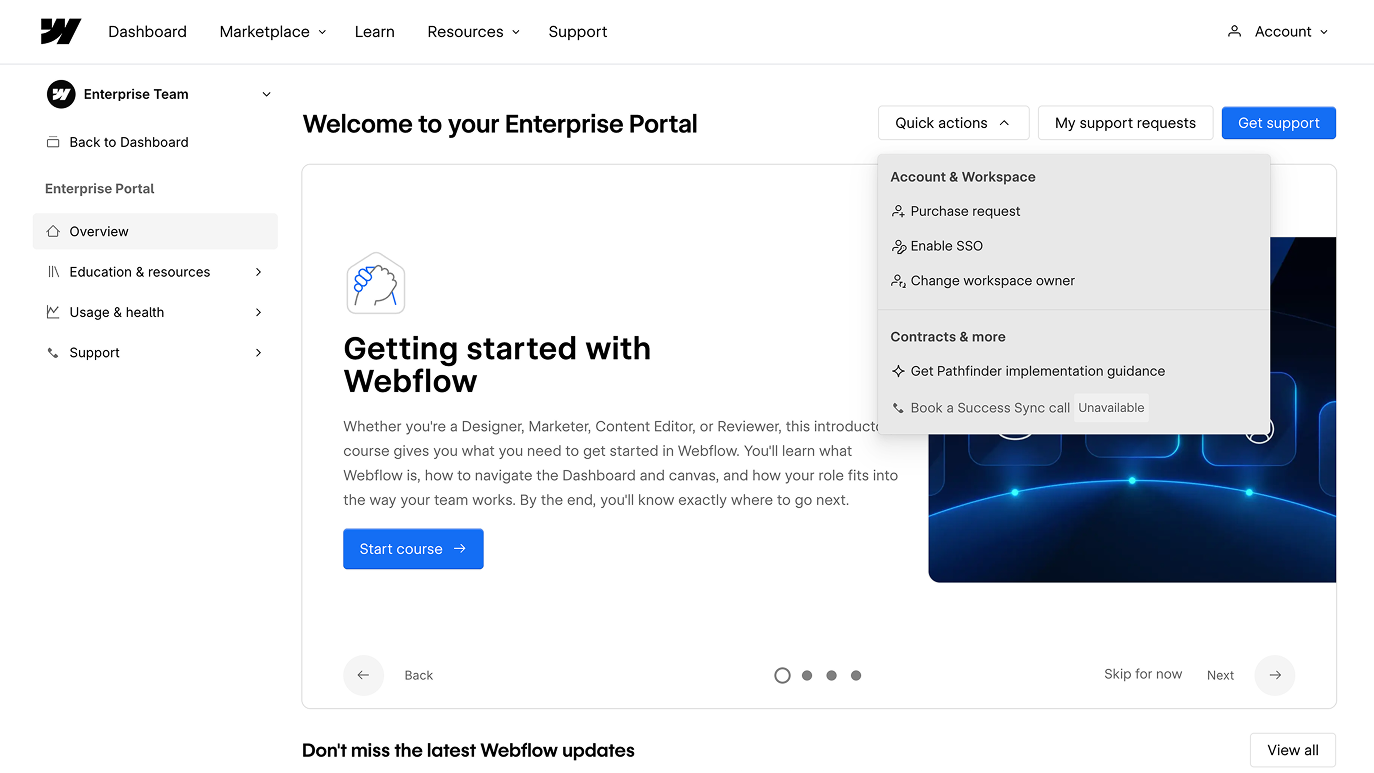
Bookmark the Enterprise Support Portal
The Enterprise Support Portal is your starting point for support and account requests, and the services available to your team.
Add your site and complete Enterprise setup
Your team needs to add a site before Webflow can apply its Enterprise Site plan. If you’re starting fresh, create the site now so Support can complete setup. You can plan and build it in the stages that follow.
- Access your Enterprise Workspace. Look for an email confirming your Workspace has been provisioned and is ready for you to access. For first-time access, sign in or create a new account using the same email address. Confirm your Workspace is configured with your chosen plan and add-ons.
- Add your site if it isn’t there yet. Create a new site for your build or migration. If you have an existing Webflow site in a different Workspace, reach out to your account team or Support to get it transferred.
- Review your initial site configuration. Before you plan your build, review the site name, description, and settings.
Refer back to these instructions in this Help Center article:
Get familiar with your resources
Use these resources throughout onboarding. Each one serves a different purpose.
Webflow University
Courses, videos, resources, and learning paths to build your skills.
Help Center
Product instructions and troubleshooting.
The Webflow Way
Recommended approaches and best practices for working in Webflow.
Developer hub
Technical guidance for APIs, integrations, and developer workflows.
Build & launch checklist
Detailed tasks for setup, building, and launch.
Pathfinder
Personalized guidance for planning your implementation.
Confirm you’ve added a site for your team to move into and that it’s provisioned with your Enterprise site plan and features. Identify any needed site setup and who is handling it.
2Set up and plan
Project leadWorkspace admin
Set up and plan
Plan how your team will work, what your site needs, and who will help bring it together. Involve the people responsible for design, content, IT, and connected systems.
Set up team access
Map out who will build, manage content, review changes, and publish. Match each person’s seat, role, and access to those responsibilities.
Need custom roles? Use the Custom Role Configuration Tool to help plan permissions. Then invite teammates to the appropriate Workspace and sites and assign their access.
Plan for AI agents
Teams can scale their work with AI agents in Webflow during implementation and beyond. Decide what they’ll help with, who will manage their access, and who will review their work. Include any setup needs or dependencies in your implementation plan.
Explore our learning path for guidance:

Define your project scope
Review your sitemap and project goals with your team. Consider these decisions:
- What’s changing? Identify the pages, content, designs, and functionality you’ll keep, change, remove, or create.
- What belongs in the first launch? Agree on what needs to be ready and what can follow later.
- When does it need to launch? Note your target date and whether it’s fixed or flexible.
Identify requirements
Note the requirements and open questions that could affect your plan:
- CMS: What content types and relationships does your site need? What existing content will you migrate?
- Design system: Which shared styles, components, and layouts do you already have? What needs to be created or adapted?
- Integrations: Which systems need to connect to your site? What information will they exchange, and who owns those systems?
- SEO and AEO: What search requirements should guide your content and site structure? If you’re migrating, which existing URLs need to be preserved or redirected?
You don’t need every answer yet. Capture the decisions and questions to bring into planning.
Optional learning




Develop your implementation plan
Bring your scope, requirements, and questions to Pathfinder for personalized implementation guidance. Use it to explore your approach and identify next steps.
Agree on milestones and owners. Allow time for training, design, building, migration, integrations, review, and launch preparation as needed. Share your target launch date and dependencies with your Webflow contact, where applicable.
Confirm which site your team will move into and who is handling any remaining setup. Planning and learning can begin while that work is coordinated.
3Train the team
All roles
Train the team
Give teammates time to learn before they need to contribute. Choose learning for the work each person will do, and build it into your project timeline.
Explore the recommended learning for your responsibilities and access. If your work spans multiple roles, you may find more than one resource helpful.
If agents are part of your plan, choose who will connect them, what work they can support, and how the team will review their changes.
Each teammate knows which learning to start with and when they’ll need those skills. Continue learning as the build progresses.
4Build your site
DesignersDevelopersMarketers
Build your site
Put your plan into practice. Establish your shared foundations, then use them to build pages, content, and connected functionality. Test a small sample before expanding the build.
Prepare for the build
Gather the styles, layouts, assets, and component designs your builders need. Agree on how layouts and interactions should work across screen sizes.
Review Design handoff in the Build & launch checklist to confirm your designs are ready for the build.
Build your design system in Webflow
Create or adapt the variables, classes, components, and style guide your team will use. Test them in representative layouts for accessibility, responsive behavior, and different content lengths before building out the rest of the site.

Use the design system checklist to guide the work and identify what still needs attention.
Prepare for testing and measurement
If your team plans to use Webflow Optimize or Analyze, include setup in your build. Review Optimize’s build requirements before finalizing components and page structures. Agree on what you’ll measure, assign setup owners, and configure tracking and consent settings before launch.
Build pages, content, and functionality
- Set up your CMS structure and content. Create the Collections and connections in your plan. Test a sample of migrated or new content before adding the rest.
- Build pages with your shared foundations. Include static pages, Collection page templates, and utility pages. Follow your planned URLs and check layouts across screen sizes.
- Connect the required systems. Test forms, integrations, tracking, and consent behavior with the people responsible for those systems.
- Apply accessibility and search requirements as you build. Check content structure, navigation, media, metadata, and redirects for changed URLs.
Work through Site build in the Build & launch checklist. Include any additional requirements from your organization.
The agreed launch scope is built, sample content and connected workflows have been tested, and remaining issues have owners. Continue resolving them during launch review.
5Prepare to launch
Project lead
Prepare to launch
Review your site, resolve launch-blocking issues, and coordinate go-live with your team. Start these checks early enough to leave time for fixes.

Review your staged site
Publish to your staging environment and review content and links, layouts across screen sizes, accessibility, performance, and SEO and AEO requirements. Test forms, integrations, consent settings, and tracking with the people responsible for them.
Record issues and assign owners. After fixes, repeat the affected checks and confirm that anything blocking launch has been resolved.
Review the Pre-launch section of the Build & launch checklist.
Coordinate domains and go-live plan
Confirm who will update domain settings, publish the site, and approve launch. Agree on the timing of changes, any expected downtime, and what the team will do if something goes wrong.
Review the Launch section of the Build & launch checklist.
Plan the first checks after launch
Assign someone to check important pages, redirects, forms, integrations, and tracking on the live site. Decide what results you’ll monitor, who will review them, and when.
Want to understand your visibility in AI search? Explore the AEO analytics overview to help decide what to monitor.
If you’re using Analyze or Optimize, confirm that tracking, consent settings, and goals are ready for launch. For Analyze, review how to set up site goals. Agree on when you’ll review results and use them to plan improvements.
Validate that your team has completed its checks, resolved any launch-blocking issues, and agreed on go-live and follow-up.
Launch your site
Publish to your production domain when your team is ready. Then, work through the live-site checks you planned before launch.
Congratulations, your new Webflow site is live!
You’ve published, now what?
Use what you learn from your live site to plan improvements and keep developing your team’s skills. These resources can help with your next steps.
Monitor site performance. Use Pathfinder to help plan what to work on next.
Run Enterprise Health Checks for focused guidance on your site after launch.
Find videos on new and advanced topics, from interactions to Webflow Cloud.
Use your team’s ten free certification exam vouchers and earn a verified credential.