Troubleshoot a deployment
When an app doesn't behave as expected, the deployment status and logs can help you narrow down where to look.
Before changing code or settings, find out how far the new version got. That will tell you where to look next.
Start with the status
Open the app's environment in Webflow Cloud and find the deployment connected to your latest change. Confirm that it shows the GitHub commit and branch you expected.
From there, the problem usually falls into one of three paths:
- No deployment started: Webflow Cloud may not have received the change from the connected GitHub branch.
- The deployment failed: Something went wrong while Cloud was preparing or deploying the app.
- The deployment succeeded: The problem is happening when someone opens or uses the live app.
If a deployment fails, the environment continues running its most recent successful version. The failed update doesn't replace the working version. Review how Webflow Cloud tracks and manages deployments.
Use the right logs
Webflow Cloud provides two kinds of logs. The one you need depends on where the problem happened.
Build logs
Show how Webflow Cloud detected the project, installed its packages, prepared its configuration, built the app, and deployed the new version. Check these when a deployment fails.
Runtime logs
Show server-side activity after deployment, including function execution, console messages, errors, and exceptions. Check these when the app deployed but its server-side behavior isn't working.
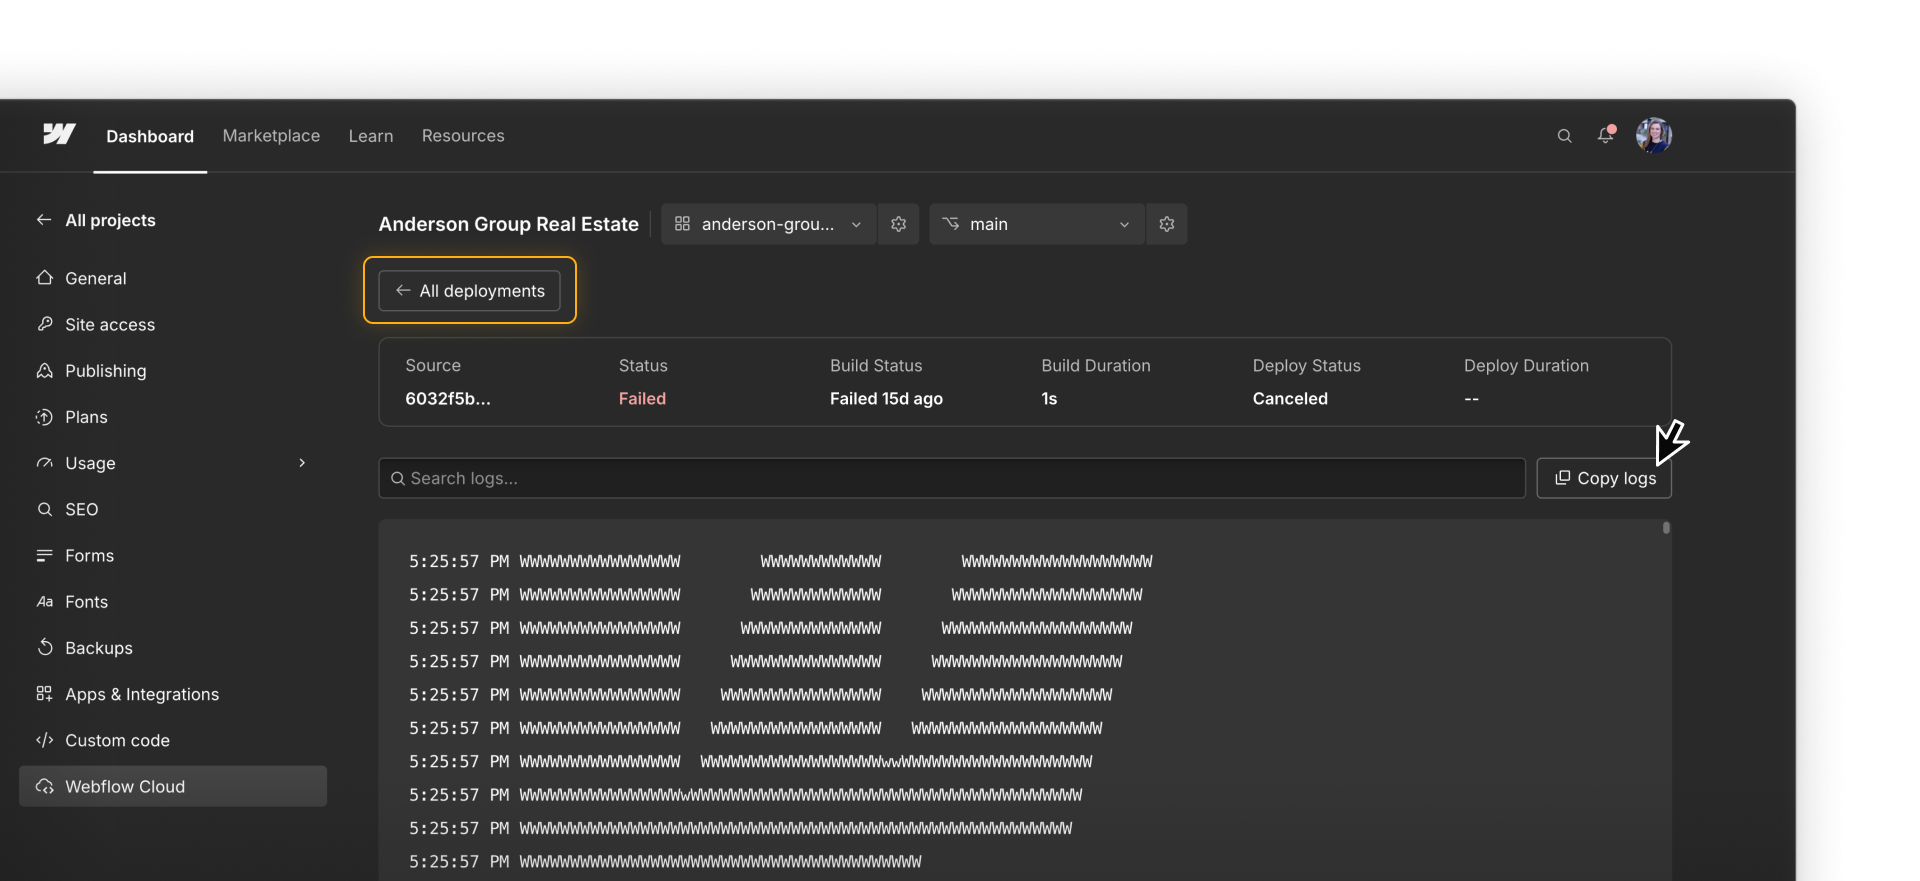
Build logs belong to a specific deployment. Open Deployments and select its source commit to see the log, along with the build and deploy status.
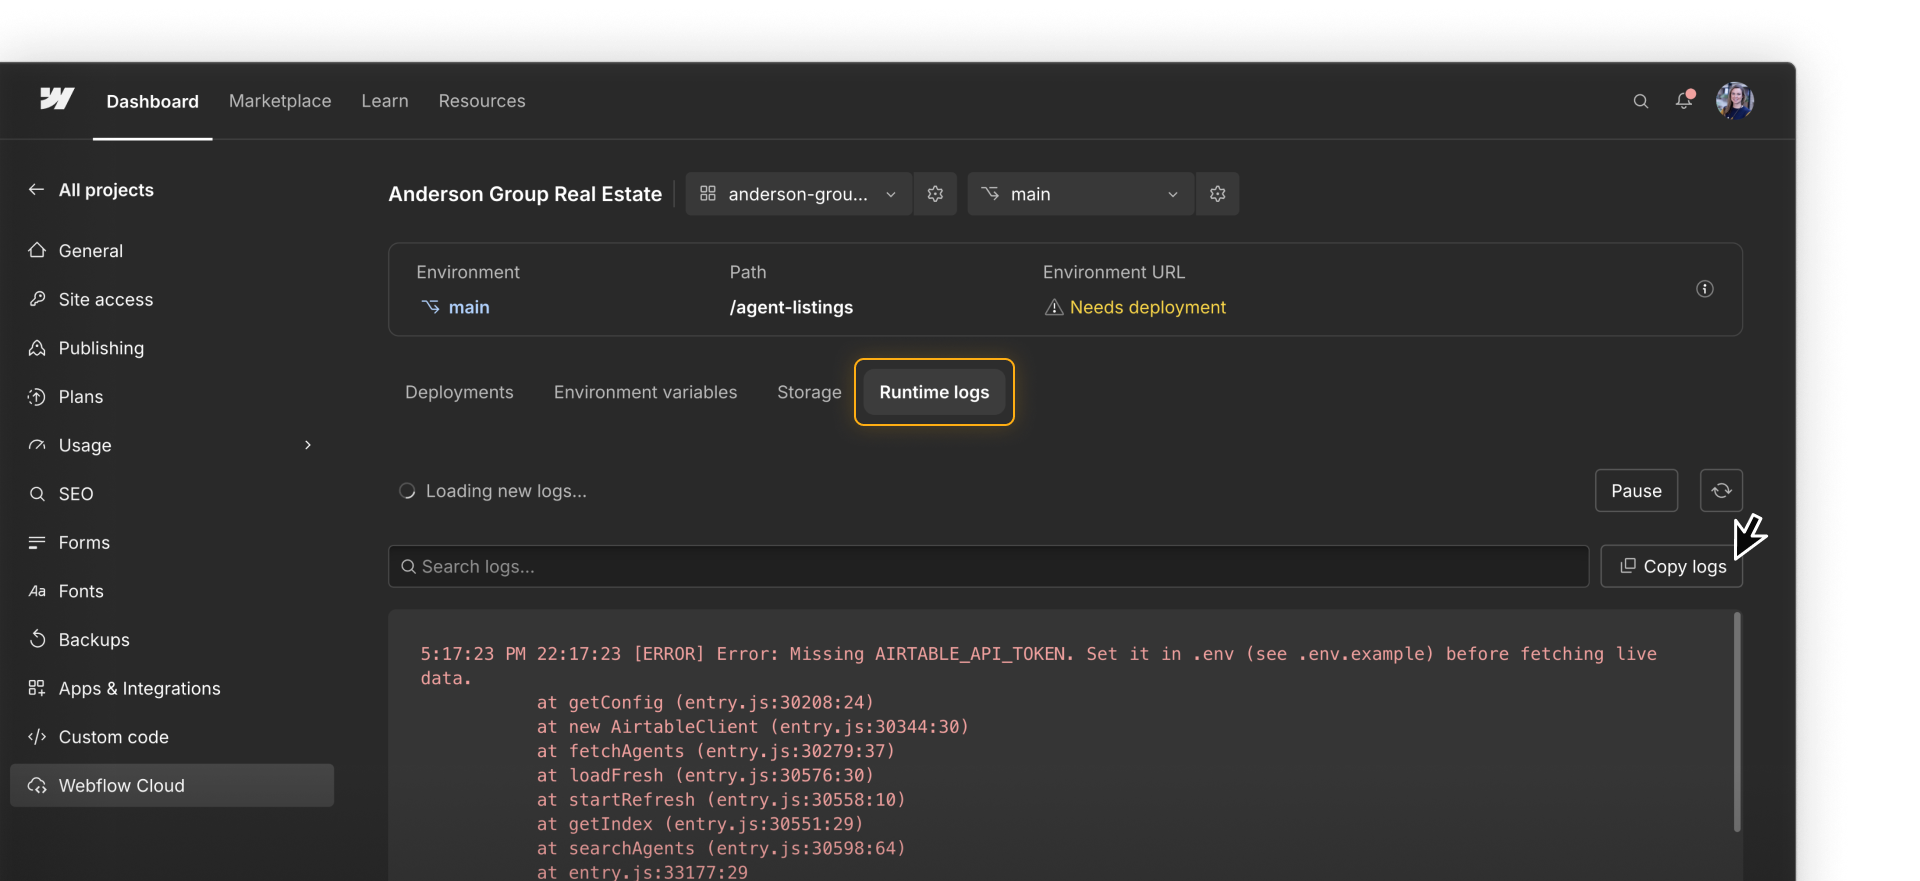
Open the environment’s Runtime logs tab to see what went wrong. Here, the listings page can’t load Airtable records because AIRTABLE_API_TOKEN is missing. Add the secret, then redeploy.
Runtime logs only show activity that reaches the app's server-side code. For problems in the browser, use the Console to check client-side errors or the Network panel to inspect a failed request.
Troubleshoot with a connected agent
If your coding agent is connected to Webflow through MCP, it can inspect the app and environment, check a deployment’s status, and read its build or runtime logs directly. You can keep the investigation in the same conversation instead of copying the log into the agent.
Start by asking the agent to explain the evidence and suggest a fix before it changes code or deploys. For example:
Check the latest deployment for [app environment]. Tell me whether it succeeded. Read the relevant logs, identify the first meaningful error, and propose one fix. Don’t change code or redeploy until I approve.
After you review the proposed fix, the agent can deploy the connected branch’s latest commit or redeploy an earlier commit.
Build and runtime logs returned through MCP aren’t sanitized and may contain secrets. Avoid writing credentials or private customer information to logs, and only give log access to an agent you trust.
Follow the evidence
Once you know where the problem happened, focus your troubleshooting on that part of the workflow.
No deployment started
Start by checking whether Webflow Cloud received the change from GitHub. For example, you may have pushed the change to a different branch than the one connected to the environment. Confirm which branch contains the change, then check that Webflow Cloud still has access to the repository.
The deployment failed
Use the build log to find the requirement Cloud couldn’t meet while preparing the app. For example, package.json may specify an Astro version that Webflow Cloud doesn’t support. Follow the first message that names a specific file, package, version, variable, or setting.
The live app fails
An app that fails live after successfully deploying means something is happening while the app runs. For example, the agent directory may open, but its Airtable records don’t load because AIRTABLE_API_TOKEN is missing. Reproduce the problem, then check runtime logs, the Console, or the Network panel for the clearest evidence.
Make one isolated change, push it to the connected branch, and check the next deployment. If the error changes, follow the new evidence instead of changing unrelated settings.
Ready for more?
Continue to the next lesson to explore how a Cloud app can work with external data.