Get your app ready to deploy
After you decide Webflow Cloud is a fit, you need an app that Cloud can build and run.
However your app was created, you'll need access to its code and a way to test it. You can manage that work yourself, use an AI agent to help, or work with a teammate who can.
See how the pieces connect
While you're working on an app, it usually runs locally on your computer. To deploy an existing app from the Webflow Dashboard, its code needs to live in a GitHub repository that Webflow Cloud can access.
Cloud reads the selected repository and branch, builds the app, and hosts the result. If you begin with a Webflow Cloud starter template, the deployment wizard creates the GitHub repository for you.
.png)
Check your project
An app can work on your computer and still depend on something Webflow Cloud can't support. Check the app, its repository, and its ongoing ownership before you deploy.
Webflow Cloud currently supports Astro, Next.js, Vite, and static apps. Projects also need to use Node.js and npm. Supported versions and requirements can change, so compare your project with the current Webflow Cloud app requirements before deployment.
Check the app
- Run the app locally and test its main features
- Confirm that its production build finishes without errors. In many projects, you can test this with npm run build
- Review any server-side code and third-party packages for compatibility with the Webflow Cloud environment
Prepare the repository
- Confirm that the version you want to deploy is in GitHub and identify the branch containing it
- If the repository contains multiple projects, identify the app root. This is usually the folder containing package.json
- Keep API keys and other private values out of the repository. If the app uses a local .env file, make sure Git ignores it
Plan for maintenance
If you're used to updating a Webflow site, you might expect to make a change and publish it from Webflow. Updates to a GitHub-connected Cloud app work differently. Bug fixes, dependency updates, and new features must be committed and pushed to the connected branch in GitHub, which starts a new deployment.
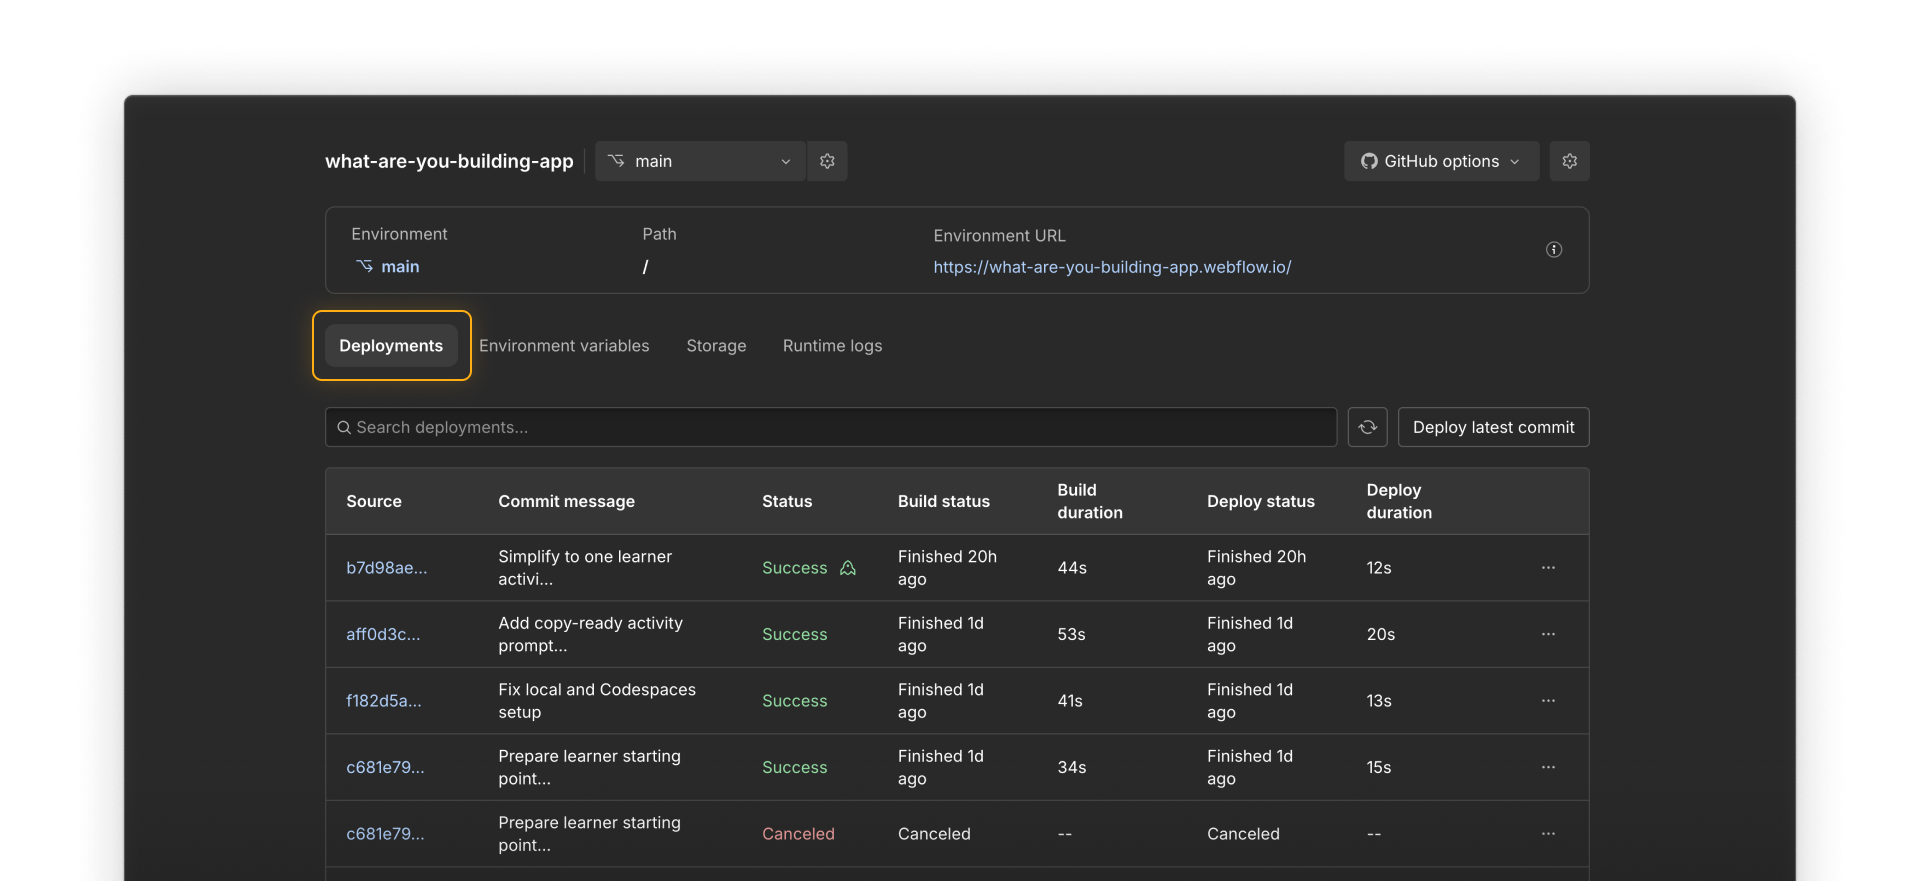
Decide who will manage that workflow, test each deployment, and maintain the app after launch.
Choose where it lives
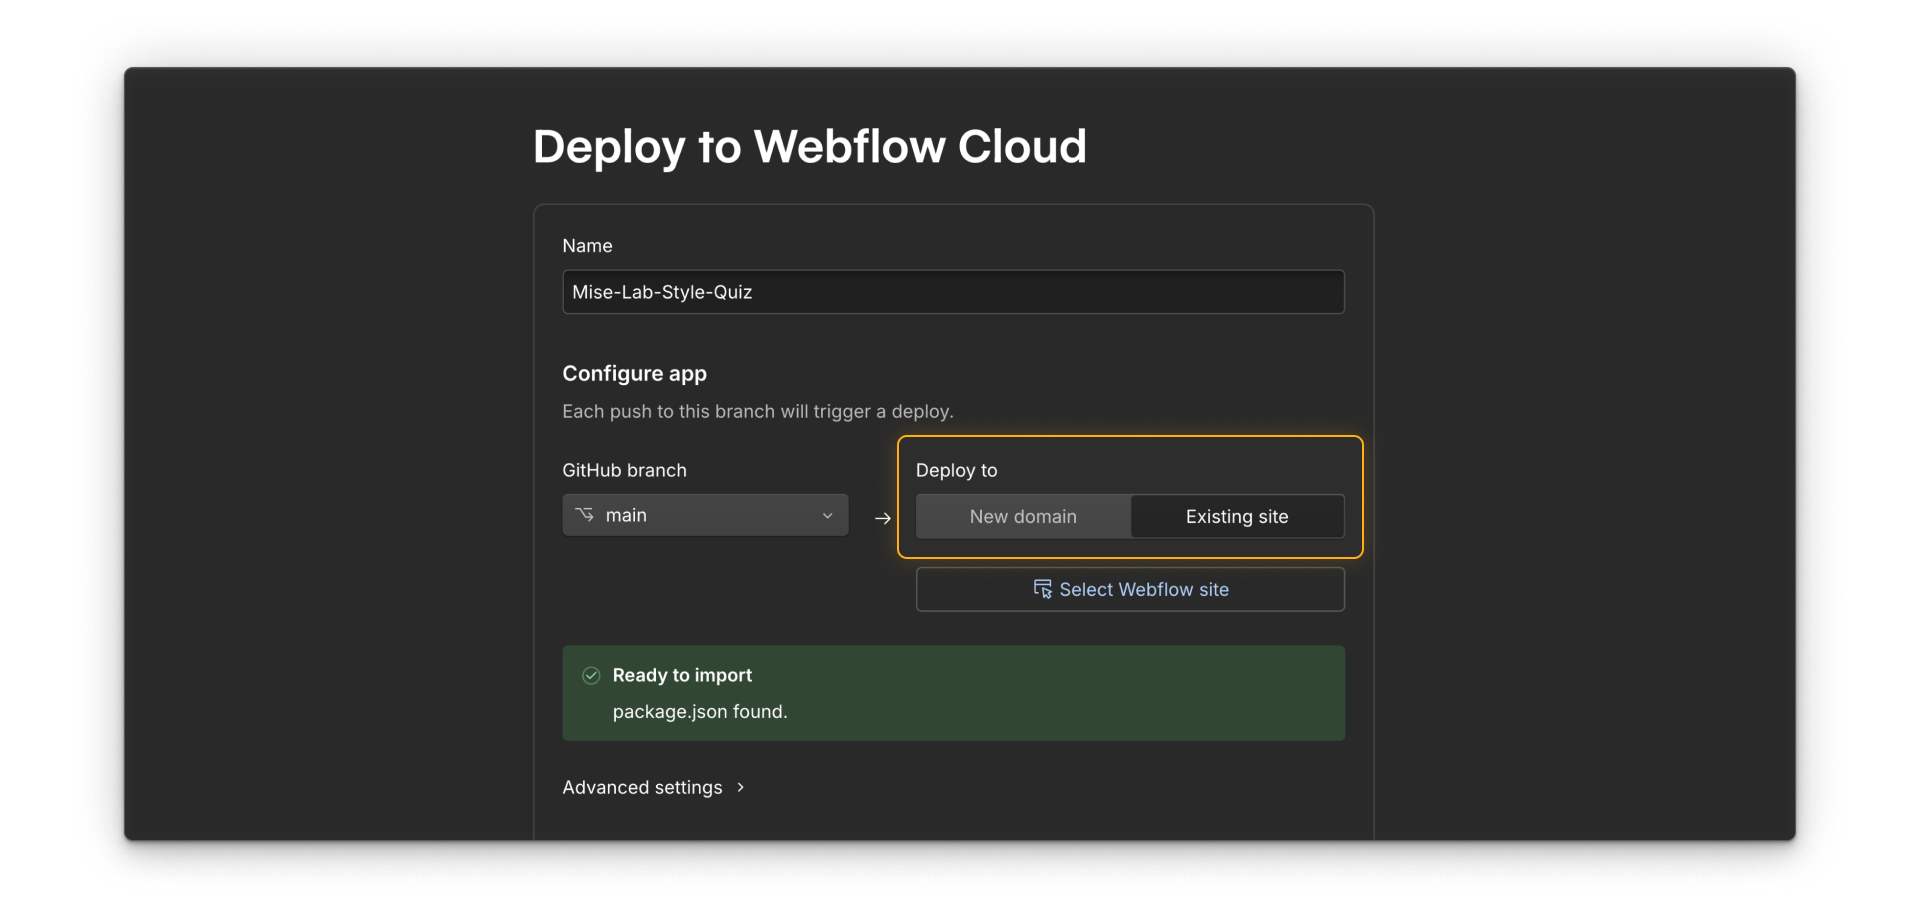
Before you deploy, decide whether the app belongs alongside an existing Webflow site or on its own.
Alongside a Webflow site
Choose Existing site when the app extends a Webflow site. You'll give it a mount path, which is the part of the site's URL where the app appears. For example, a property listings app could appear at /listings.
The site and app can share a domain, but they are still built and published separately.
As a standalone app
Choose New domain when the app is the main experience and doesn't need a parent Webflow site. For example, a 3D model viewer could run as the complete experience on its own custom domain.
Reuse your Webflow components
An app mounted alongside a Webflow site doesn't automatically inherit the site's navigation, footer, styles, or components.
DevLink Export turns selected Webflow components into React components that can be added to an app's codebase. This makes it an option for apps that can use React components, including Next.js apps, Vite projects using React, and Astro projects configured with React integration.
DevLink exports selected components and their supporting styles, not an entire Webflow site. It also doesn't create a live connection. When a component changes in Webflow, you'll need to export it again and redeploy the updated app.
.png)
Review the current DevLink Export requirements before using it.
Ready to continue?
Continue to the next lesson to deploy an app to Webflow Cloud.