Practice deploying an app
Getting an app online is one milestone. The next is knowing how to return to the code, make a change, and send the updated version live.
This activity lets you practice that workflow with a working starter, so you won't need to build the app from scratch.
What you'll do
The activity follows a sequence you can use for future Webflow Cloud projects:
- Copy a GitHub repo template and deploy a starter app.
- Open the repository and launch a coding agent from its root folder.
- Use the agent to make a focused improvement to the app.
- Test and review the change locally.
- Push the update and verify the new Webflow Cloud deployment.
The walkthrough uses Claude Code, but the workflow works with any AI coding agent, whether it runs in the terminal, in a desktop app, or in your IDE. Open it at the repository root so it can inspect and update the project.
Prefer to work manually? If you're comfortable reading and editing project code, use the README.md, the ACTIVITY STARTER comments in src/pages/index.astro, and the prepared styles in learner-resources/results-styles.css. The guided route uses a coding agent so you can focus on testing and deploying the change rather than writing every line yourself.
How to get started
1. Watch the walkthrough video
2. Open the activity guide
Keep the activity guide open while you work. It contains the exact setup steps, copy-ready prompt, testing checklist, commit commands, and deployment checks.
If you prefer GitHub Codespaces or manual editing, check the repository's README.md for other setup and troubleshooting guidance.
Tip. If you'd like more guidance as you work, attach the activity guide to your connected coding agent and ask: “Read this guide, then walk me through the activity one step at a time. Pause after each step so I can complete it and ask questions before we continue.”
3. Clone the starter app repo
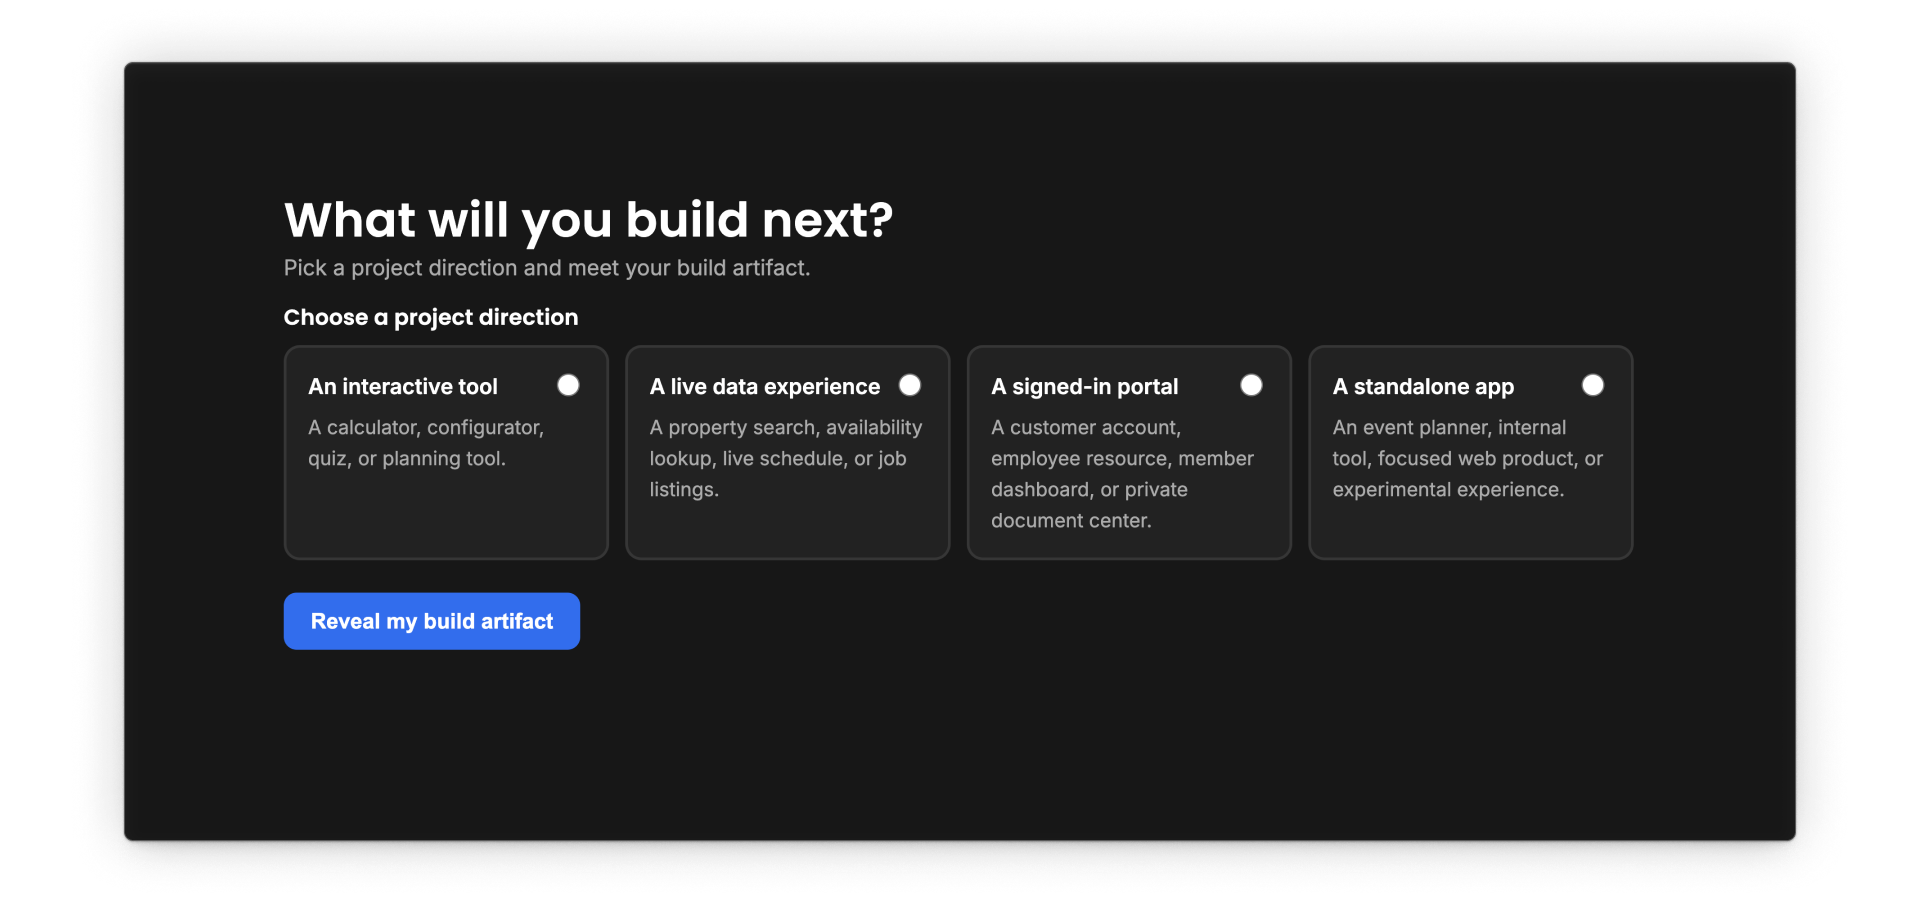
The starter is already a functioning Webflow Cloud app set up in a GitHub repo. Once deployed, you'll see a short quiz that asks what you might build next, reveals a matching build artifact, and stores shared responses in a Webflow Cloud SQLite database.
The repository includes the application code, deployment setup, database, and sample responses. Your task is to deploy it, then improve how the shared results appear by adding visual percentage bars and labels.
What you'll need
Here are a few things you'll need to get started:
- Permission to create a Webflow Cloud app and connect GitHub
- A way to clone and push changes to the repository
- The Node.js and npm versions specified in the starter's README
- A configured terminal coding agent or a code editor for the manual route
This activity uses a standalone Webflow Cloud app, so you don't need to create or prepare an existing Webflow site. When you deploy the starter, Webflow Cloud gives the app its own webflow.io domain.
No paid Site plan required. The free Starter plan includes Webflow Cloud app hosting and a webflow.io domain, which is enough to complete this activity.
Ready to try?
Open the activity guide and complete the workflow. When you've verified the updated app in Webflow Cloud, continue to the next lesson to see how to troubleshoot a deployment.