Seats, roles, & permissions
How Webflow organizes people and permissions
When you add someone to Webflow, their access is shaped by three things:
Workspace seat
Determines the level of access they can be given and which roles are available to them.
Workspace role
Controls what they can manage across the Workspace.
Site role
Controls what they can do on a specific site.
Think of them as layers: The seat sets the range of roles available, the Workspace role sets their Workspace-level permissions, and the Site role fine-tunes what they can do on each site.
That means the order matters: seat first, then Workspace role, then Site role.
If your team uses SSO with SCIM or JIT provisioning, teammates can be added to your Webflow Workspace through your identity provider. However, their Webflow roles still need to be assigned separately in Webflow.
Workspace seats
Your Workspace includes one Full seat for the Workspace Owner. For everyone else you want to collaborate with, you can add the seat type that matches the level of access they need.
Choose the lightest seat that still gives someone what they need to do their job.
Full seat
The highest tier of access across the seat types, unlocking the broadest range of abilities.
Full seats support the Admin, Site Manager, and Designer roles. Reserve them for people who genuinely need to build, design, or manage settings, like your Designers or Developers.
Note: The Workspace Owner automatically occupies a Full seat and has the Admin role.
Limited seat
A lighter-weight seat for people who need to build pages or edit content, but don't need full design or admin access.
Covers the Marketer role (building with components and pre-designed templates) and the Content Editor role (editing text, images, and CMS content). Assigning a Limited seat instead of a Full seat to someone who only needs to edit content frees up your Full seats for the people who actually need them.
Free seat
Doesn't count against your paid seat allotment at all.
Covers the Reviewer role only, for people who just need to view a site, leave comments, or offer approvals, like someone from Legal or a Brand Manager checking in occasionally. If someone's job is purely feedback, a Free seat gets them what they need at no cost.
Guest seat
For agencies or freelancers you hire to help manage your site.
Guest access lets them join your Workspace for free, so they can work on your sites without consuming your Workspace seats. These providers must already have their own Freelancer or Agency workspace in Webflow in order to join your Workspace as a guest.
If you don't see a role you expected to assign, check the seat type first. The seat you chose determines which roles are available.
Workspace roles: your default role across sites
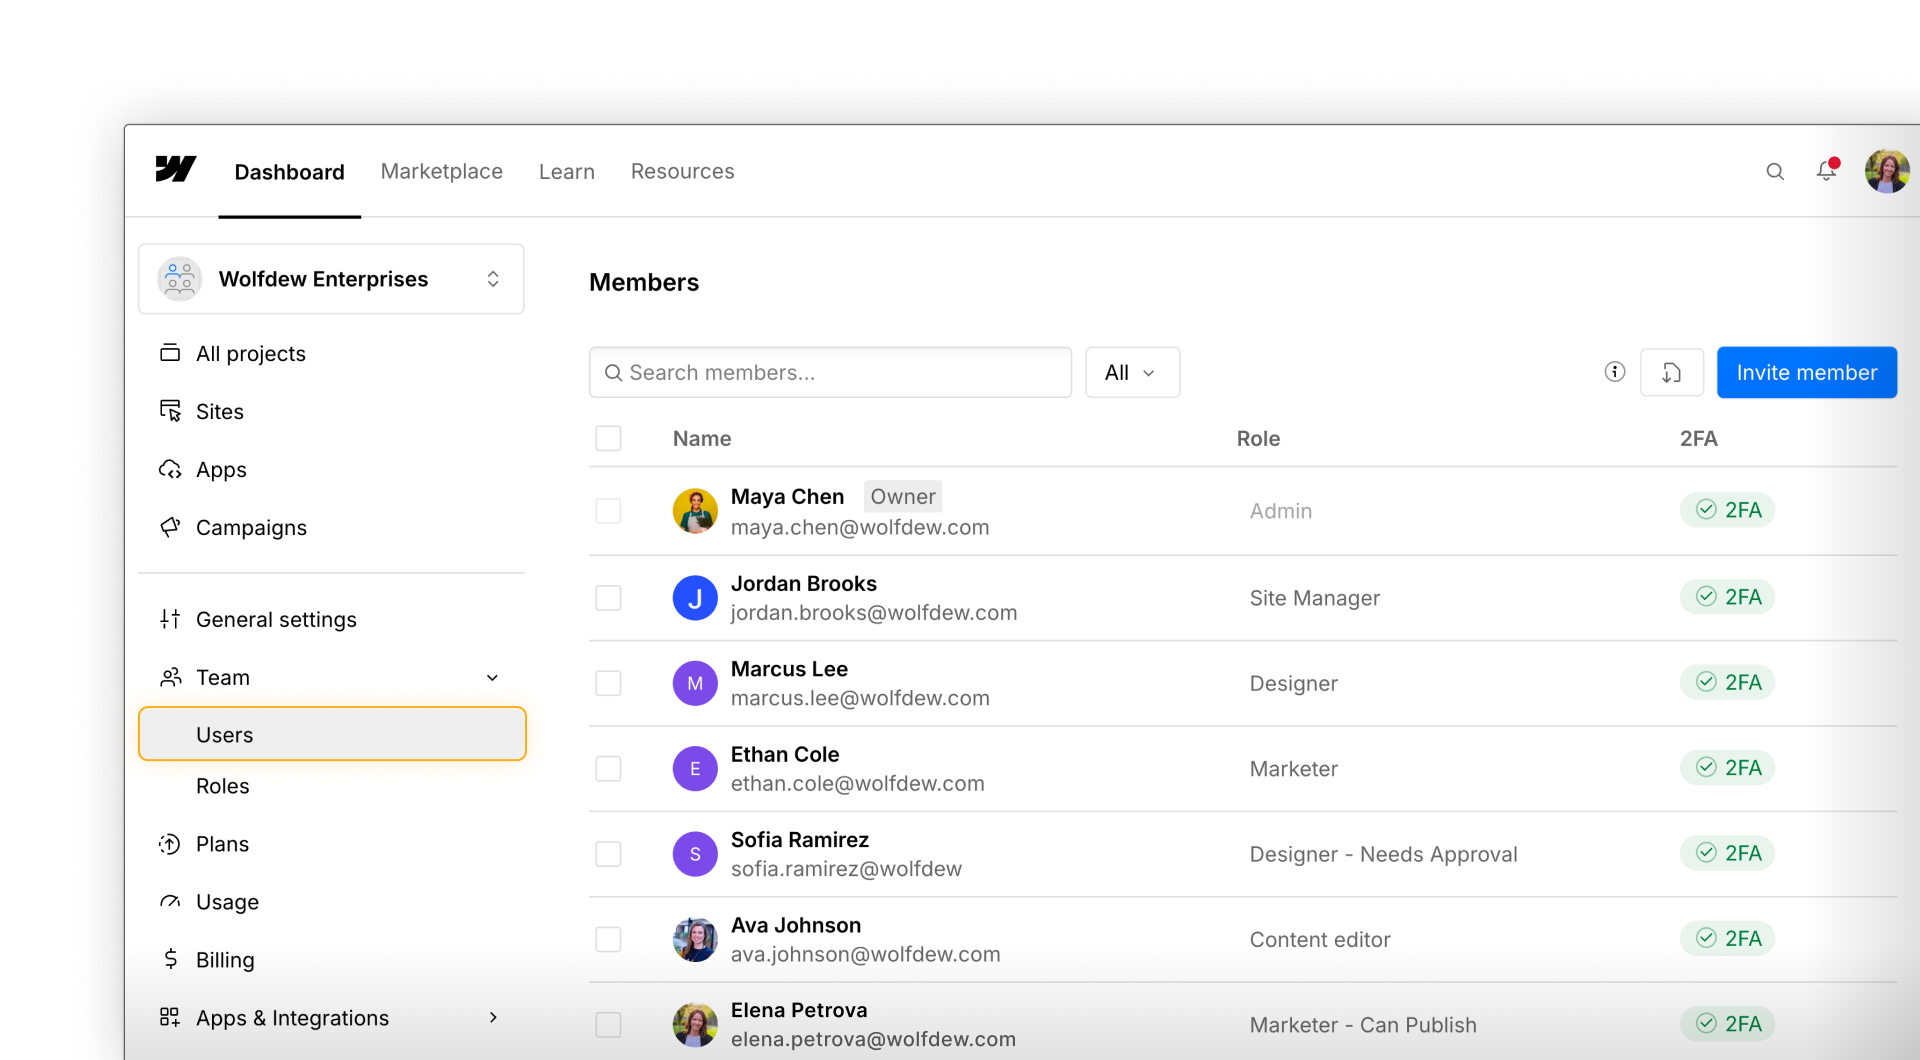
Once you’ve chosen a seat, you assign a Workspace role. A Workspace role does two things:
- Sets your default Site role across the sites you can access
- Controls Workspace-level permissions, when needed
For most teammates, the first point is the important one. A teammate assigned the Designer role at the Workspace level is given the Designer role on all sites by default, a teammate assigned the Marketer role at the Workspace level is given the Marketer role on all sites by default, etc.
Workspace-level permissions matter mainly for people managing the Workspace itself. If someone needs to manage settings, billing, or members across the Workspace, give them the Admin role.
Site roles: fine-tuning access per site
A Site role controls what someone can do on a specific site.
By default, it matches the Site role set by their Workspace role. You can then change it site by site when someone needs different access.
Site Manager is the highest level of site-specific access. It’s for teammates who need to manage site settings and have full design access across the site.
Below that, there are four core Site roles you’ll use most often:
Designer
Full design and build access — components, styles, pages, the whole canvas.
Marketer
Can build and edit pages using existing components and pre-made page templates, without full design access.
Content editor
Can update text, images, and CMS content, without page-building access.
Reviewer
Can view the site and leave comments, with no editing access at all.
We'll see each of these in action in the next video, and you can always come back to these quick guides later to share with your team.
Need a different role on one site?
On supported Workspace plans, you can override someone’s default Site role on an individual site, as long as their seat type supports it.
For example, someone with a Limited seat could be a Marketer by default and a Content Editor on one site, but they couldn’t be assigned Designer because Designer requires a Full seat.
Ready to continue?
You now know how seat type, Workspace roles, and Site roles work together, and what each of the four default roles covers. Next, we'll see this in action, starting with how seats and roles work at the Workspace level.