Add & manage locales
Set up your primary locale first
When you first enable Localization in your Webflow project, your primary locale becomes the foundation for everything you build. It defines your site’s default language, design, and content.
All additional locales (i.e. secondary locales) inherit everything from the primary by default, so you can localize what’s needed without rebuilding your entire site.
Add new locales to reach new audiences
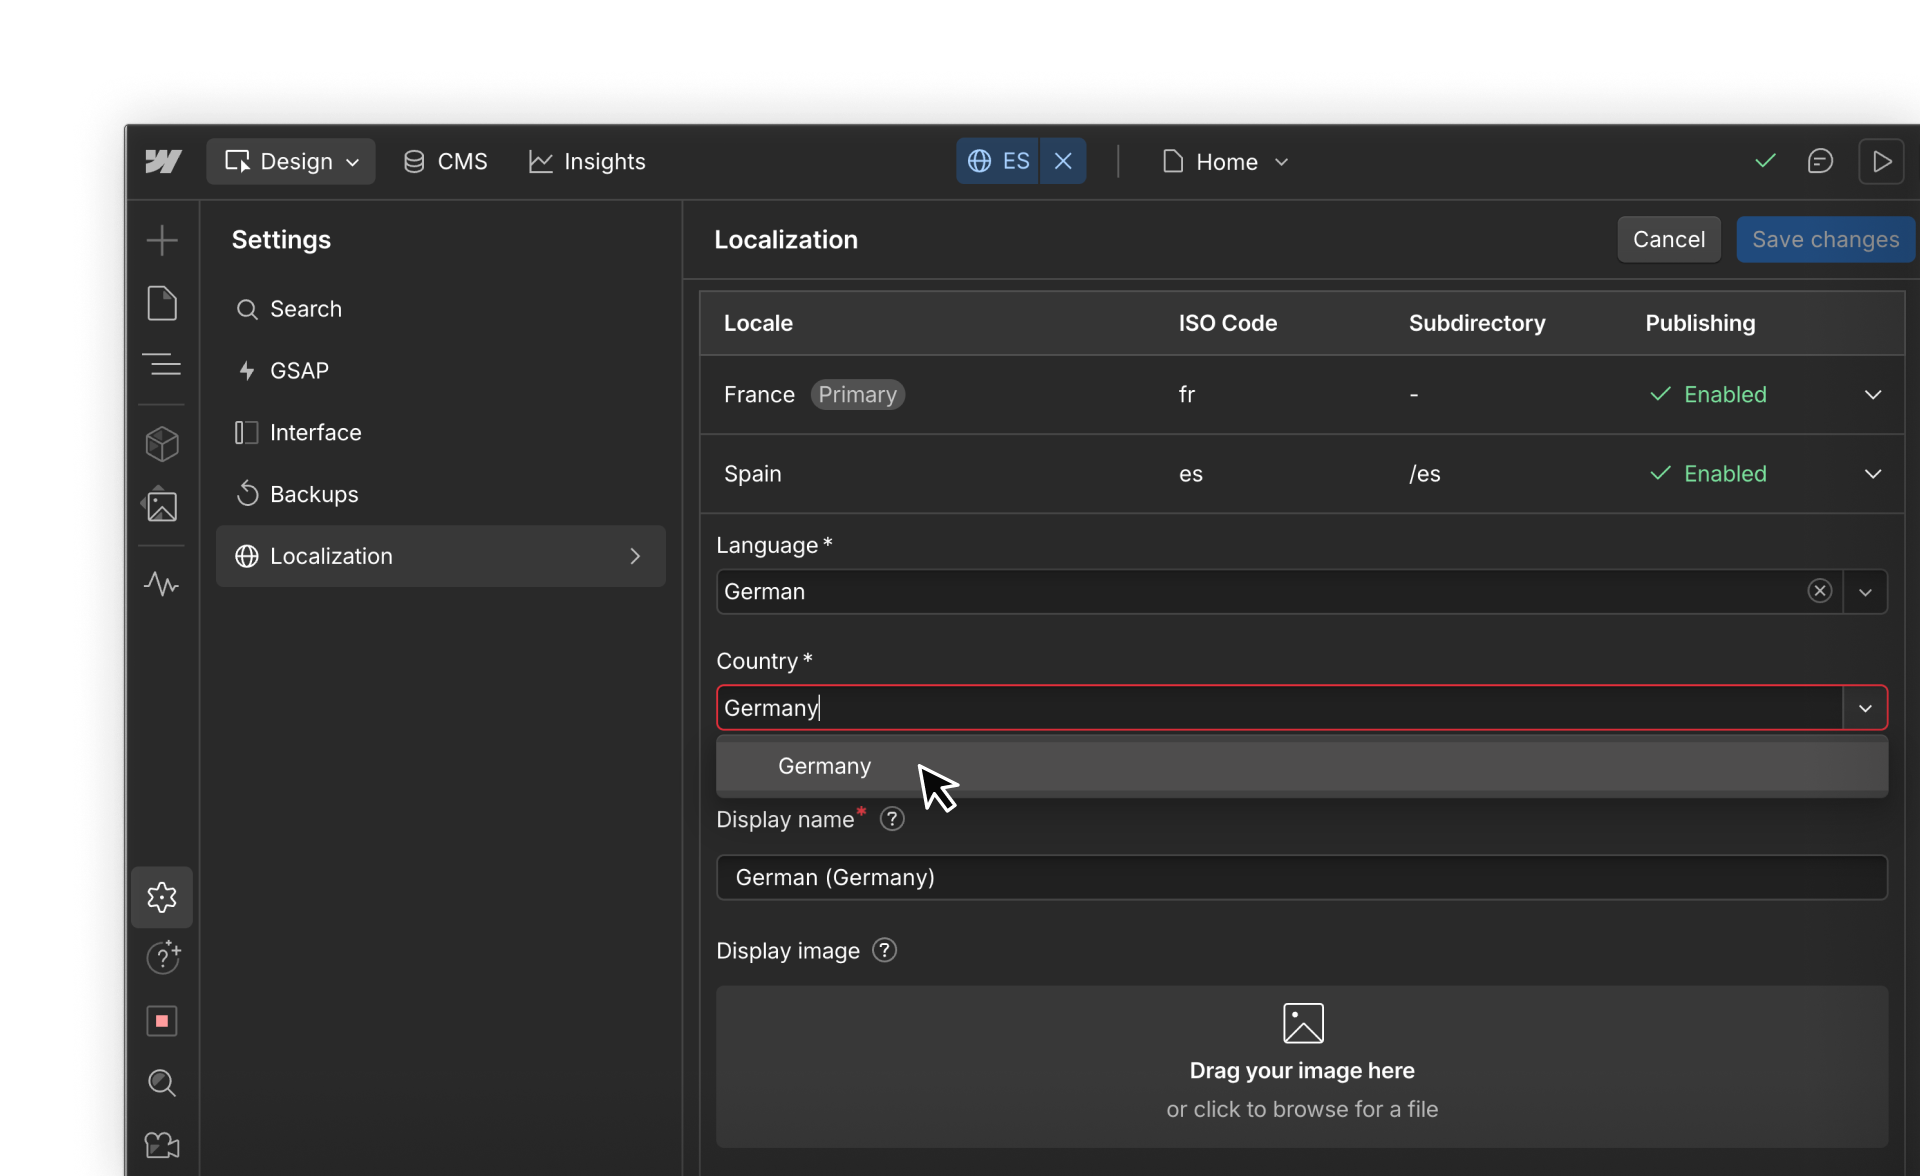
To add a locale, open your Project Settings → Localization tab, then select Add new locale. You can search for a language, choose a region, assign a display name and flag, and Webflow automatically creates a subdirectory (like /es-mx/).
That subdirectory is how each version of your site is distinguished online. For example:
- English (United States): root domain → mywebsite.com
- Spanish (Mexico): subdirectory → mywebsite.com/es-mx/
- French (France): subdirectory → mywebsite.com/fr/
How inheritance works
Each secondary locale starts as a copy of your primary locale. Content and design are inherited automatically.
Any changes you make in a secondary locale like translated text, swapped images, or updated metadata apply only to that locale. The primary locale remains unchanged.
If you ever want to re-sync a localized element back to its inherited state, right-click and select Reset to original.
.png)
Managing locales as your site grows
As your site expands, managing locales thoughtfully helps keep your workflow organized and scalable:
- Start simple: If you’re just beginning global expansion, a language-only locale like /es/ might be sufficient.
- Get specific where needed: As content becomes more market-tailored, use region-specific locales like /es-mx/ for regional content differences in Mexico.
- Be consistent: Follow ISO conventions for folder naming unless transcreation requires a branded or simplified variation.
- Plan ahead: Even if you’re only supporting one region now, defining locales precisely helps scale in the future without rework.
Example: You might start with /es/ for Spanish, and later add /es-mx/ for regional content differences in Mexico.
Feeling good?
You’ve now set up your locales and understand how inheritance works. Next, let’s explore how to translate and adapt your content — whether you do it manually, automatically, or through connected tools.