Staging & publishing best practices
Using Webflow Enterprise? Watch this video to learn how staging and publishing works for Enterprise plans.
Use Webflow’s publishing tools with confidence
You’ve optimized your site and set up your domains — now it’s time to publish. But before you go live, let’s talk about how to make the most of staging, preview, and publishing tools in Webflow.
Preview before you publish
As you build your site, use preview mode (the play button in the top left) to test how things look and function directly in Webflow. You can check layout, responsiveness, interactions, and animations before publishing anything.
.png)
Preview mode is fast — but staging takes it a step further.
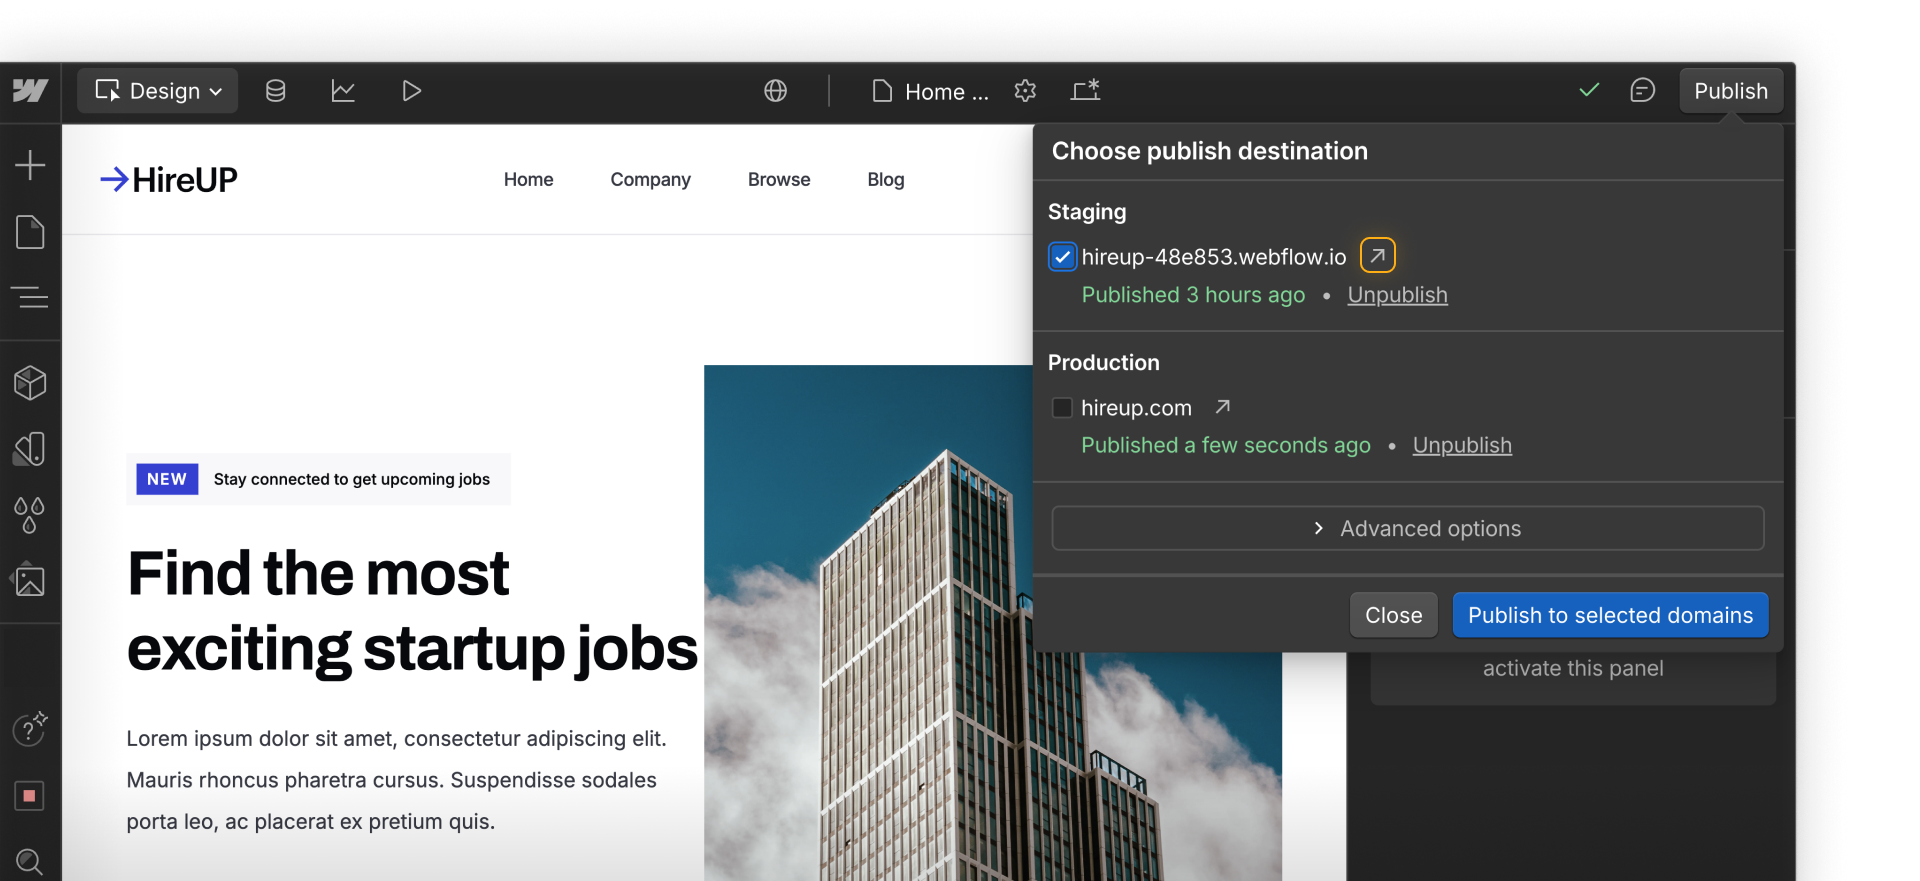
Use staging to test and refine
Publishing to staging creates a draft version of your site on your Webflow.io domain. This gives you a safe space to test, preview, and gather feedback without affecting your live site.
It’s the perfect place to catch issues early, whether it’s a broken link, a missing image, or a layout that needs tweaking. Use your staging site like a real visitor would: click through every page, test interactions, and review responsiveness across devices.
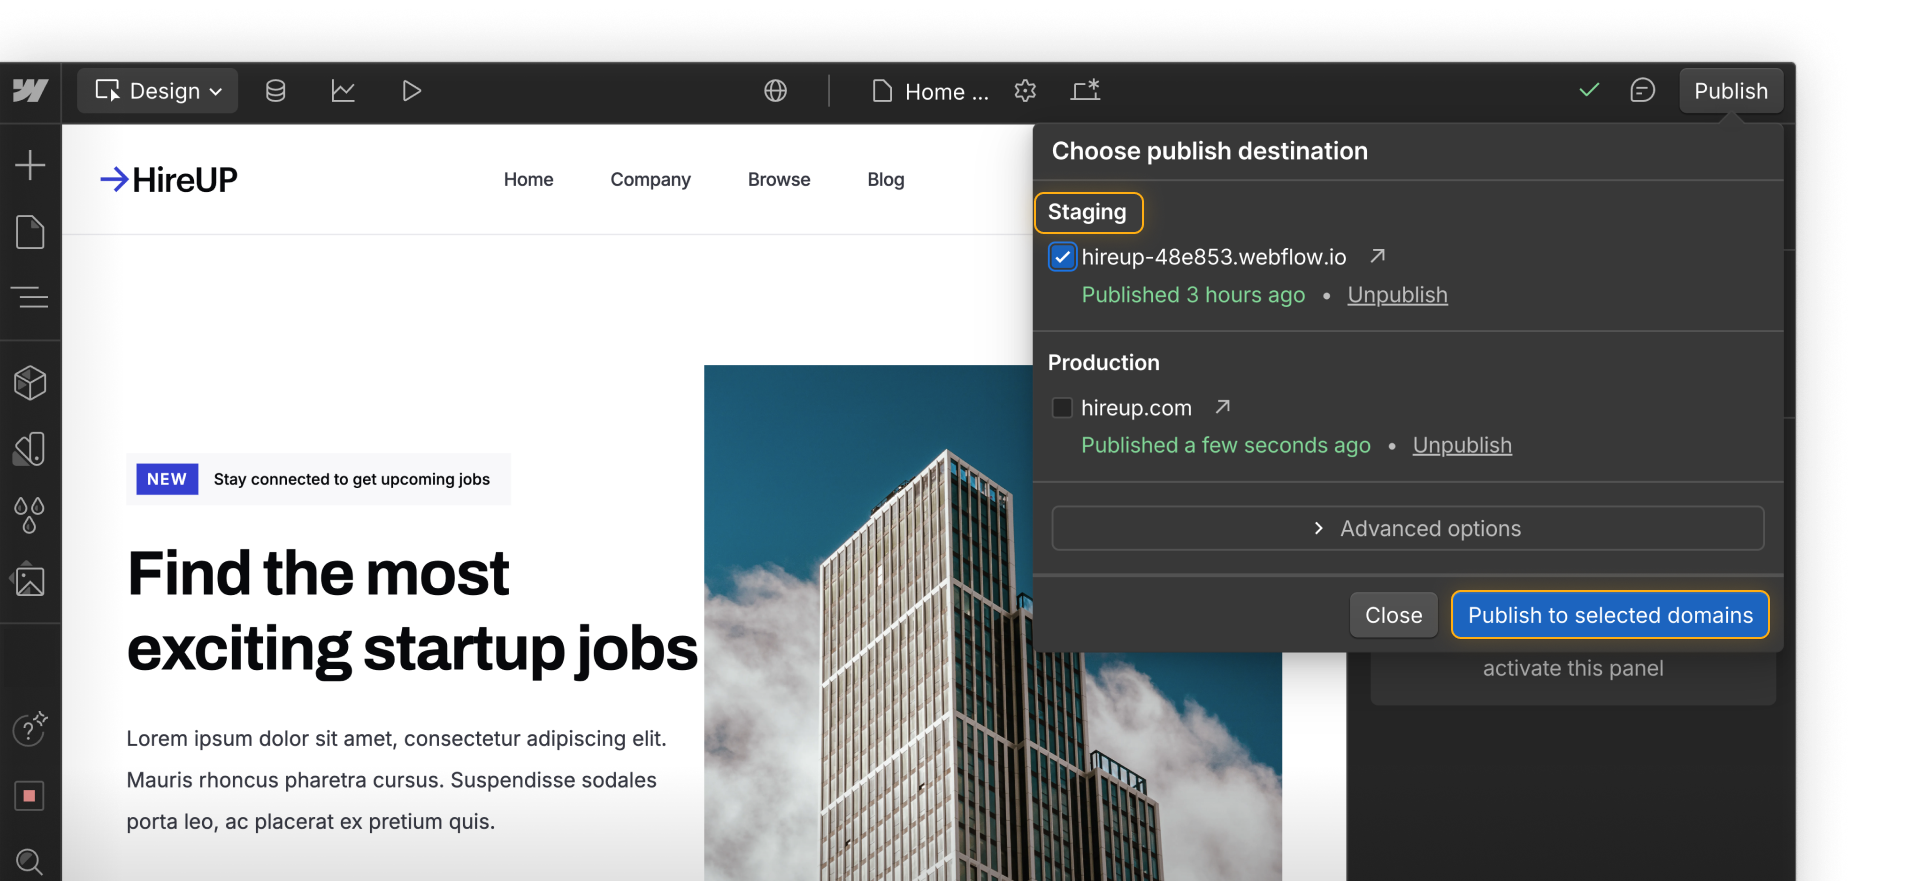
Before going live, share your staging link with teammates or clients. A fresh set of eyes can help surface issues you might have missed — like confusing navigation, unclear calls to action, or mobile layout bugs.
Publish to production, with purpose
Once your staging site looks solid, it’s time to go live. Publishing to your custom domain makes your site publicly available, where real users will interact with it.
Make publishing intentional. Double-check that you’re selecting the right domains, and make sure only authorized team members have publishing access if you’re working collaboratively.
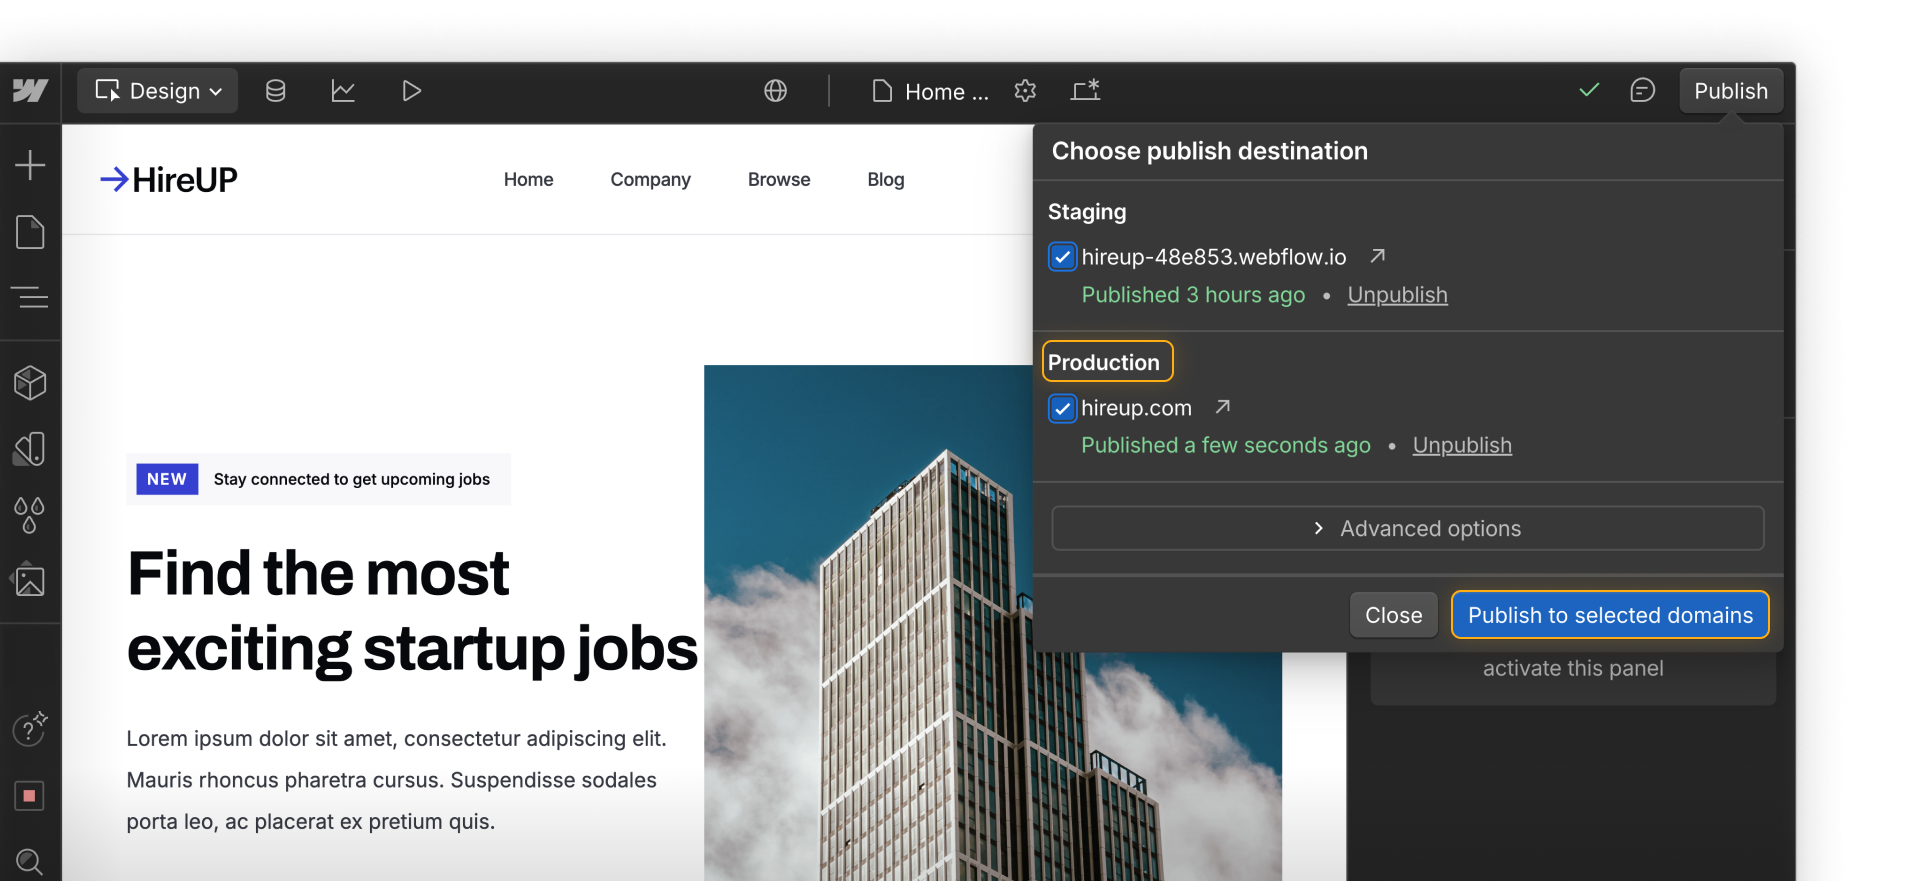
For sites using the Webflow CMS, take advantage of single-item publishing to update just one Collection item at a time — no need to republish the whole site.
Treat staging and publishing as tools — not just steps — in launching and growing a successful site.
Ready to wrap up?
Let’s finish strong with a few additional resources to support your site launch and beyond.