Hosting with Webflow
What is Webflow hosting?
Webflow hosting gives you everything you need to launch a fast, secure, and reliable website — without needing to manage servers or install plugins.
With Webflow hosting, you get:
- Global fast-loading performance (via CDN)
- Built-in SSL security
- Automatic versioning and easy publishing
- Custom domain support
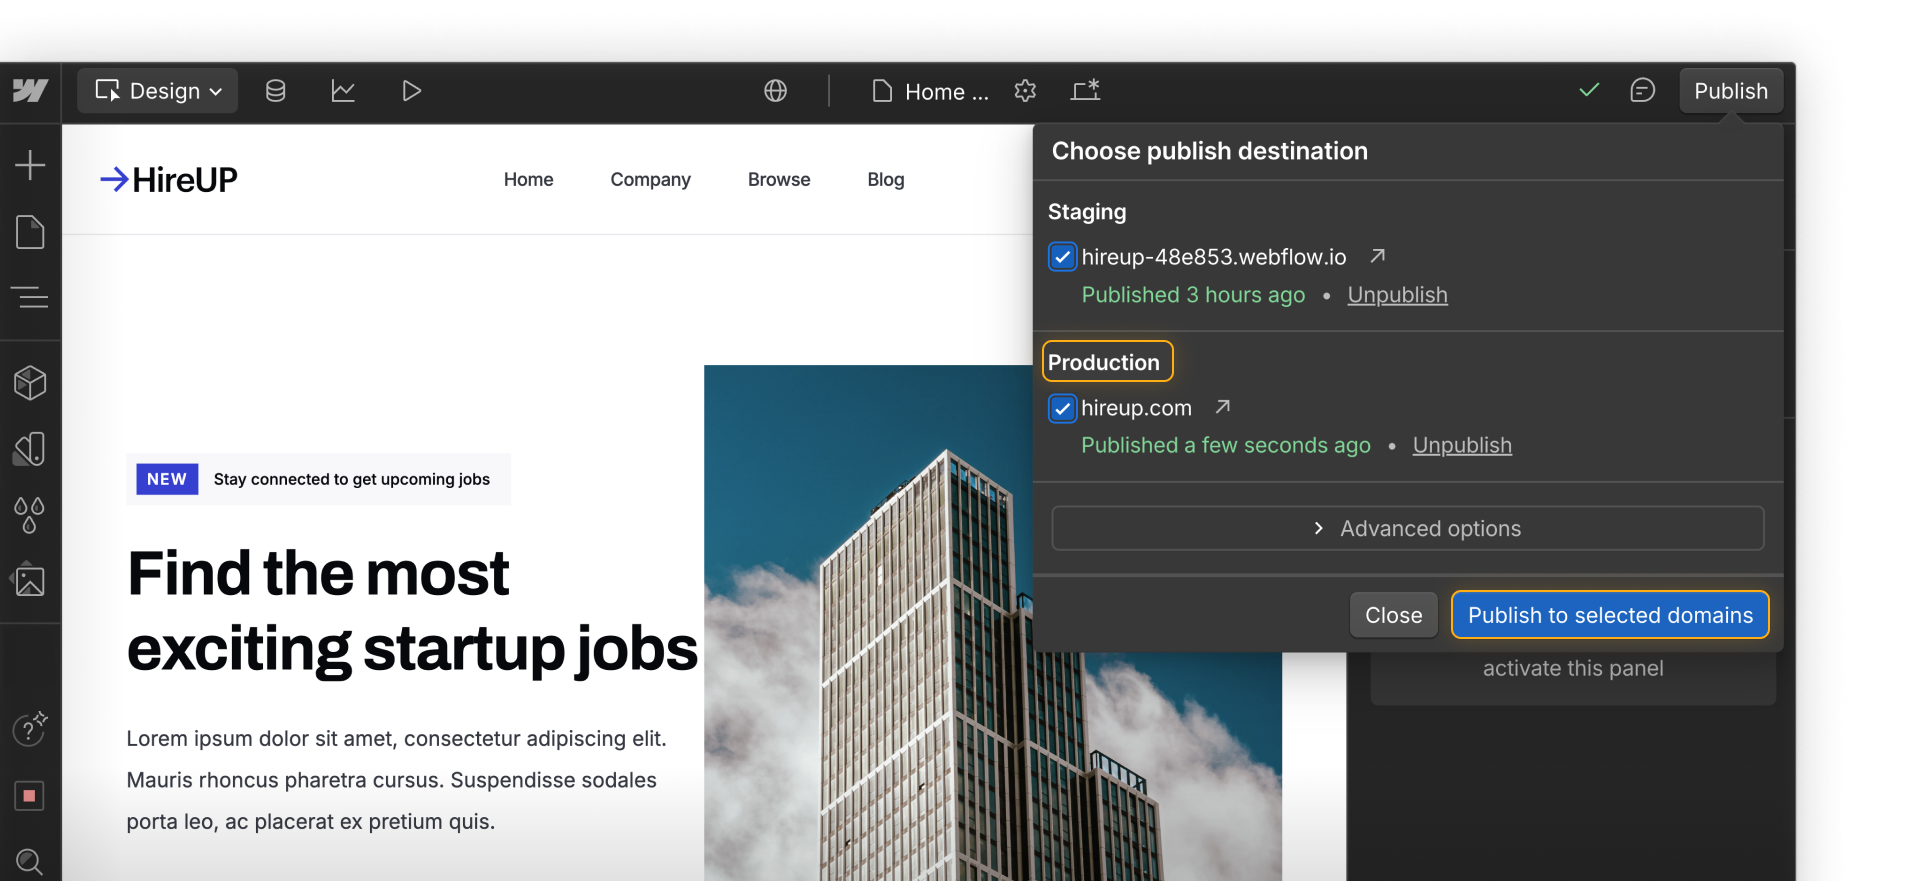
And when you're ready to publish, Webflow provides two environments to support a smooth launch process: staging (for testing) and production (for going live).
.png)
Staging (your webflow.io domain)
Every Webflow site comes with a free staging domain — something like your-site.webflow.io. This is where you can:
- Preview and test your site outside of Webflow
- Share with others for review
- Publish work-in-progress updates
Publishing to staging does not affect your production (live) site. It’s a safe place to experiment.
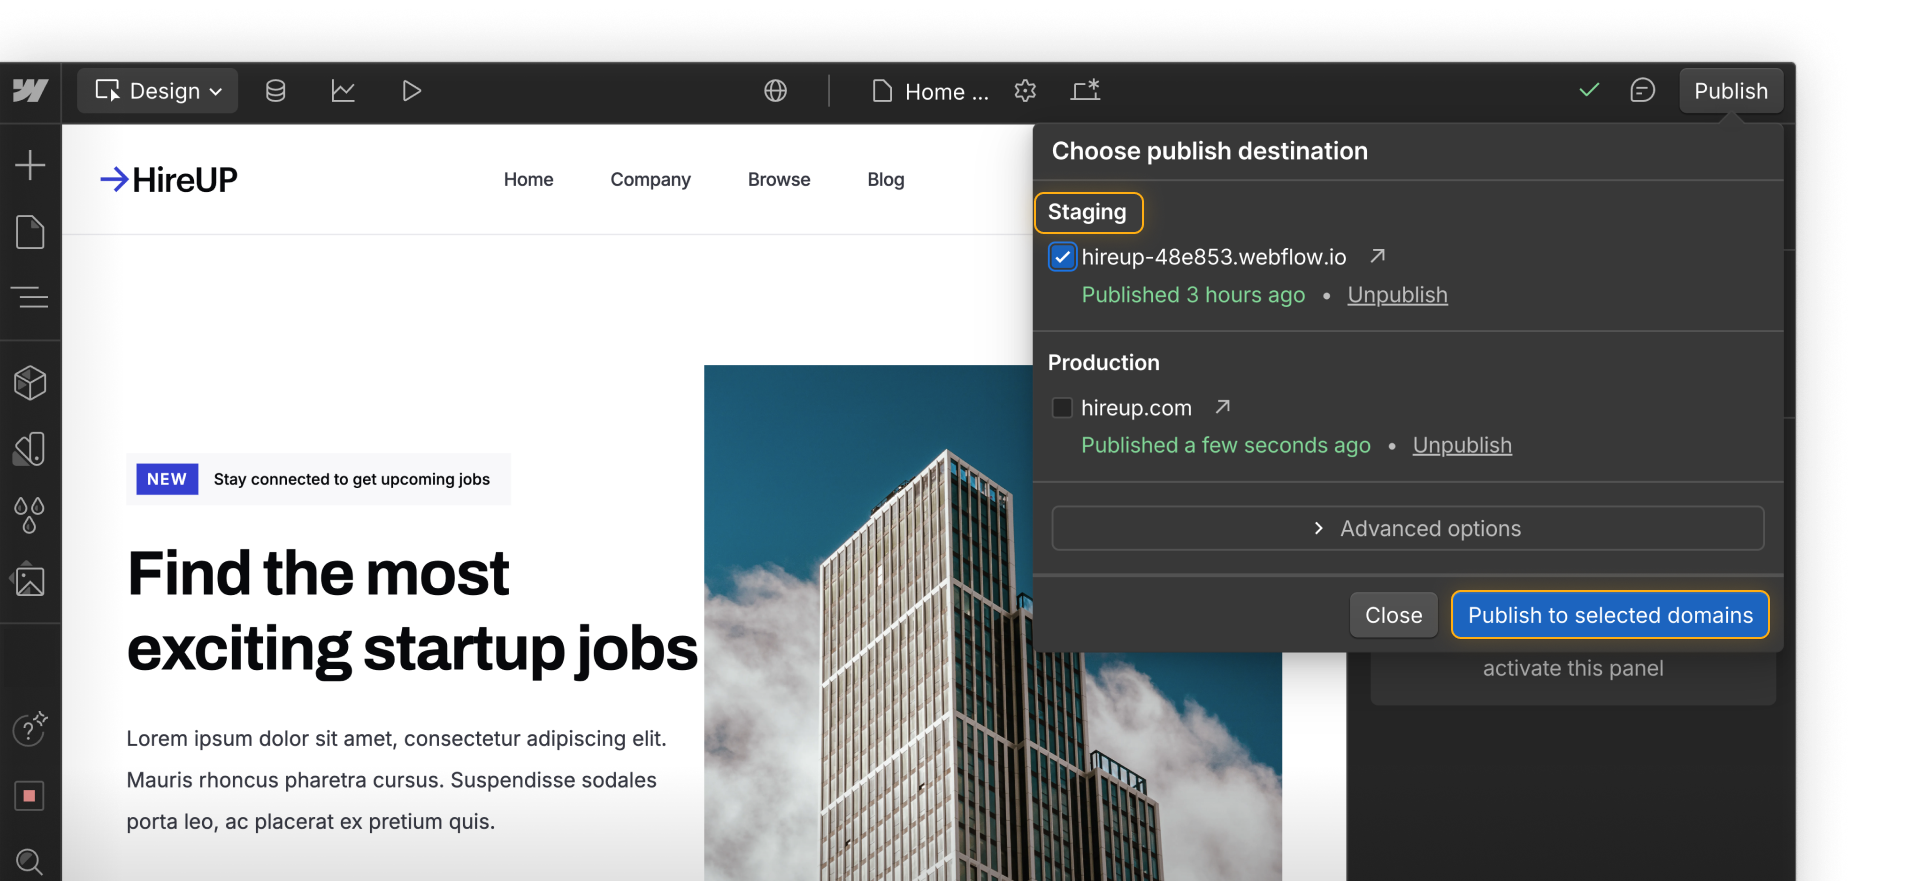
Production (your custom domain)
Your production domain is the live site visitors will see — like www.clientsite.org or www.yourbusiness.com. This is where your fully published site lives once you’re ready to launch publicly.
How to set up your custom domain
Before you can publish to production, you’ll need to connect a custom domain and activate Webflow hosting.
- Own or purchase a domain
If you already own one, great — you’re ready to connect it. If not, you can purchase a domain directly in Webflow, or through a provider like GoDaddy or Google Domains. - Connect your domain in Webflow
In your Site Settings → Publishing → Production section, you can connect your domain either through our quick connect option, or manually for more precise control. - Verify ownership of your domain
After connecting your domain, you’ll need to verify ownership of that domain before you can publish your site.
Once your domain is connected and verified, you’ll be able to select it when publishing your site.
Ready for more?
Up next, we’ll walk through how publishing works in Webflow.