Resources & activities
Key takeaways
Staging & publishing your site
Staging allows you to test and fine-tune your site in a safe and controlled environment, while publishing to production makes your site live on your custom domain. In staging, you can identify and fix issues, test functionality, and gather feedback without impacting the live site. Once everything’s ready, you can publish to production to make the site publicly accessible.
Enterprise publishing workflows
The Enterprise publishing workflow in Webflow streamlines collaboration by giving better visibility and control over which specific changes get published on your site. The workflow starts with simultaneous design work on Page branches that can be reviewed, approved, and merged onto the main site. Changes can then be published to staging for testing, and finally, to the live production site.
Additional resources
Check out additional resources related to lessons in this section.
- Publishing overview
- Enterprise publishing workflow
- Webflow staging subdomain
- Set 301 redirects to maintain SEO ranking
- Upload a custom SSL certificate
Practice activity: Publish to staging
It’s time to put your knowledge into action! Practicing what you’ve learned is the best way to reinforce your skills, build confidence, and understand how Webflow works.
In this activity, you’ll publish one of your Webflow sites to Webflow’s Staging domain.
Instructions
STEP 1: Open a site - In your Webflow Dashboard, open any site in your workspace. If you don’t have a site, you can click + New site and quickly create a new, blank site for this activity.
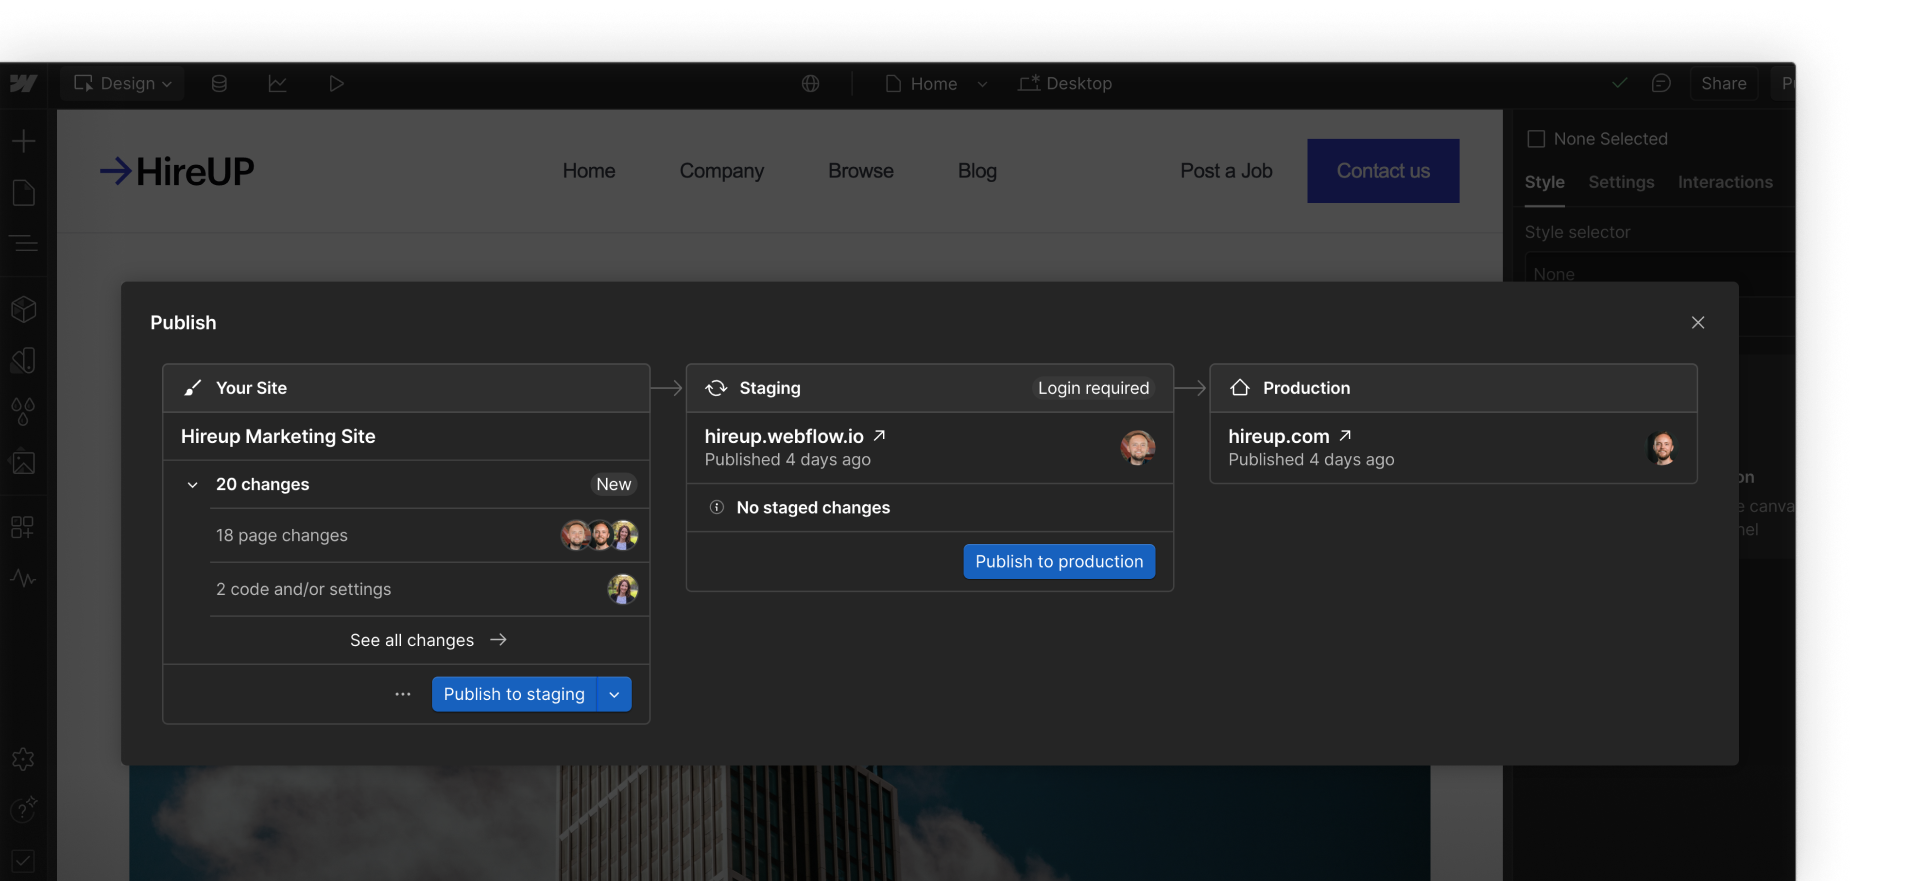
STEP 2: Click Publish - In the upper right corner of your website, click the Publish button.
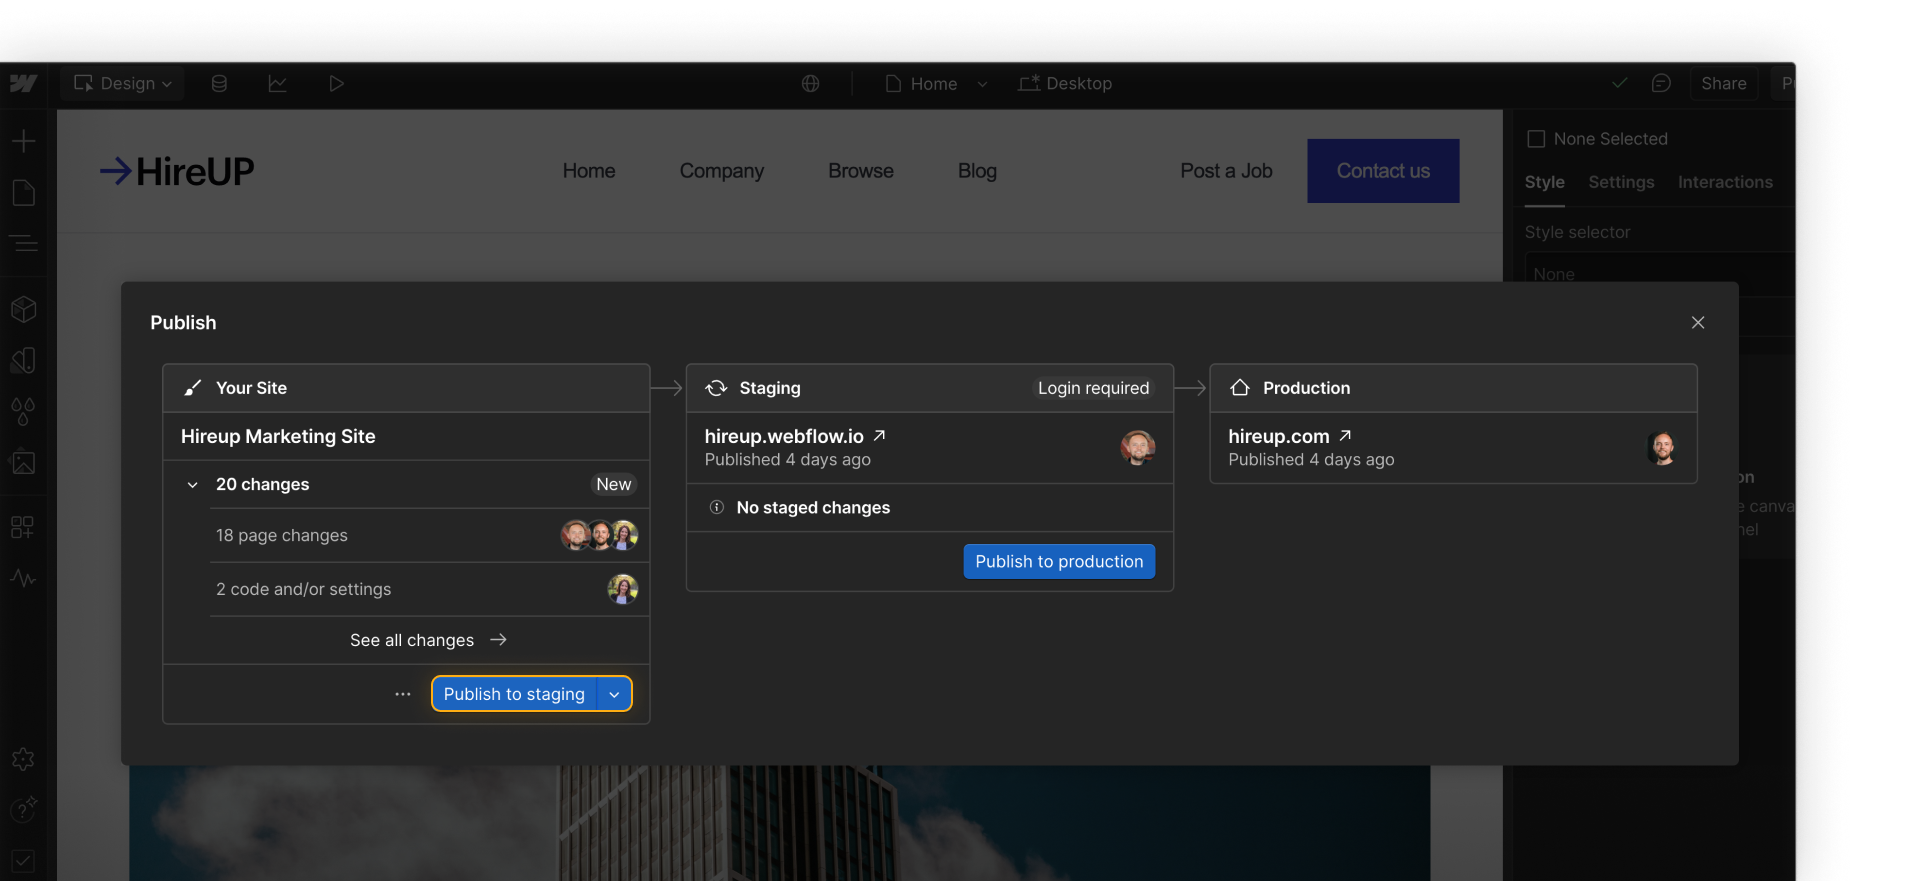
STEP 3: Publish to Staging - In the Enterprise publishing modal, select Publish to staging.
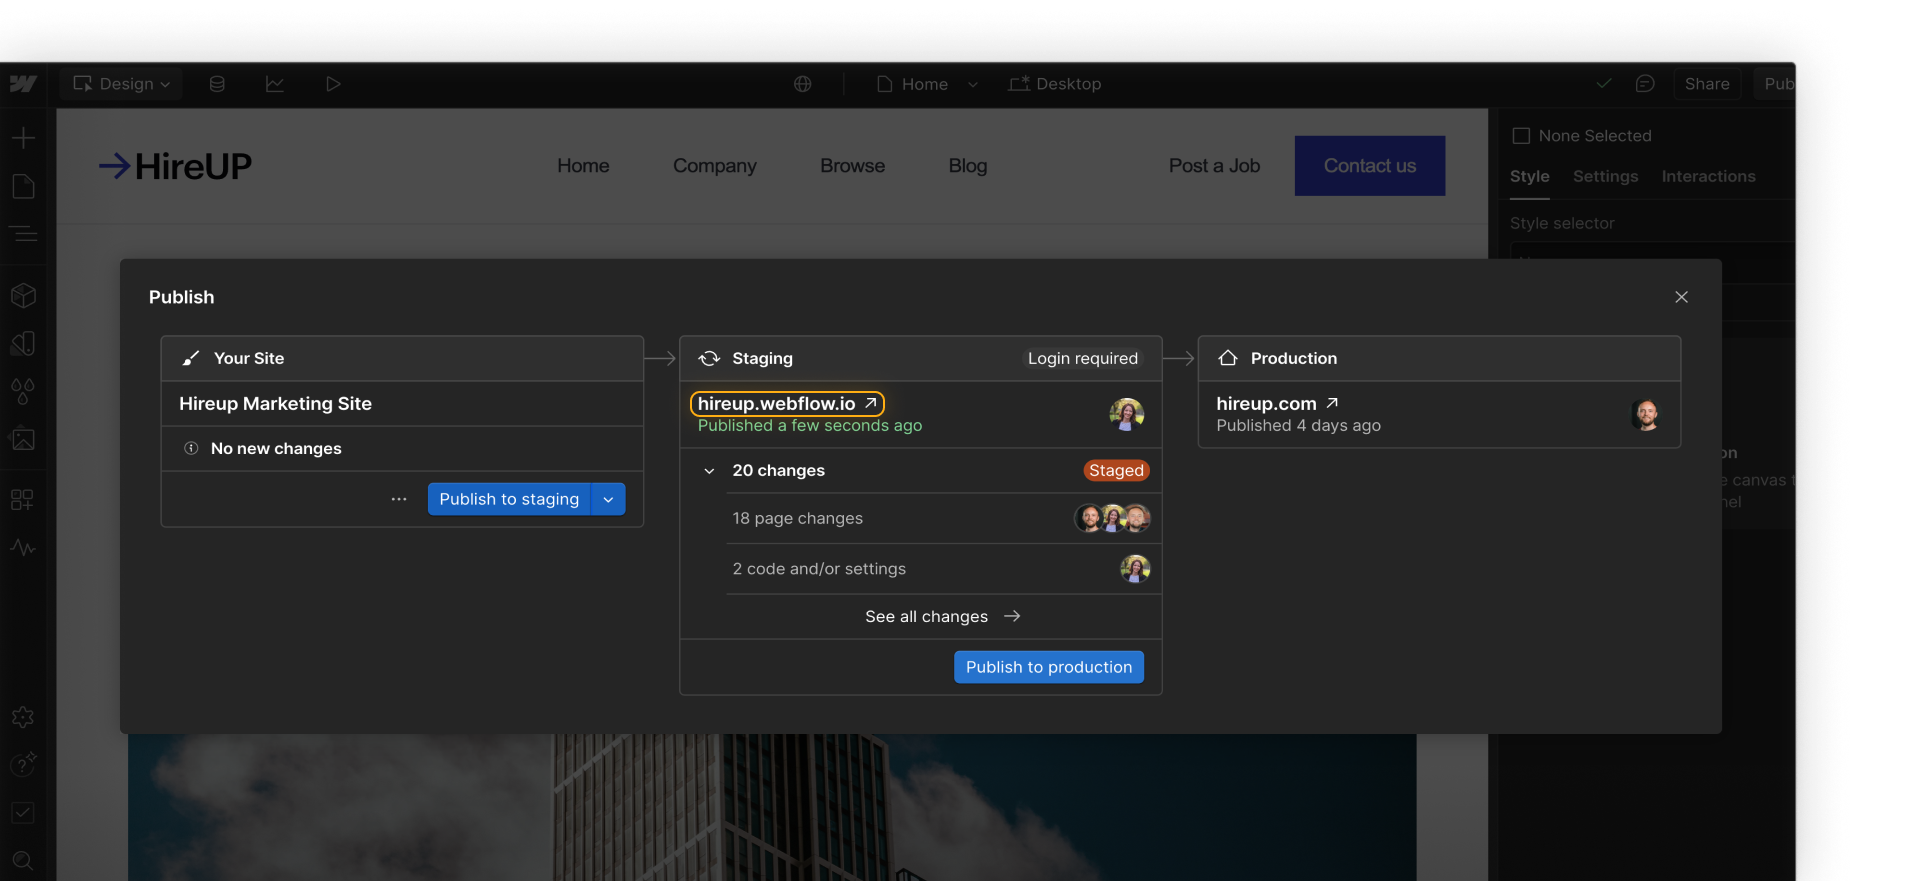
Remember, Webflow’s staging environment is a safe space for testing your site. Publishing it here won’t make it live on the web, so don’t worry if your site isn’t perfect yet!
STEP 4: Check out your site - Click the small, up and diagonally pointing arrow next to your site’s staging domain URL to preview your site. This link is also sharable!
Keep going
Feeling confident? Here’s what you can do next:
- Quality check your site - One of the key benefits of staging is the ability to quality-check and refine your site in a safe environment before it goes live. Here are some steps you can take to quality check your site:
- Test on multiple devices to ensure your content and design is viewable and responsive.
- Double-check links, forms, and custom code.
- Share the staging link to gather feedback from your teammates.
Let’s wrap up
Whoo — that was a lot. Good work. In the final section, you’ll get a recap of everything you learned in this course. Click Complete & continue in the Course progress box on the right to move on.