Background & preview
Content editing in Webflow
Content editing is one of the most common day-to-day tasks for marketing, content, and many other teams. In Webflow, users with the Content editor role can update site content directly on the canvas safely, visually, and without changing the site’s design.
This course will help you feel confident making content updates in Webflow, whether you’re editing a headline, publishing a blog post, or updating SEO settings.
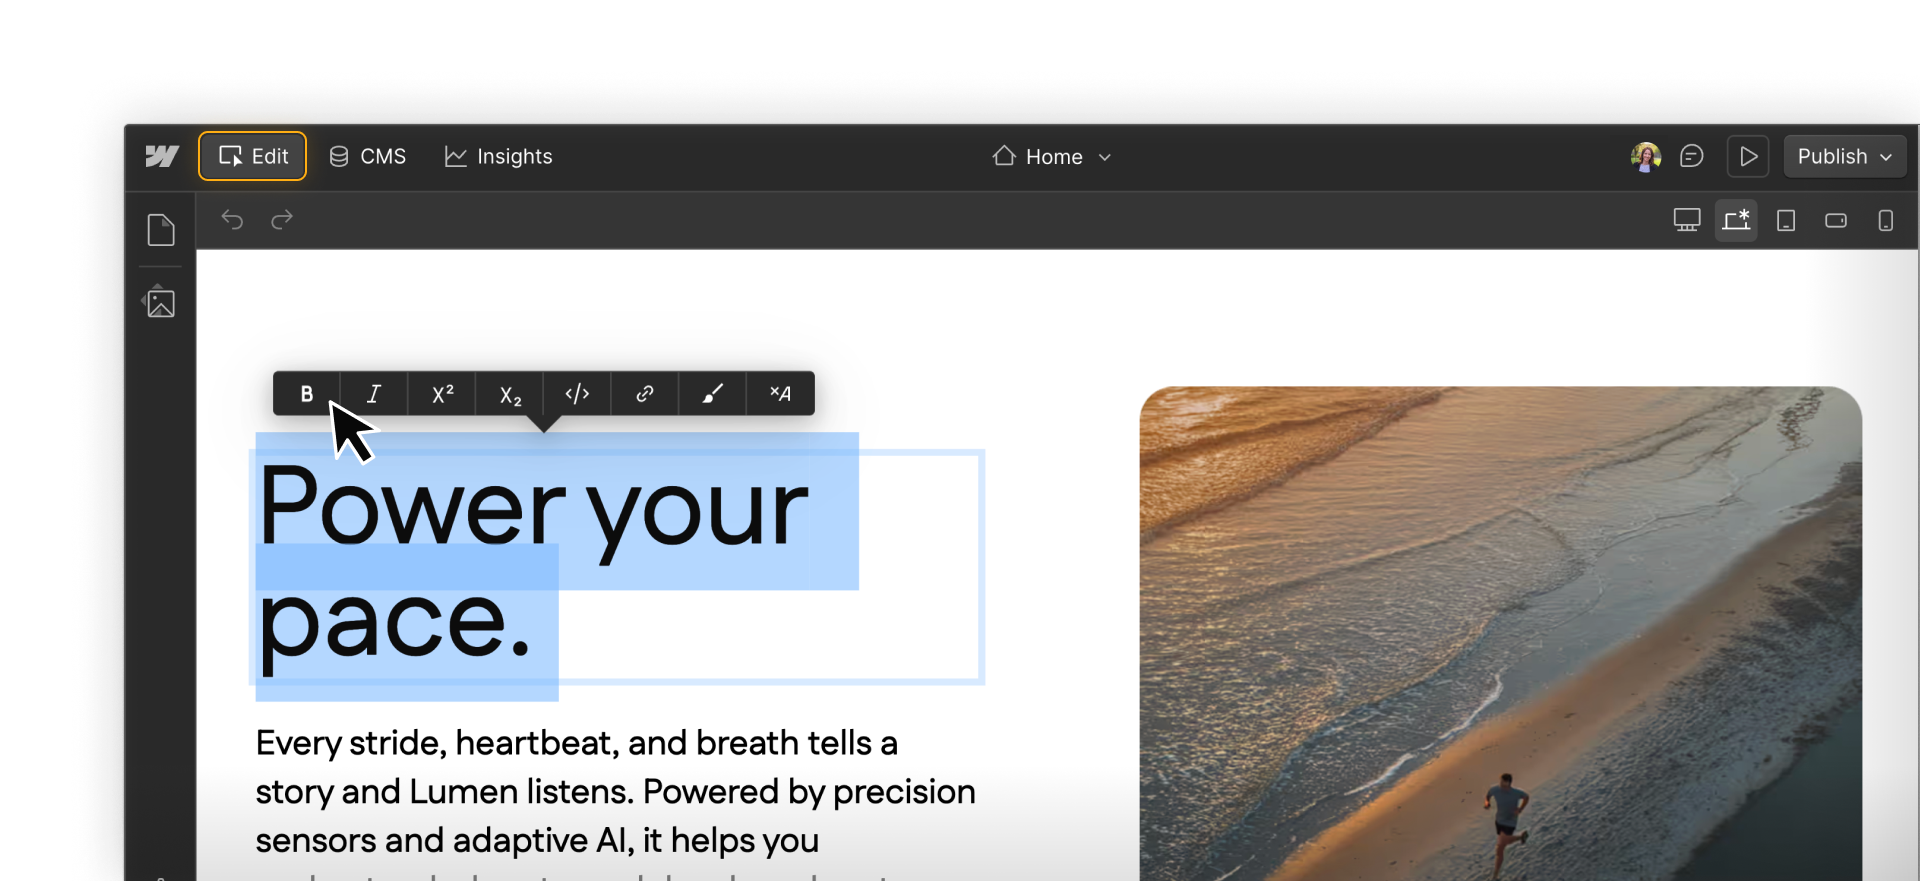
When editing content in Webflow, you work directly on the canvas:
- You can see the site as you make changes
- You can edit text, images, links, and CMS content
- Design and layout changes are intentionally restricted so you don’t have to worry about breaking things on the site
These guardrails are built in on purpose — so content can be updated quickly, safely, and confidently.
Roles & permissions in Webflow
Webflow uses roles and permissions to control what different users can do on a site. These are the core site-level permissions:
- Users with the Designer role have full creative control over layout, styling, and structure
- Users with the Marketer role can build and edit pages using approved components and templates, in addition to being able to update content like text, images, and CMS items
- Users with the Content editor role can update on-site content like text, images, and CMS items without affecting design or layout
- Users with the Reviewer role can view the site in a comment-only experience to leave feedback and approve proposed changes
New to Webflow roles? Check out our site roles & permissions help article to learn more about what each site role can and cannot do in Webflow.
Get ready for hands-on practice
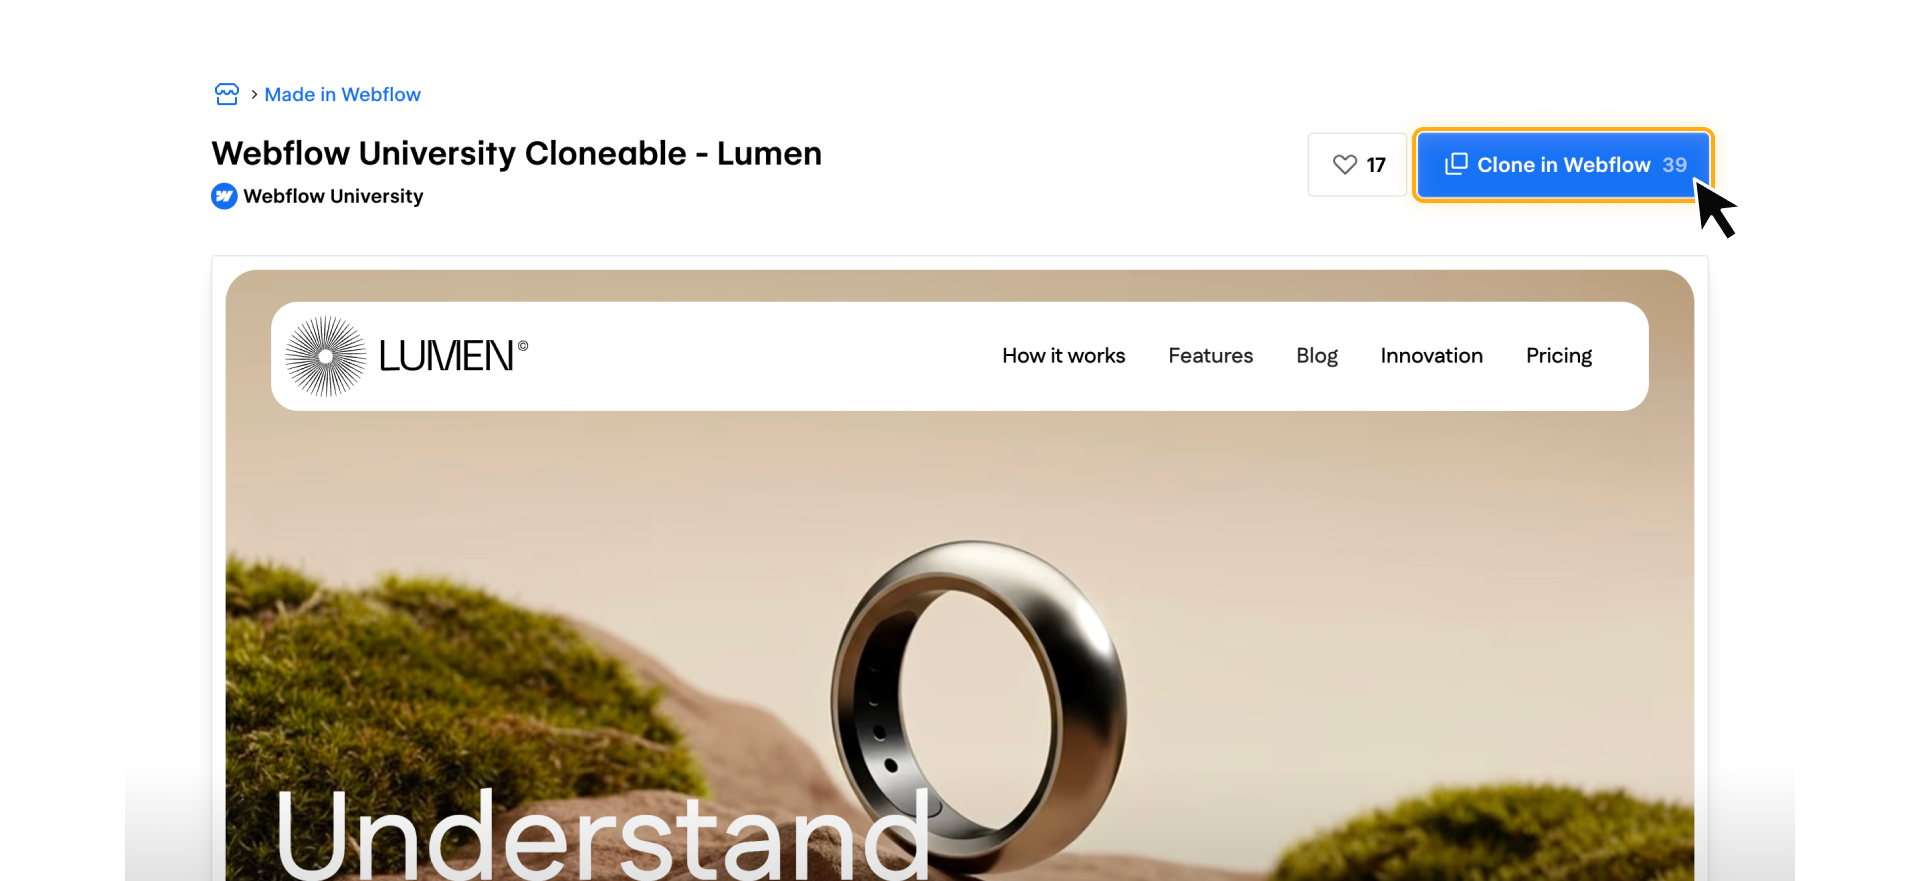
Throughout this course, there will be practice activities for you to apply what you’ve learned in a safe environment. To get started, you’ll need to clone this Webflow University cloneable project in your personal Dashboard.
STEP 1: Click here to open the cloneable project, and then click the Clone in Webflow button in the upper right corner of the modal.
STEP 2: From the dropdown in the upper right corner of your Dashboard, select in which Workspace you’d like to clone the site. Next, click the Create site button.

STEP 3: Follow prompts to Name your site and click Create.
Changes to the cloned site in your Workspace won’t impact the original site — this site is yours to experiment with.
Ready to dive in?
Click Complete & continue to head to the next lesson, where we’ll take a closer look at what Content editors can do in Webflow, including what’s editable, what’s intentionally locked, and how Webflow keeps your site safe while you work.
Need help finding your way around? Learn how to navigate Webflow University lessons, courses, and learning paths, including how to mark items complete.