Tracking, consent, & privacy
Enable tracking
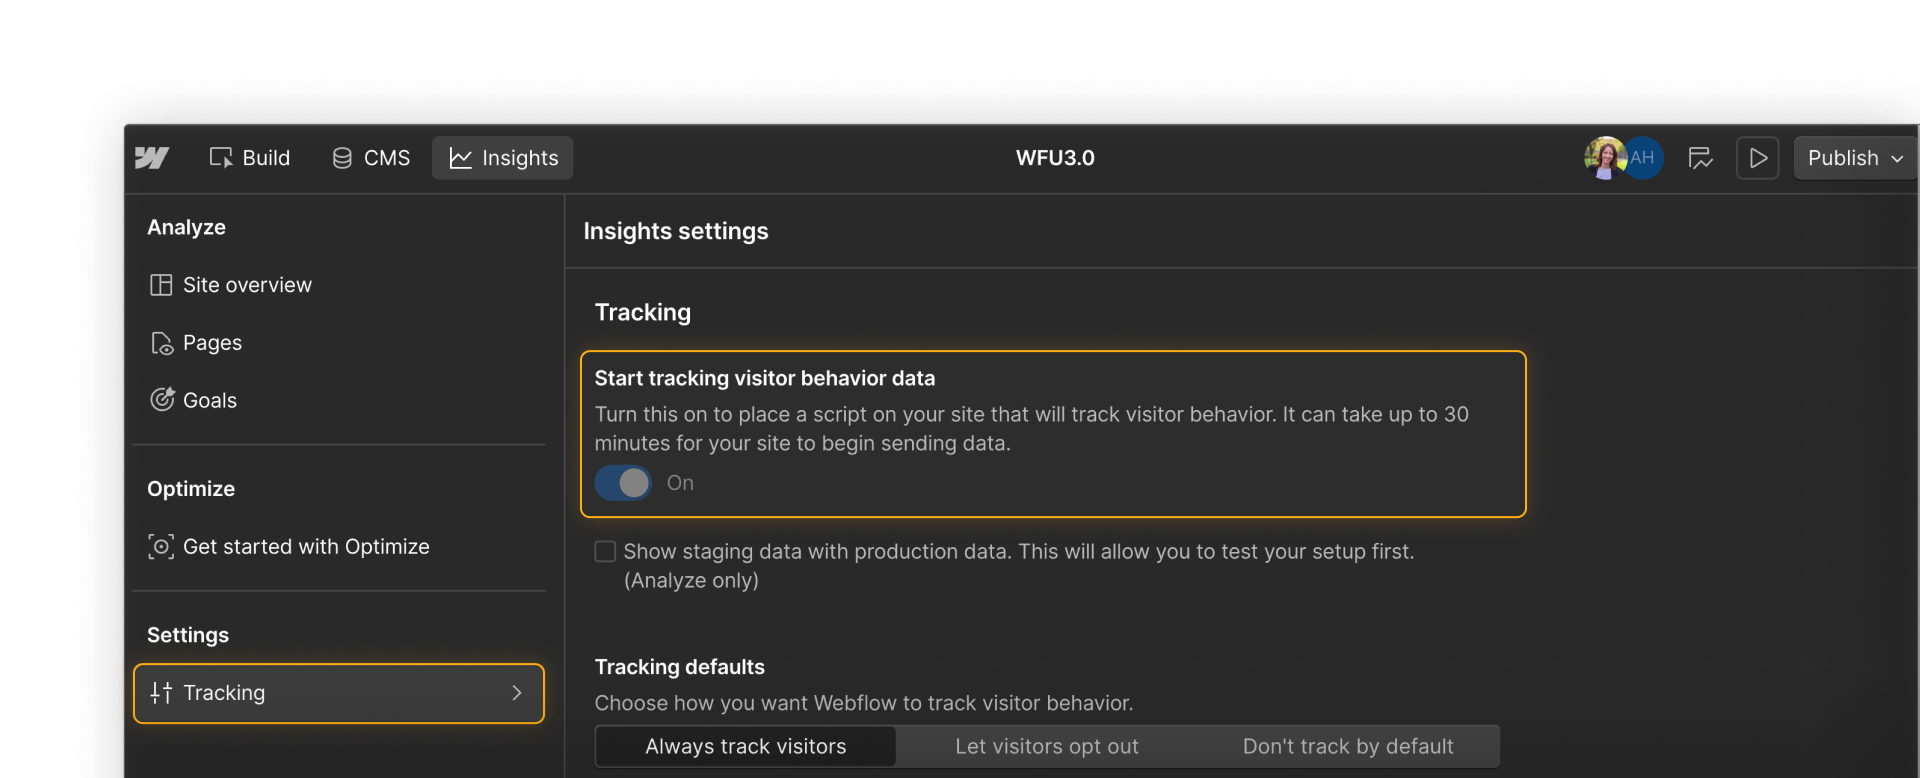
To start collecting analytics with Webflow Analyze, you’ll first need to enable tracking in your insights settings. Once published, data typically starts appearing within 30 minutes.
You’ll need Designer-level access or higher to complete these steps. Contact your administrator if you do not have this level of access.

Choose a tracking mode
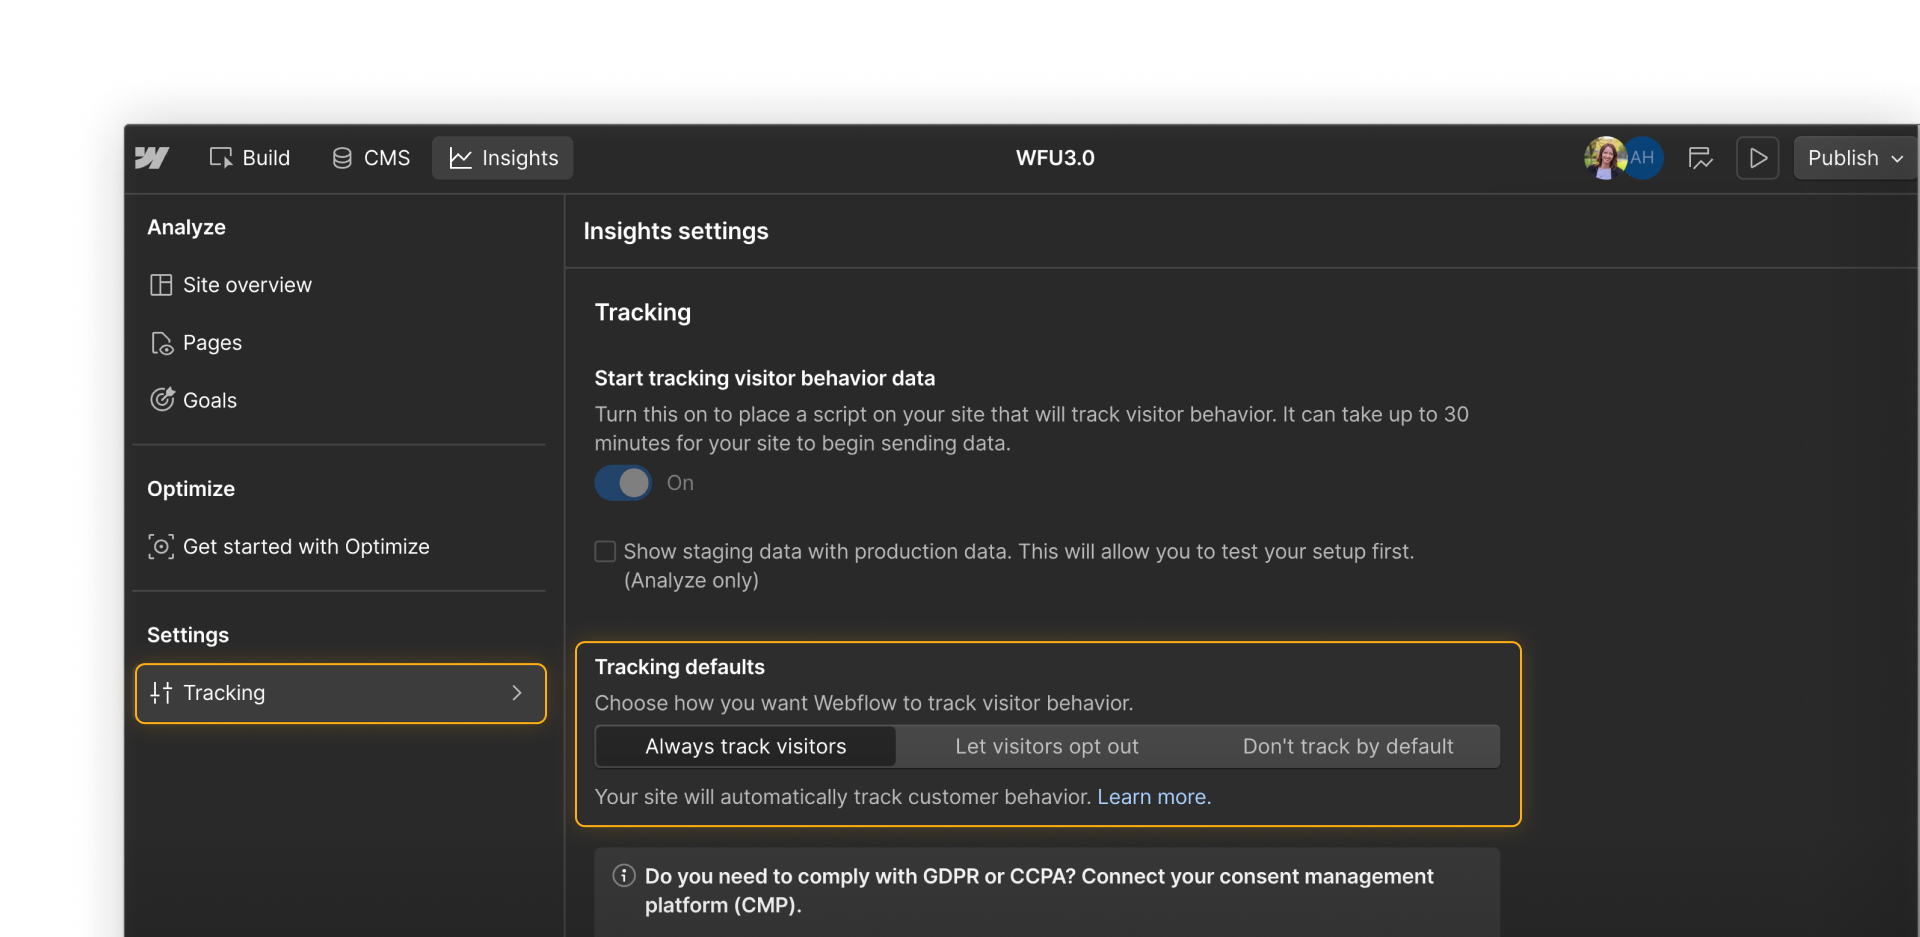
Webflow Analyze offers three tracking modes designed to help you meet privacy and legal requirements:
- Always on: Tracks all visitors by default
- Opt-out: Tracks by default but allows visitors to disable tracking
- Opt-in: Tracks only after a visitor gives consent
If you're using opt-in or opt-out, you’ll need to connect a Consent Management Platform (CMP) to properly handle and honor user preferences
Depending on where your visitors are located, you may need to give them the option to opt out of data tracking via the use of a consent management platform (CMP). Check out this help article for more information.

Webflow Analyze is designed to protect user privacy:
- No cookies
- No personally identifiable information (PII)
- Uses local storage and anonymous, aggregated data
This helps you stay aligned with your site’s privacy stance, especially when combined with the right consent setup.
Note on allowed domains: By default, Analyze only tracks data on domains and subdomains included in your site’s allowed domains list. This helps ensure you’re collecting analytics from the right parts of your site. If you’re using a reverse proxy, make sure proxy domains are added — Analyze won’t track traffic on those unless they’re explicitly allowed. Learn how to manage allowed domains in this help article.
What gets tracked with Analyze?
Once tracking is on, Webflow Analyze automatically captures:
- Page views, sessions, and bounce rates
- Clicks on interactive elements (links, buttons, nav items, etc.)
- Scroll depth and average page fold
- Device type, location, language, and referrer
You don’t need to tag elements manually or add custom code. Just publish your site, and Analyze starts collecting data. New pages and elements you add after enabling tracking will also be tracked automatically.
Turning off tracking will stop data collection and remove access to your analytics history. It’s best to leave tracking enabled unless you’re intentionally deactivating analytics.
Feeling good?
Now that you’ve enabled tracking and configured privacy settings, we’ll dive into how to interpret the behavior data that starts to roll in.
Click Complete & continue to keep going.