Site specific access
With site-specific access in Webflow, Workspace Admins and Owners can control which sites team members have access to within their Workspace(s). This provides you added supervision over site access, especially for freelancers, contractors, comment-only collaborators, or Workspace guests. Additionally, agency owners can use site-specific access to limit the amount of sites in a collaborator’s Workspace — thereby reducing distractions or protecting sensitive sites.
In this lesson, you’ll learn how to create a new site and set site-specific access from the beginning. We’ll go over how to manage access to a current site. We’ll show how to update all your sites at once, using bulk updating. And finally, we’ll invite a guest to a Workspace, and we’ll choose specific sites we want them to have access to.
Video transcript
Site specific access…. It does exactly what it says.
Are you an agency with multiple projects, and you want your Designers to only have access to the sites they're working on? You can do that!
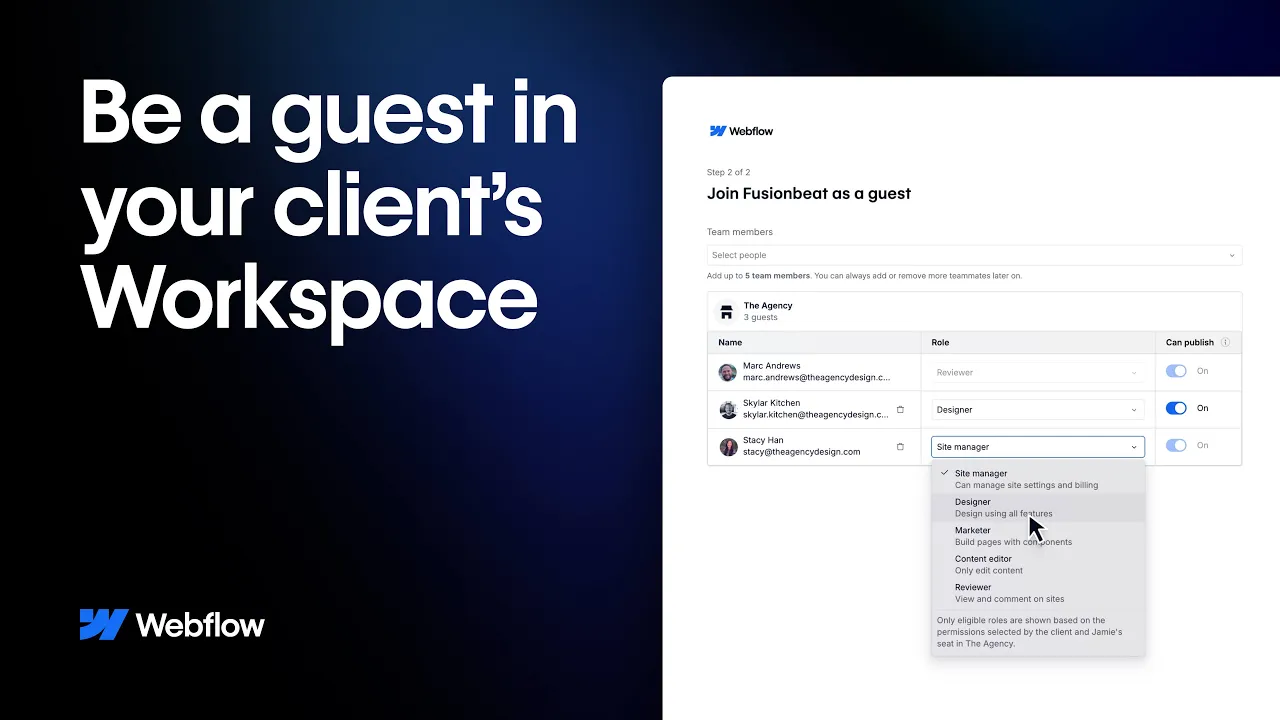
Do you want to invite a Freelancer as a Guest to your workspace but you ONLY want them to have design access to the specific sites you assigned them to. You can do that.
Do you want to invite your client to comment on THEIR site, but you want to make sure they only have access to THAT site. You can do that TOO!
These are just SOME of the reasons why Site specific access is a crucial part of managing a Workspace. So, in this video, we'll create a new site and then assign specific people to it, we'll cover how to MANAGE access to existing sites in your Workspace, we'll show how to BULK update all the sites in a Workspace, and then finally, we'll invite a guest to our workspace (and set their site specific access from the very beginning).
Okay. Creating a new site. We're here in the workspace for our made up Agency and we've got multiple sites (multiple different client sites). I'm a Workspace Admin so I can see ALL our sites. We'll navigate up here and we'll create a New site. And we're prompted with two options, I'm choosing a blank site here… and we'll just keep the site name as is. And here we have two site access options. I'll choose the restricted option and I'll create the site. And while the site is loading, remember only Workspace admins will have access to this site.
But now… from the Designer… I can invite people to the site by selecting this, which takes me to the site settings. Now, I COULD make it so everyone can access this site but I only want a few people so I'll click in to Add people. And here, I can select people. 1, 2, 3. And I'm gonna update their publishing permission and hit save. Now, those people AND admins have access to this site. That's creating a new site WITH site-specific access.
Okay, let's move on to Managing access to an existing site. We're back in our workspace. Remember, Workspace Admins and Owners can see ALL sites. But for this one site, I want to manage who else can access it. So I'll hover over it and select settings, and once we're there, we'll go over and select SITE ACCESS. Here… we have this site access control and we can see that everyone in the Workspace can view this site. However, I DON'T want that. I want to control who has access and who doesn't. So I'll go over…, and when I click in, we have our two options. This line (which it's currently set to). And the other one that will make it more restricted. That's what I want so I'll click to select that option. And once I do, the site access settings for JUST this site, are updated. Now, only Workspace Admins and people ADDED will have access to this site. So…same thing as earlier, let's add people. I'll go over and click to add… and again, I can click to select anyone from my workspace. Let's select Meg and Lex and Lauren… And once I click out, I can set their roles. For Meg, I'll click in and we'll keep "can design". For Lex, we'll select "can edit" and finally, we'll select "can comment". And let's hit save. Now, ONLY the people we WANT have access to this site. AND, if we want to remove a member… we can hover over and click on these three tiny dots, and we can remove them from the site. But that's managing access to an existing site.
Let's move to bulk updating. Chances are that you have multiple sites in your workspace. And instead of going through each site, one by one, we can set site-specific access on all of them at once.
So we're in our Workspace dashboard, and we'll head over to our General tab (here under Settings). And here, we have our Site access overview… where we can see our two Site access options. AND. We have visibility to how many sites are set to each option. So let's click in to update ALL our sites at once.
And here… (maybe we can zoom in a little…) we can choose to bulk update ALL our sites in our workspace. Let's choose the same restricted option as we did earlier, (and by the way, you might want to do this before you start adding people to specific sites.) But we'll hit save, and now can control who can access ALL of our sites.
Let's move on to our final step. Inviting a guest to specific sites in our workspace.
Back in our Workspace dashboard - in the General settings. You can see all those restricted sites and there's even a few new ones that are unrestricted too. Let's go to our Team settings. Here we have an overview of the members, commenters and guests (and - again - ONLY the Workspace Admins will see this). But in this case, we want a new guest in our Workspace (a Freelancer that we've hired for a couple of projects.) So, we'll just click to invite a guest. First things first, add their email. You could copy/paste, or do whatever you want to get that email in there. Personally, I'm just typing it in without even looking at the screen. And we want their role to be "Can design" and… we don't want them to be able to publish. Let's select the sites we WANT. Here, we have two options. We can add them to all existing sites, but we don't want that. So let's choose specific sites and click in to select each one. We'll select this one... and... I'll click back in and I'll select another one. Next step is to review the sites we've chosen. And as you can see - they're gonna have access to those restricted sites, PLUS those other sites that are set for everyone to view.
This all looks good so let's send the invite.
Now..once they have accepted the invite - let's just look at their Dashboard for a second - they can ONLY see the sites they have access to in my workspace. All the other sites - all the sites I can see as the Workspace Owner or Admin - are not visible to them!
And that's it. We created a new site (where we set the site access from the very beginning, we covered how to manage access with your team members on an existing site, we showed how to bulk edit access to all sites, and finally, we invited a guest to just two sites in our workspace.
That's Site specific access in Webflow.