Introduction to MCP in Webflow
Learn how to connect AI agents to Webflow using MCP. This guide shows how agents can audit, edit, and manage your site so you can automate tasks and work faster.
Video transcript
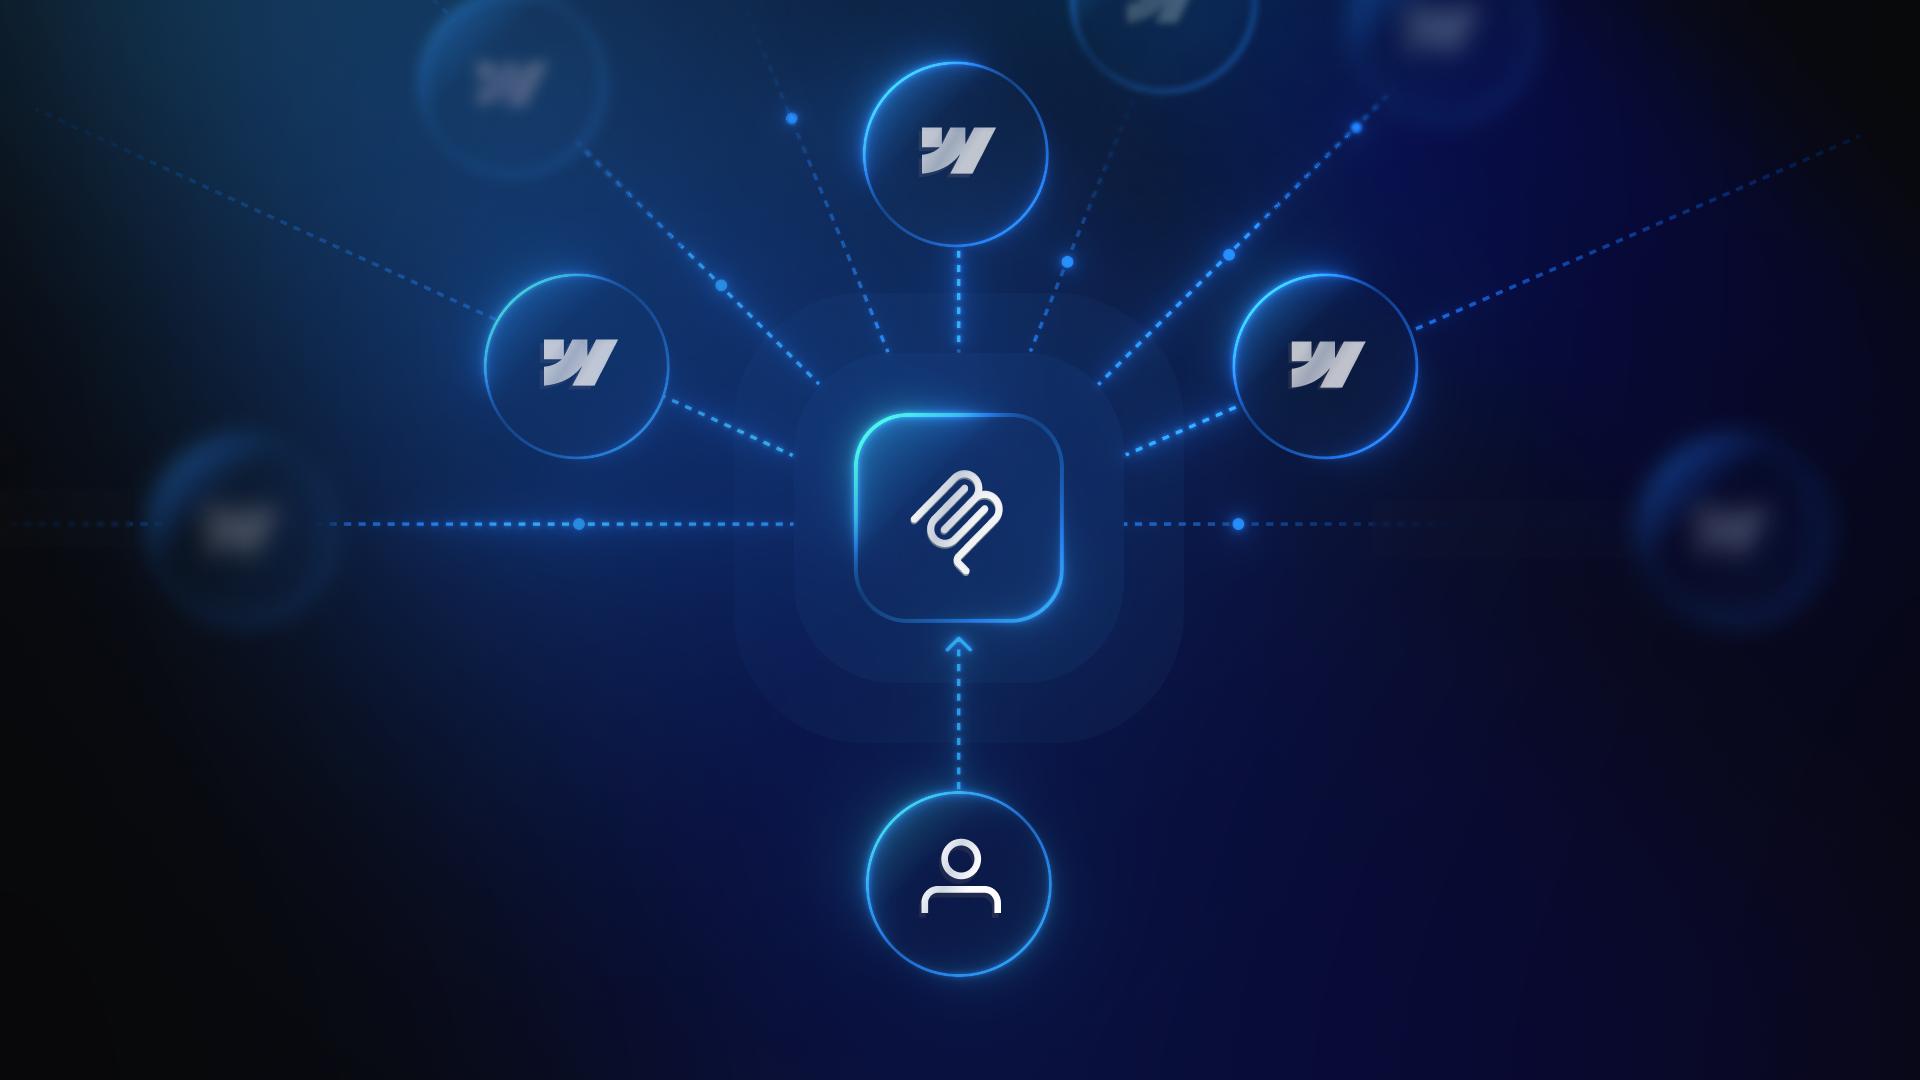
MCP connects AI agents to Webflow. Once we’re set up, we can build, edit, and manage parts of our site by describing what we want instead of doing every step manually.
In this lesson, we’ll explain what MCP is, talk about the difference between a chatbot and an agent, connect an AI agent to Webflow, look at what that connection actually means, and see some examples of how an agent can work with a Webflow site.
First, what is MCP?
MCP stands for Model Context Protocol. It’s an open standard that lets AI agents connect to external platforms and take real action using that platform’s own tools.
For Webflow, that means an agent can work with things like pages, CMS collections, styles, components, analytics, and site settings. Instead of manually navigating to every place where we need to make a change, we can describe what we want by typing or speaking to the AI agent.
Create a CMS collection. Update page metadata. Check which pages are missing SEO descriptions. Audit classes. Build a component. Fold my laundry.
The agent can use Webflow’s tools to help with the work. That’s what MCP is at a high level.
Next, what’s the difference between a chatbot and an agent?
This is the important distinction: an agent isn’t just a chatbot.
A chatbot responds with text. An agent can take action.
If we ask a chatbot how to create a CMS collection, it can explain the steps. If we ask an agent connected through MCP to create a CMS collection, it can actually create it, as long as our Webflow permissions allow it.
A few different agents support Webflow MCP, including Claude, Claude Code, Cursor, Windsurf, 007, and ChatGPT. Each one works a little differently depending on the setup. For this lesson, we’re using Claude in the desktop app.
Quick note: Claude Code is built for developers who want to run MCP from a terminal or code editor. For everyone else, the Claude desktop or browser app is the more direct path.
Next up, connecting Claude to Webflow.
Okay. In Claude, we’ll go up to Customize. From here, we’ll select Connectors, search for Webflow, and click Connect.
That opens an authorization window in the browser. We’ll sign in to our Webflow account, choose the workspace we want to authorize, and click Authorize App.
So, what did we just authorize?
This means Claude now has access to all our sites in the workspace we selected. It can read and write to sites in that workspace, but only within the limits of our Webflow role.
That part matters.
The MCP server enforces our existing Webflow permissions. Claude can only do what our role already allows. Nothing more.
This site scope is intentional. If we want to work in a different workspace later, we can remove the connector, reinstall it, and authorize the new workspace.
Now let’s see what this actually looks like. Before we do, it’s a good practice to create a quick site backup that we can restore if things don’t go as planned.
We’ll start with some site data.
For example, let’s use this prompt:
“I’m working on my site. Here is the site ID, which you can find in Site settings. Can you list all the pages on this site and tell me which ones are missing a meta description?”
Claude identifies the site, calls the Webflow tool, reads the page data, and returns a structured response.
Notice what didn’t happen.
We didn’t open the site in a browser tab. We didn’t click through the Pages panel. We didn’t check each page one at a time.
Claude returned a structured list of pages, flagged which ones were missing meta descriptions, and did it without the site ever being open.
That’s just one example of working with site data. It’s useful for things like CMS management, SEO audits, metadata updates, asset management, custom code updates, and site activity log queries.
Now let’s look at what we can do on the canvas. Claude can create and edit elements, components, styles, and variables directly on the Webflow canvas.
Now we’ll go back to Claude and use this prompt:
Nope, that’s the wrong prompt. Let’s try that again.
Okay, that’s better.
“I’m working on my site. The heading in my hero section is using a hardcoded color value. Can you find it and update it to use the primary color variable instead?”
Claude reads the live canvas, finds the element, and applies the change using the existing variable.
That last part is important. We don’t want the agent inventing a new color value if our site already has a design system. We want it to use what’s already there.
That’s where canvas work performs best: sites with clear classes, named variables, reusable components, and a consistent structure. The better the system, the better the results your agent can deliver.
If Claude ever needs more visual context for a canvas task, it’ll let you know.
So, let’s recap.
We covered what MCP is, how an agent is different from a chatbot, how to connect Claude to Webflow, and what that authorization gives the agent access to. Finally, we saw a few of the things an agent can do with a Webflow site.
From here, the best next step is simple: start with one small, low-risk task. Ask the agent to audit page metadata, list CMS collections, or check for missing SEO fields before asking it to make larger changes.
That way, we can see what it can access, understand how it responds, and build confidence before handing it more of the work.
And that’s an introduction to MCP in Webflow.