All videos
Webflow canvas overview

Webflow canvas overview

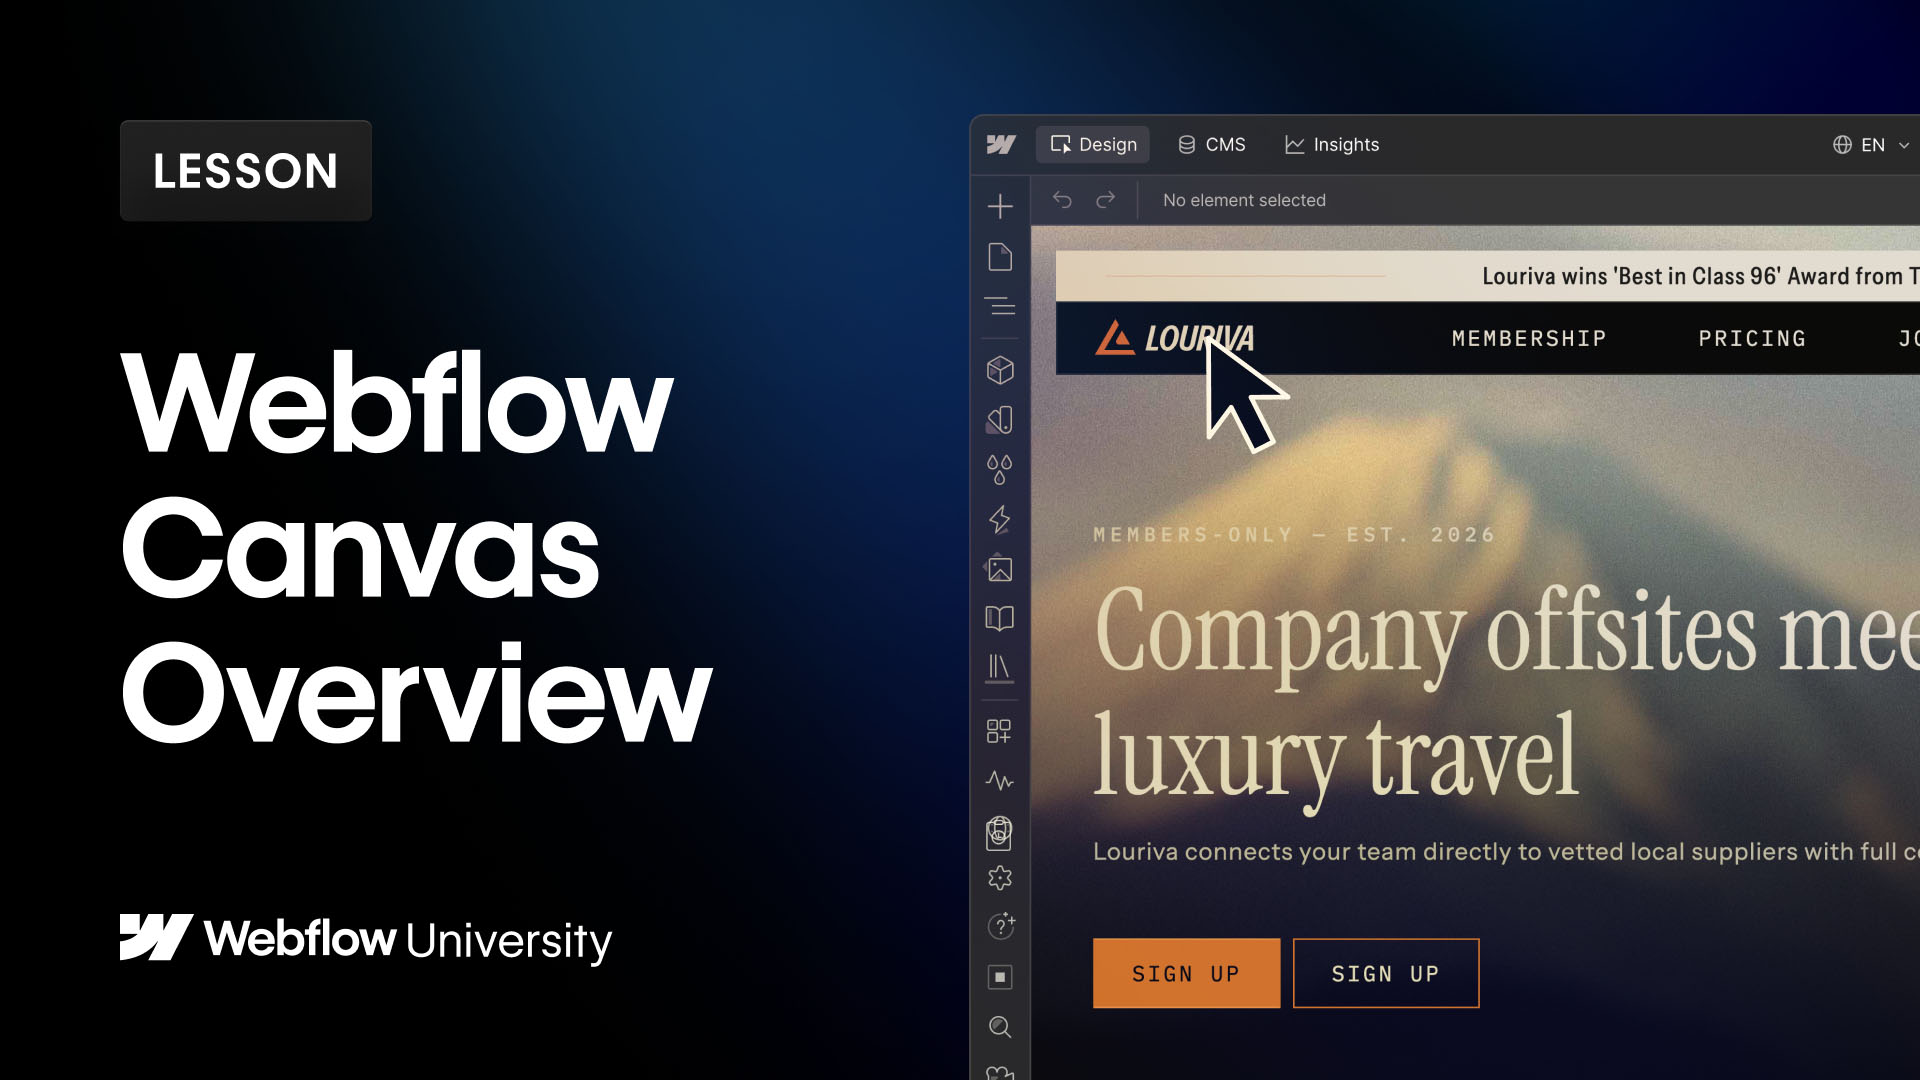
Learn how to navigate the Webflow Canvas in this beginner-friendly overview. We cover the Webflow Dashboard, the Canvas interface, the top bar (including the page switcher, breakpoints, AI assistant, Comments, Preview, and Publish), the left panel, and the right panel. Perfect for designers, marketers, content editors, and reviewers getting started with Webflow for the first time.

Video transcript

This is Webflow. Well, kind of. This is the Webflow landing page.

But once we log in... THIS is Webflow. Almost. This is actually your Dashboard. This is your home base where all the sites in your workspace live. You might have one site or several, depending on your team setup.

And in this lesson, we’re going to go over the basics of Webflow’s UI. We’re going to cover the Dashboard, we’ll talk about the Canvas and how it may look depending on your role, and once we’re in the Canvas we’ll cover the top bar, the left panel, the right panel, and then Grimur is going to take a look at the electrical panel.

[Grimur] I brought my tools.

Thanks Grimur. Let’s keep it moving.

The Dashboard is what we just covered, it’s where your sites live. So that’s the first step covered. Next, let’s get to the Webflow Canvas. If you want to start a new project you can do that here under “new project”, otherwise, find the site you want to work on, hover over the card, and click Open. That brings us here to the Canvas. THIS is Webflow — this is where your team's work happens — designing, editing content, leaving feedback, and publishing. But before we get into any of that, one thing to know upfront: we're not going to cover every button on screen. But, we're going to cover the key things to help you get up and running. You'll discover the rest as you go, and as you continue learning with Webflow University.

Now, depending on your role, your view might look a little different from someone else's on your team: A designer sees the full canvas with all panels available. A marketer or content editor sees a more focused view — primarily the page content they're responsible for. And a reviewer sees the canvas in comment-only mode. That's by design. We don’t need everyone to have access to everything. Webflow gives each role exactly what they need to do their part.

[Grimur] I just deleted everything.

The canvas is organized into four main areas: In the center is the canvas itself — the web page you're working on. We have the top bar, the left panel, and on the right is the properties panel. And, Grimur, how are we looking with the electrical panel?

[Grimur] Nothing yet! But I’m getting close.

Excellent.

Let's look at the canvas itself — the center of the screen. This is the page, rendered visually. What you see here is a close representation of what your site looks like in a browser. When you first open a site, it lands on the home page by default.

How you interact with the canvas depends on your role. If you're a designer, you can click on elements to adjust styles, layout, color, and more — and add or remove elements from the page. If you're a marketer or content editor, you can click directly on the page to edit content. And if you're a reviewer, you'll primarily work in commenting mode — leaving feedback directly on specific elements for precise, in-context collaboration.

One thing worth knowing regardless of your role: Webflow saves your work automatically. You'll see a save indicator at the top of the screen. There's no save button to hit — your changes are saved as you work. You won't lose your progress.

Which, if you've ever lost an hour of work to a browser crash, is not a small thing.

And one more thing about the canvas: it's a shared space. If teammates are working on the same site at the same time, you'll see their cursors moving on screen. You can also see who's currently in the site in the top right corner of the top bar. Webflow is a real-time collaborative environment — you're never working in isolation.

That’s the Canvas. Let’s move to the Top bar. This is the main navigation layer of the canvas. What you see here depends on your role and which features are enabled on your site. We'll cover the most important items, going left to right.

On the left, you'll see a few tabs: This tab here is your canvas tab — the page you're currently looking at. The name of this tab may vary depending on your role. (Design, Build, or Edit). The next tab is for the Webflow Content Management System (or CMS). This is where you access and manage your site's content collections ' blog posts, case studies, product pages, whatever your site uses. And this tab here is Insights. If you have Webflow Analyze or Optimize enabled on your site, you can access those tools here. You can learn more about these in dedicated courses on Webflow University.

If you're in the CMS or Insights tab, you can simply click on the canvas tab to return to the canvas at any time.

In the center of the top bar is the context bar. This area updates based on what you're working on. The most useful thing here for most roles is the page switcher. Click the page switcher to see all the pages on your site and jump between them. Depending on your role and permissions, the pages available to you may vary.

If your site uses Webflow Localize, you'll also see a locale switcher in the context bar ' useful for reviewing or updating content across different languages.
You'll also see breakpoint controls here. These let you switch between different screen sizes — desktop, tablet, and mobile — to see how your site looks at each size. If your canvas ever looks different from what you expect, check whether you've accidentally switched to a smaller breakpoint. Just click Desktop to return to the default view.
You also have full control over how you navigate the canvas itself. By clicking the arrows icon, you can pan and zoom by holding Space and clicking and dragging, and zoom in and out using your scroll wheel or trackpad — so you can work at whatever scale feels right for what you're building.

Okay, now let's look at a few of the key actions at the right side of the top bar:

The AI icon pulls up the Webflow AI assistant, which can help you generate or refine copy, help build your site, or provide in-context help with any questions you might have.

The Comments icon opens the Comments panel or you may see them floating here in the Design tab. This is where you leave, view, and resolve feedback directly on the canvas. You can pin a comment to any element on the page, and your teammates will see it when they open the site. If you're a reviewer, the Comments panel is your primary tool in Webflow.

The Share icon generates a read-only preview link you can send to anyone ' no Webflow account required. Useful for getting quick feedback from stakeholders outside your team.

The Preview button lets you see your site exactly as a visitor would ' no editing, just browsing. Click through pages, follow links, and get a real sense of the experience. To exit, press Escape or click the X in the top bar.

And in the far right corner is the Publish button. This is what makes your changes live for the world to see. Who can publish depends on your role and permissions ' if the button isn't available to you, that's controlled by your admin.

That’s the Top bar. The left toolbar runs along the left side of the screen. At the very top is the main menu. Click it to access your dashboard ' where all your sites live ' along with site settings and other top-level options. If you ever feel lost or need to switch to a different site, this is your starting point. It works the same way for every role.

Below, you'll find a set of panels. The panels you see depend on your role. The Pages panel is one every role has access to. It's where you find all the pages on your site and access page-level settings like SEO configuration. Depending on your role, you may also be able to create new pages from here.

The Assets panel is where you find your visual assets ' images, icons, and other files used across the site.

If you're a marketer, you'll see additional panels like Components. And if you're a designer, you'll see even more ' Variables, Style selectors, Interactions, and others. Those are covered in depth in additional videos and courses on Webflow University.

Left panel, done. Next up, the Right panel. When you select an element on the canvas, the right panel activates on the right side of the screen.

For designers, this is where you control the visual styling and configuration of elements'spacing, typography, color, interactions, and more. You'll spend a lot of time here and where the bulk of building happens.

If you're a content editor or marketer, you may also see component settings here — like filling in a headline or swapping an image within a pre-built section of the page.

But that's a high-level tour of the Webflow canvas. Remember: your view may look a little different from what you saw here, depending on your role. That's by design ' to ensure you have exactly what you need.

We just covered the basics to get you started ' there's so much more to learn for using the various tools within Webflow. For more in depth lessons and to continue learning, visit Webflow University.

But for now, that's an overview of navigating the canvas in Webflow.

[Grimur shouts off camera](Lights cut out) Found it!