Share your site and invite collaborators
Sharing your Webflow site isn’t one-size-fits-all — and that’s a good thing. Whether you’re inviting collaborators, collecting feedback, safely testing ideas, or previewing your site like a real visitor, Webflow gives you multiple ways to share each with the right level of access and control.
Video transcript
In this video, we'll look at how to share your Webflow site and invite collaborators. There are a few different ways to do this depending on what kind of access you want to give.
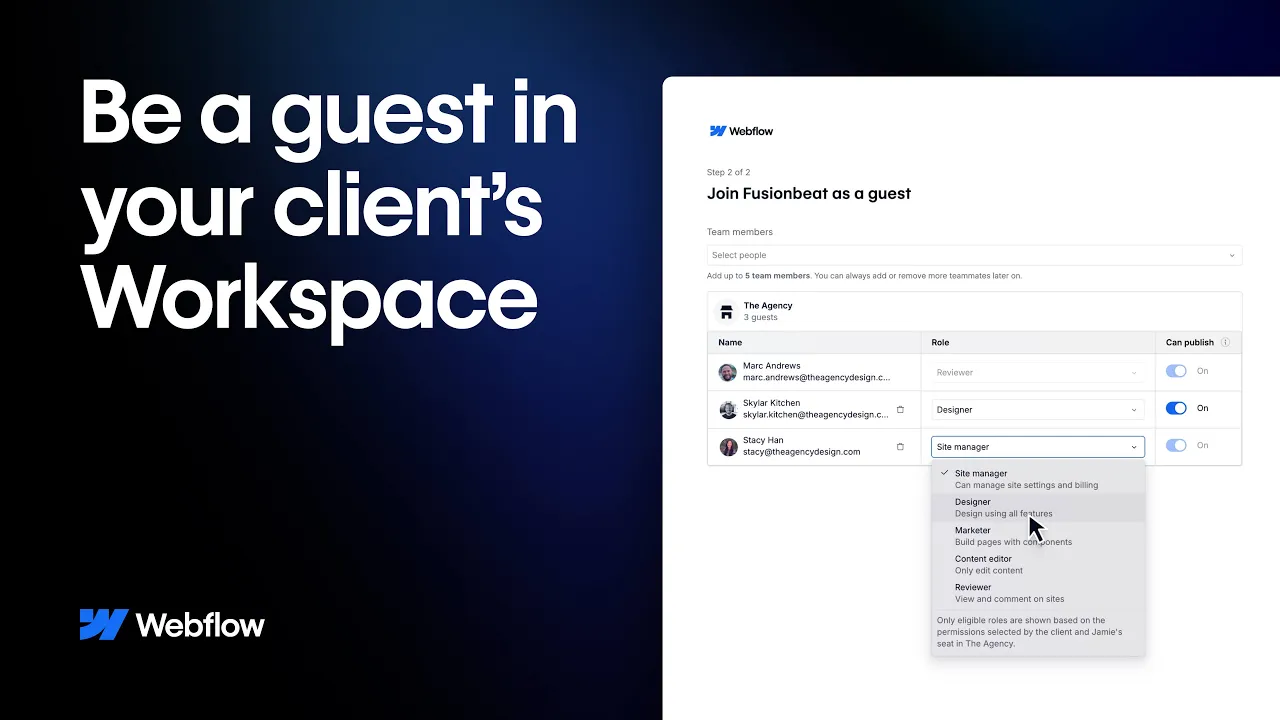
First, if you want to give someone access to your Workspace — so they can work on any site inside it — you invite them as a Workspace member. You do this from your Workspace settings under Members. From there you can choose their role: Admin, Designer, or Content Editor.
If you only want to give someone access to a specific site, not your entire Workspace, you use the Guest role. Guests can be invited at the site level and you can control which sites they can access. This is useful for clients or contractors who only need to work on one project.
For sharing a published site publicly, you can also generate a share link. This lets anyone view the site without needing a Webflow account. You'll find this option in the site's dashboard under Share.
And if you want to give someone read-only access to the Designer — so they can see how the site is built but not make changes — you can use the view-only link available in the Designer itself.
So to recap: invite collaborators as Workspace members for full access, use the Guest role for site-specific access, use a share link for public viewing, and use the view-only Designer link for read-only access. Each option gives you control over how much access other people have to your work.