Publishing to staging & production
Before your site goes live, you want to make sure everything works perfectly — that’s where publishing to staging and production come in. In this video, we’ll break down publishing to staging and production in Webflow—helping you test, refine, and confidently launch your site. Plus, we’ll walk through a typical publishing workflow so you can launch smoothly.
Video transcript
Publishing to staging and production in Webflow are two different publishing actions, and understanding the difference helps you manage your site more safely.
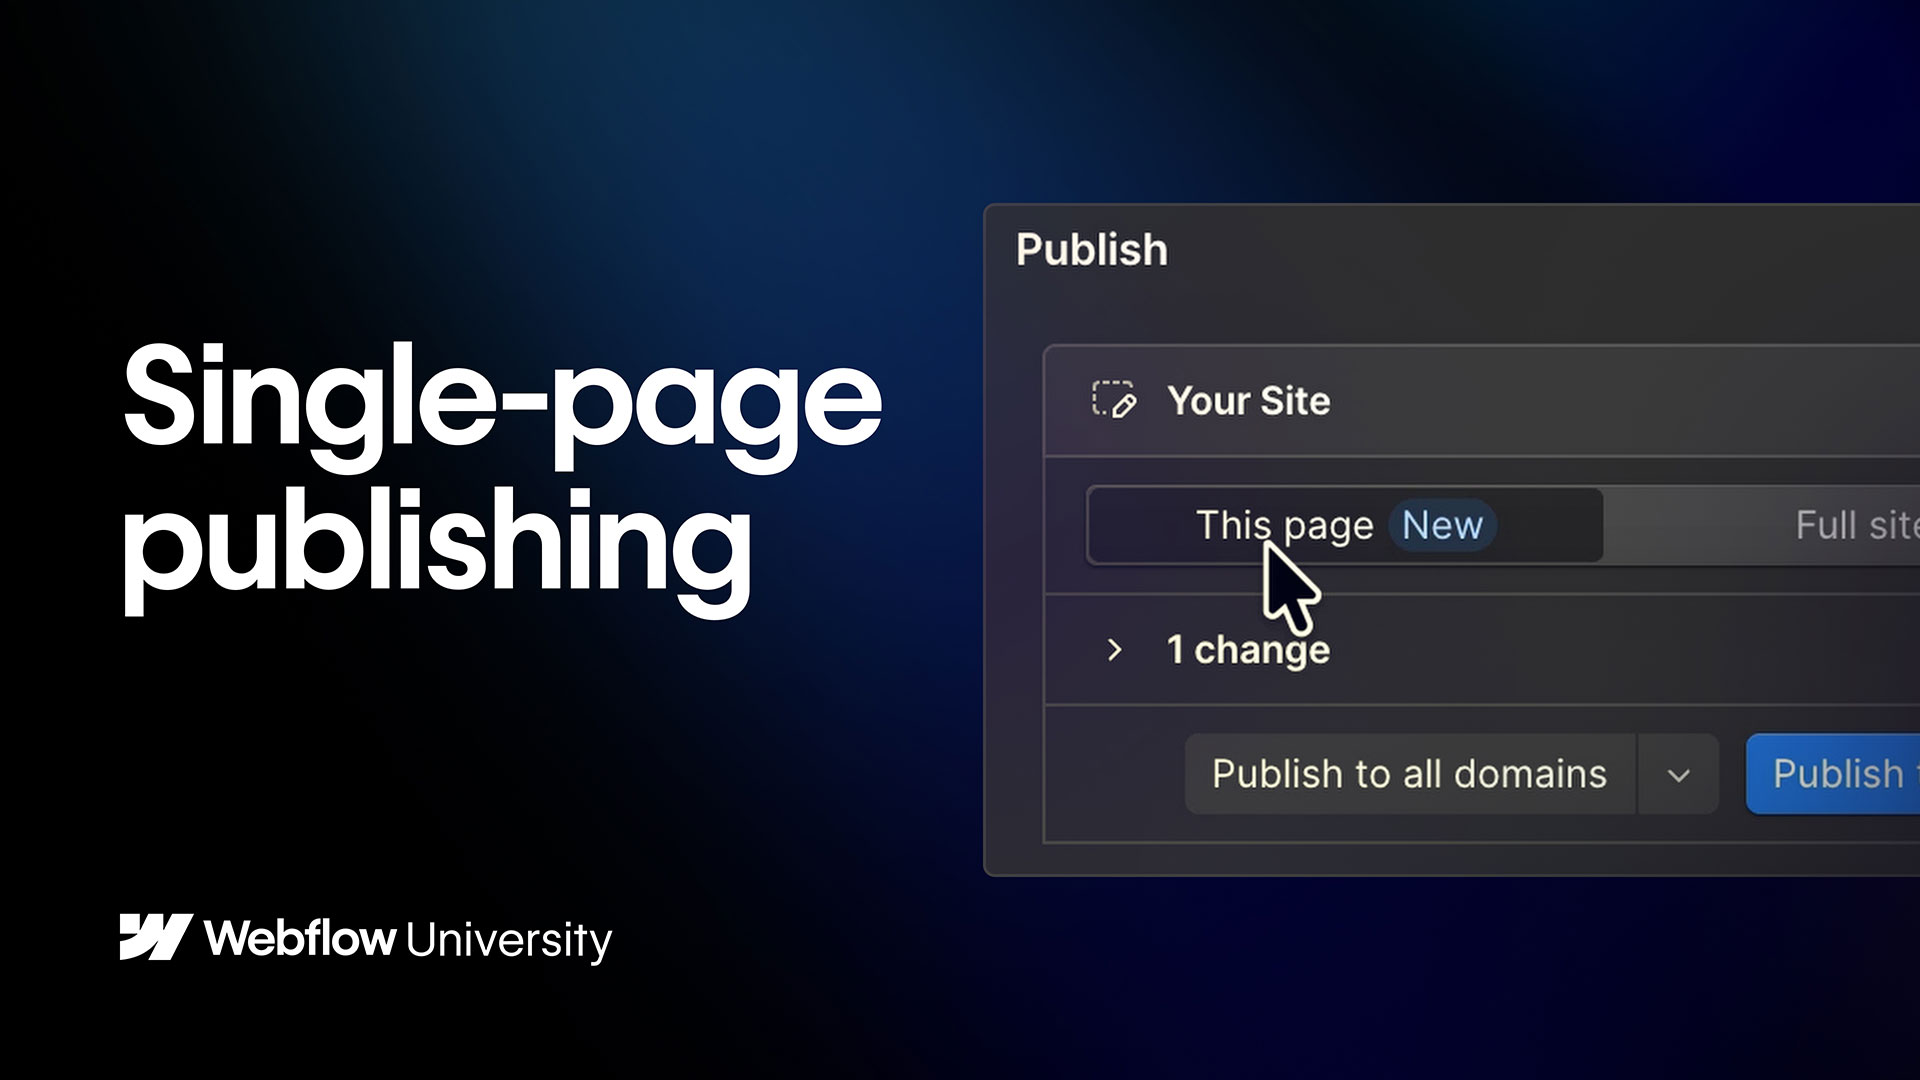
Staging is a preview environment — a version of your site that's accessible via a Webflow subdomain or a custom staging domain, where you can see your changes live without affecting your public site. It's where you test before committing. Publishing to staging is quick and low-risk: you can do it frequently and use it to check how your design and content look in a real browser environment.
Production is your live site — the version that visitors see. Publishing to production makes your changes publicly visible. On most plans, you publish to production from the same publish menu, choosing your live custom domain as the target.
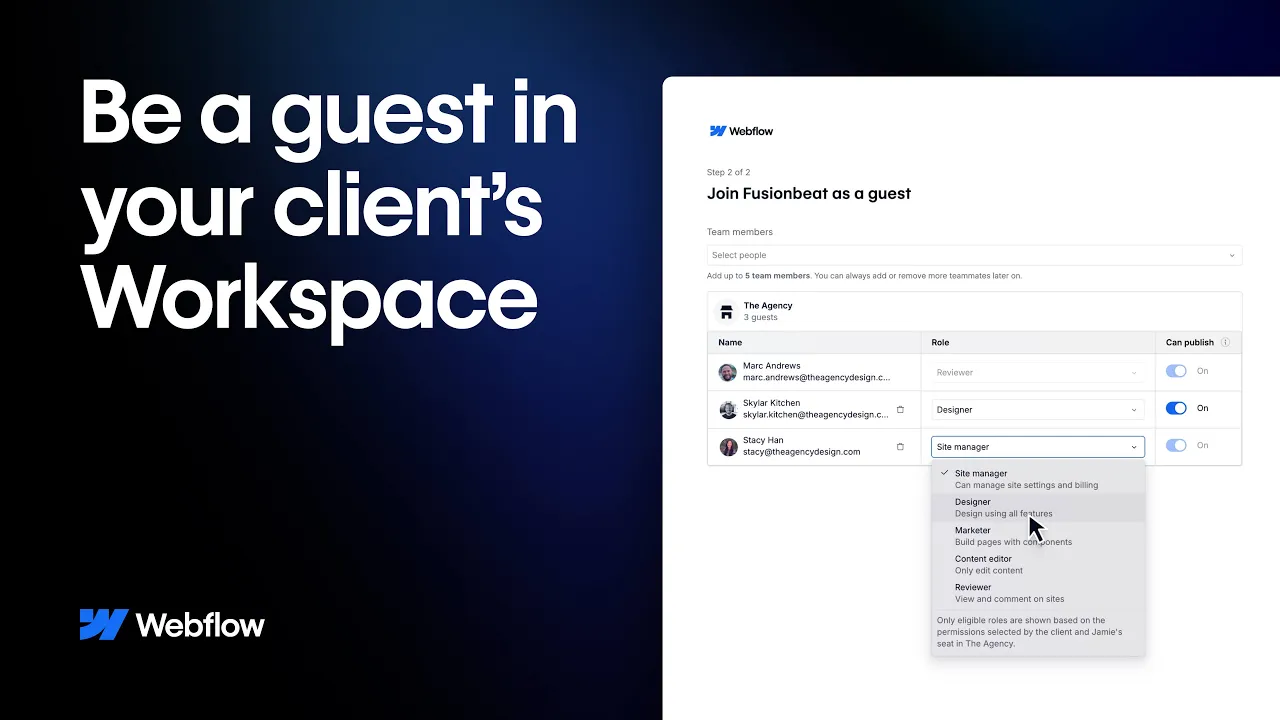
On Enterprise plans, you have more control over this process. You can set up separate staging domains, use the branching and approvals workflow to review changes before they reach production, and restrict who has permission to publish to production at all.
A good practice for any team is to always publish to staging first, review the changes, and only then publish to production. Even on smaller teams, this habit catches issues before they reach a live audience.
The publish button in Webflow is straightforward, but the discipline of using staging and production intentionally is what separates a careful publishing process from an accidental one.