Publish and launch
Before we can dive into setting up our Google Analytics and verifying our site, we'll publish our portfolio to the Webflow staging domain and then we'll connect a custom domain using Google Domains for a more professional and personalized look.
Learn how to connect your Webflow site to a custom domain: https://university.webflow.com/lesson/connect-a-custom-domain
00:00 - Day 18, begin 00:31 - Publish to the staging domain 01:17 - Connect to a custom domain (and publish) 05:39 - Recap
Get early access, plus downloadable assets and cloneable project for every lesson: https://wfl.io/2021-portfolio
#21dayportfolio
Note: We’re transitioning to a new UI, and are in the process of updating our Webflow University content.
Video transcript
Publish and launch in Webflow is the final step of building a site — taking your work from draft to live. This video covers the publishing process: what happens when you publish, the difference between publishing to the Webflow subdomain versus a custom domain, and what to check before going live.
Before publishing, it's worth running through a pre-launch checklist: verify that all pages are complete and responsive across breakpoints, check that forms are working correctly, confirm that SEO settings (title tags, meta descriptions, open graph images) are set on every page, and make sure alt text is added to all meaningful images.
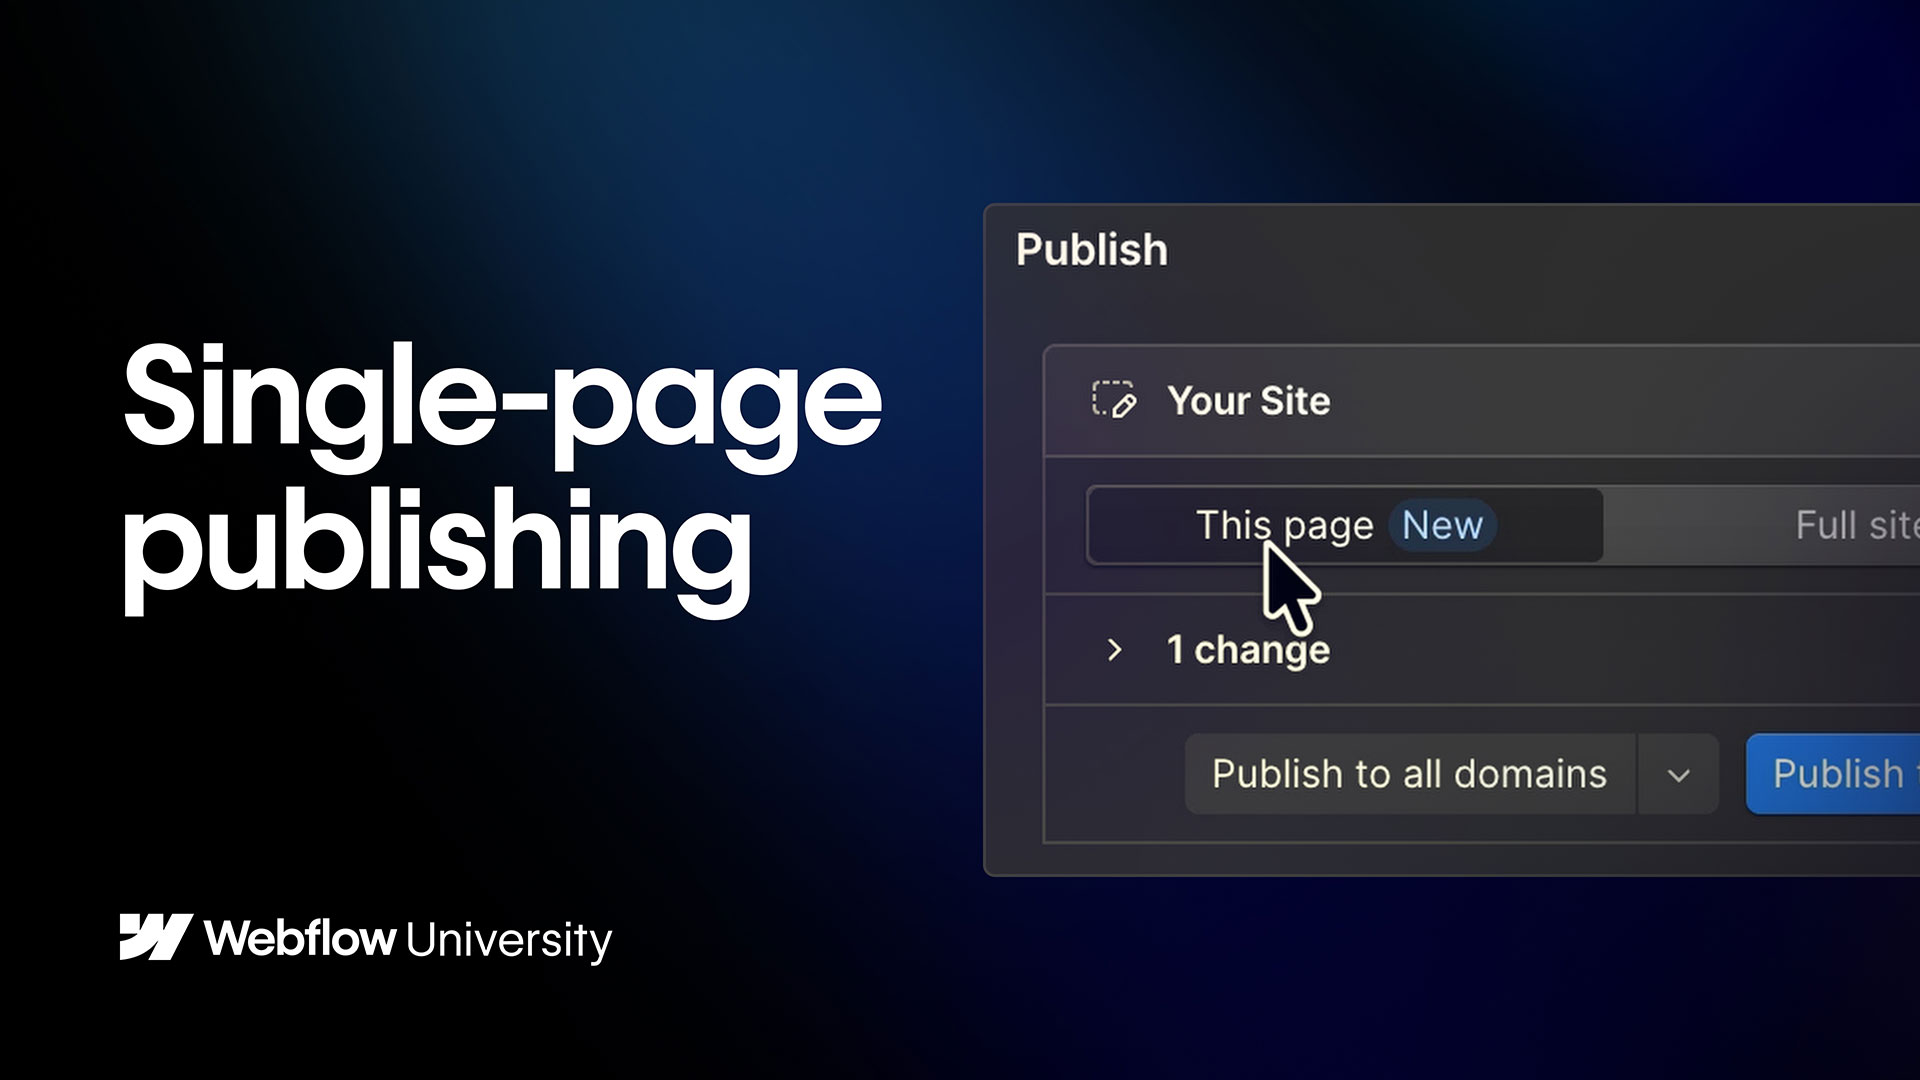
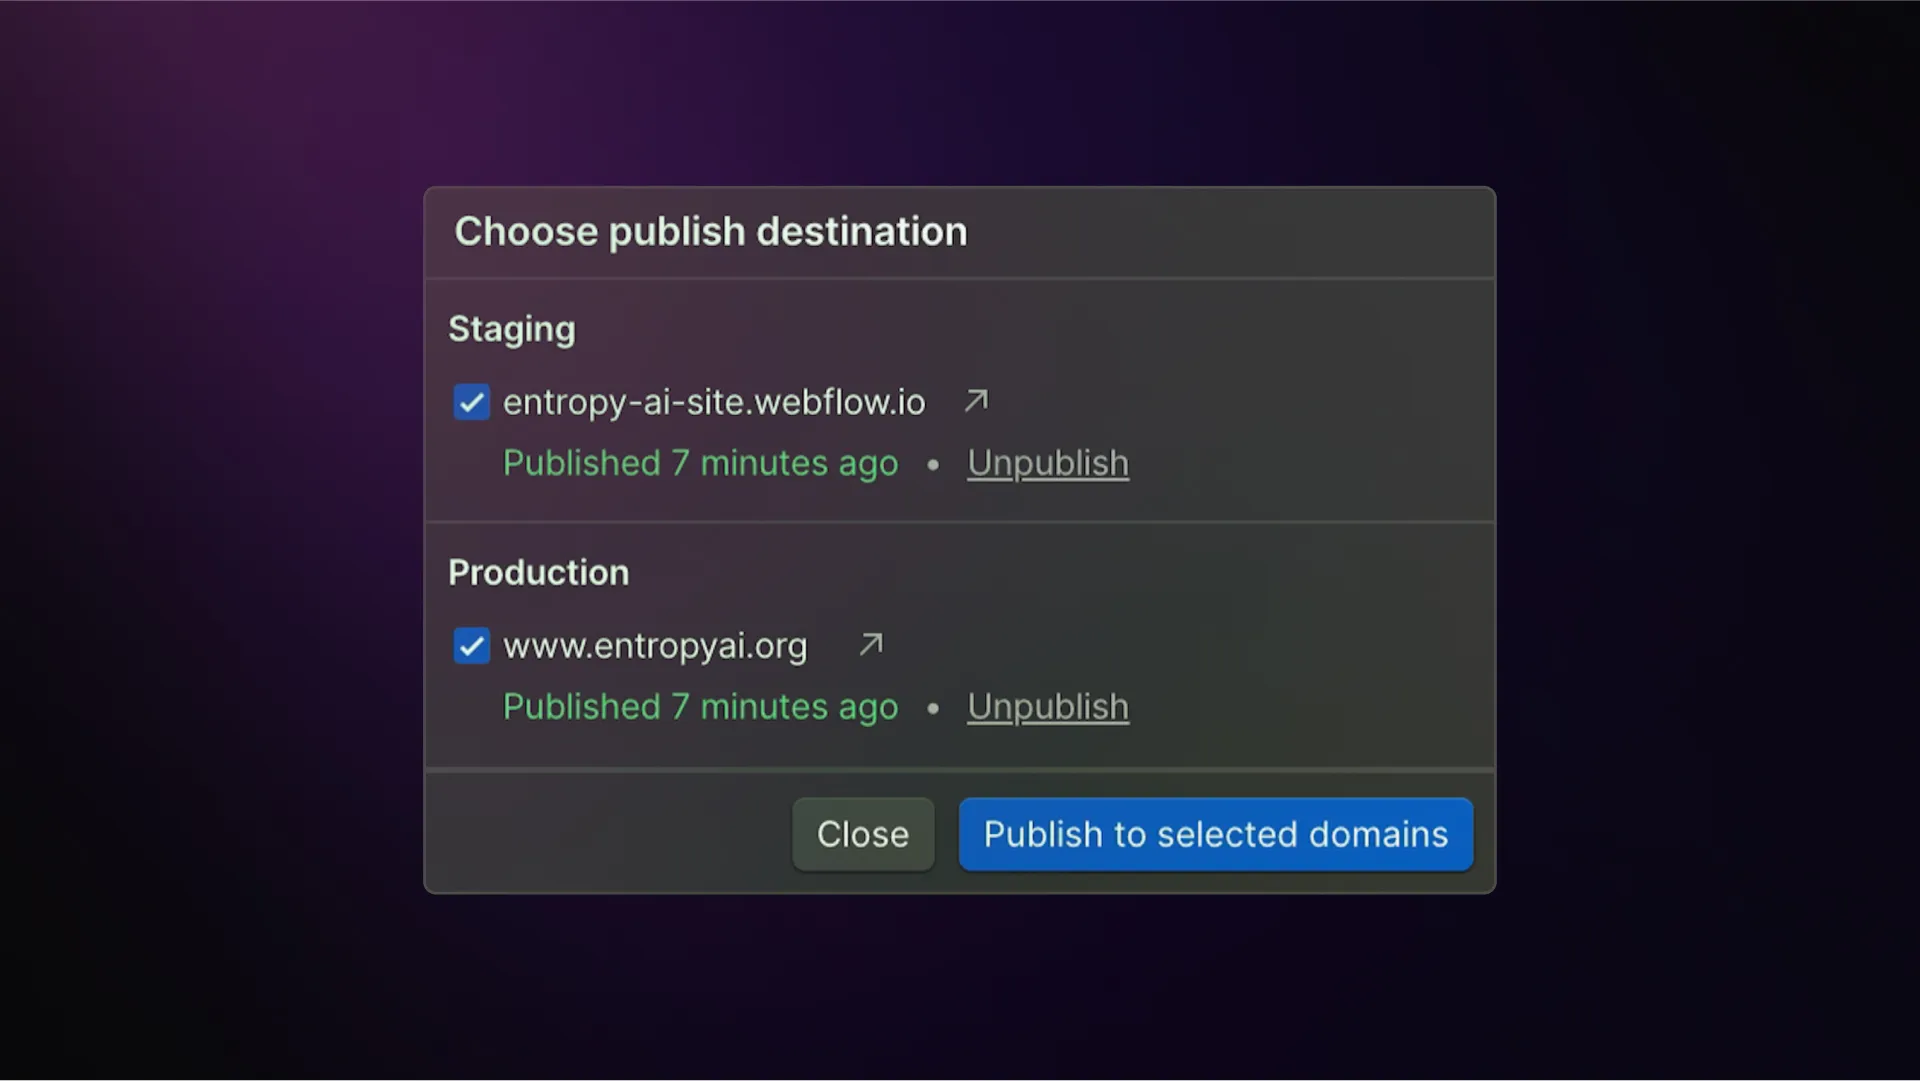
To publish, click the Publish button in the Designer toolbar. You'll choose which domains to publish to — your Webflow subdomain, your custom domain(s), or both. Once published, the site is live and accessible to visitors.
If you're launching on a custom domain for the first time, you'll need to have already connected and verified the domain in your site settings. DNS propagation can take anywhere from a few minutes to a few hours depending on your domain registrar and previous settings.