
In this lesson, you’ll learn:
- How to create and apply classes
- How to edit classes
- How to remove a class
- How to duplicate a class
- How to create combo classes
- How to create a global class
How to create and apply classes
The moment you begin styling an element, a class is automatically created and applied to the selected element. All styling adjustments made on this element are saved in this class.
To create a class:
- Select an element on the canvas
- Click into the Selector field and name your class
That’s it — you’ve created a class!
You can also create a class manually before adding styles by typing in a class name in the Selector field.

There are 3 ways to access the Selector field:
- Clicking into the selector field in the Style Panel
- Hitting Command + Enter (on Mac) or Control + Enter (on Windows)
- Right-clicking the element and clicking Add class in the context menu

To apply the same class to as many elements as you want:
- Select the element on the canvas
- Type in the class name in the Selector field
- Press Enter
As you start typing a class name in the Selector, you can see the class name appear in the Selector dropdown list. You can select the class by clicking on the class name or by navigating to it with keyboard arrows and pressing Enter.
How to edit classes
Once a class has been created and applied to various elements, you can edit that class.
To edit a class:
- Select any element with that class
- Edit your styling
Any styling adjustments will affect all instances where that class is used throughout the site.
A class is given a unique name based on the element type, but you can always rename it.
There are 4 ways to rename a class:
- Double-click the class name in the Selector, rename it, and press Enter
- Press Command + Shift + Enter, rename the class, and press Enter
- Right-click the element, choose Rename class, rename the class, and press Enter
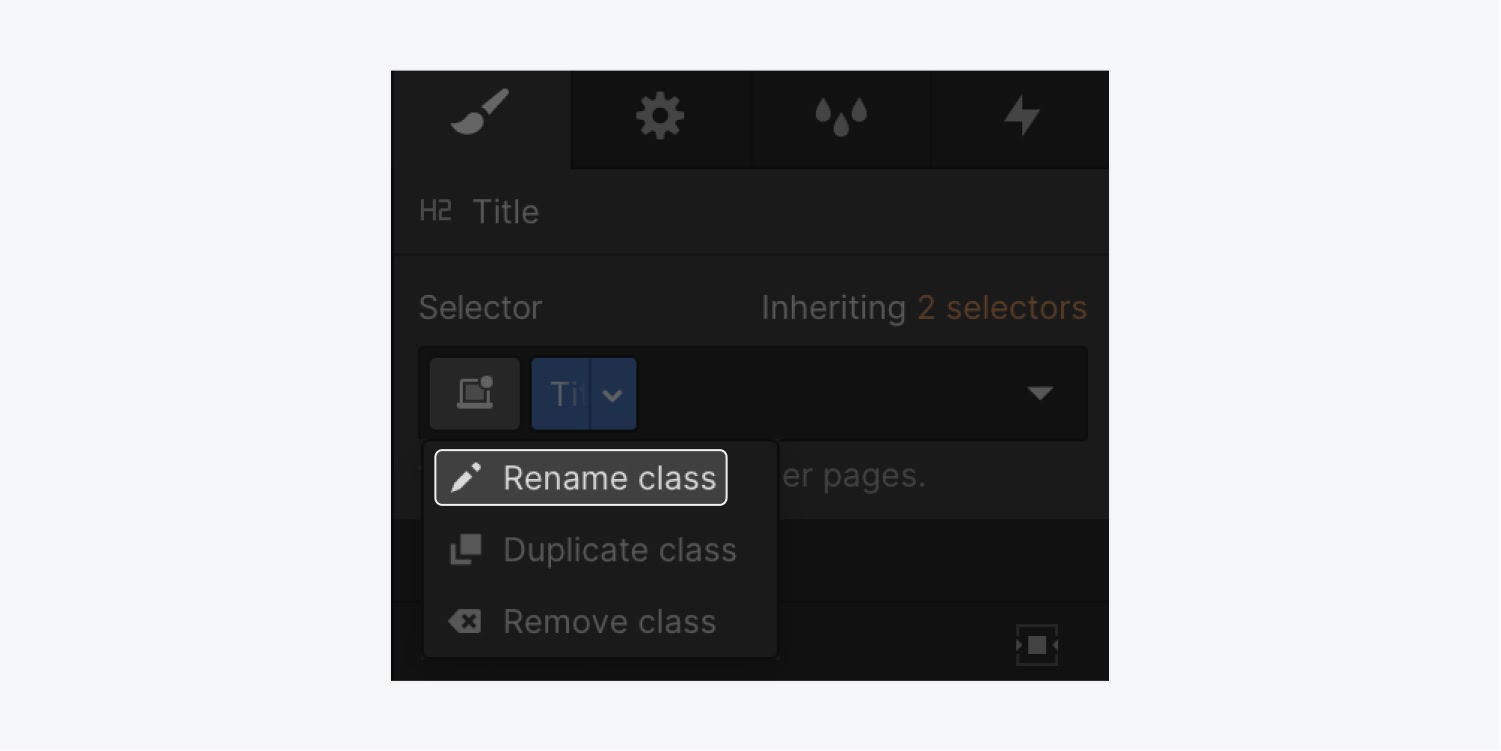
- Hover over the class name in the Selector, click the dropdown that appears, choose Rename class, rename the class, press Enter
The new name will be reflected in the Style manager and the Selector in the Style panel.
You can also rename a class in the Style manager.
Best practices for CSS naming:
- Class names are case-insensitive ("alert" is the same as "ALERT")
- Class names must start with a letter
- Class names should use alphanumeric format (a-z and 0-9) and hyphens, and should avoid special characters
Pro tip: When naming classes, it’s best practice to use hyphens as logical grouping dividers (tab-menu) and give classes specific names based on their function and not their style. Good: form-button. Bad: blue-button.
Special characters in class names
A special character is a character that is not an alphabetic or numeric character. Punctuation marks and other symbols are examples of special characters.
While you can add most special characters to a class name (e.g., your class name +), it’s not recommended because Webflow automatically converts the special character to a hyphen.
For example, a class called your class name + would be treated exactly the same as a class called your class name $ because both the + and $ special characters will be converted to a hyphen: (e.g., your class name -).
In the example above, any style changes to the two separate classes using the special characters would end up applying to both.
How to remove a class
If you want to apply a different class to an element that already has a class, you can remove the existing class in 2 ways:
- Click into the Selector field and press Delete on your keyboard
- Hover over the class, click the down arrow, and click Remove class

How to duplicate a class
You can duplicate and tweak a class without changing your original class.
To duplicate an existing class:
- Hover over the class
- Click the down arrow
- Click Duplicate class
- Rename the class and press Enter

Must know: A duplicated class is a new class disconnected from the original class — styles no longer cascade to the duplicated class.
How to create a combo class
After you’ve applied a class to an element and added styling, you might want to make a small styling change on one instance of this class without affecting other elements with that class. Instead of creating a new class and recreating the same styles, Webflow lets you create what we call a combo class and apply style overrides to create a unique variation.
You can add combo classes to elements by typing in a new class name in the Selector field right next to the base class.
You can access the Selector in 3 ways:
- Clicking into the Selector field, to the right of the existing class
- Hitting Command + Enter (on Mac) or Control + Enter (on Windows)
- Right-clicking the element and clicking Add class in the context menu

Any subsequent class after the first base class is called a combo class. Since the combo class has only been added to the selected element, any styling changes made to this element will not affect other instances of the base class.
How to apply a combo class
If you’d like another element to have the same base class and combo class, you can apply these classes one after the other — first apply the base class and then apply the combo class.
Keyboard shortcuts: When typing a class name in the Selector field, typing a comma will add that class and allow you to quickly type in the next combo class without having to refocus the Selector field.
How to override styles
Once you create a combo class, you can add new styles or override styles inherited from the base class. The changes will only affect the combo class.
In the Style panel, the inherited styles are indicated in orange, and overridden or new styles will be indicated in blue.

How to edit the base class
When styling an element with a combo class, all style changes only affect the combo class that's because the combo class is a more specific selection. If you wish to style the main, base class, you can access it using the inheritance menu above the selector:
- Click the inheritance selectors indicator above the Selector field
- Select the base class
- Make your styling changes
- Click Back above the Selector to return to styling the combo class

All changes made to the base class will apply to all elements that have that base class applied, including the selected element with the combo class.

Click Back above the selector to return to styling the combo class
Some styling changes on the base class might not be visible on the combo class if you’ve already styled that same property on the combo class. That’s because the value will be overwritten by the combo class. These styles are indicated with a red strikethrough.

Creating a combo class vs duplicating a class
Combo classes inherit the styles of a base class. They are a great way to create variations of this base class. But, it's not recommended to create more than one combo class since it gets hard to manage the inheritance of multiple levels of combo classes.
If you see yourself wanting to make even deeper variations it's best to duplicate a class that creates a new separate class with all the stylings of the original class.
How to create a global class
You can also use global classes to bring a specific style to any class in your website. Global classes are specific styles to a wide range of elements. Similar to combo classes, global classes are added to base classes. However, the original element that you style the global class is separate from the base class element. A great example of planning a global class style is creating a drop shadow style that will be used throughout the website.

To style global class elements, we suggest creating a page where all your global class elements can live, like a Style guide page. Here you can do the following:
- Add a Div block to your page
- Give it a class name (e.g., Perfect shadow)
- Style the Div block with the properties you would like (e.g. drop shadow style properties that you plan to reuse throughout your site)
And that’s it! You now have a global class that can be used in combination with other classes.

Note: The name you use for a global class will apply styles to global classes with the same name.
By adding the global class on top of any other class, you can apply the global class’s styling properties to other classes.
Suggested reading: