
To enable Ecommerce functionality, you’ll need to set up your store and add your business information, connect a payment gateway, configure shipping and taxes, and enable checkout.
In this lesson
- Ecommerce settings
- General settings — Business address and information
- Payment settings
- Checkout
- Shipping settings
- Tax settings
- Integrations
Ecommerce settings
You can access the Ecommerce settings in the Designer or the Editor.
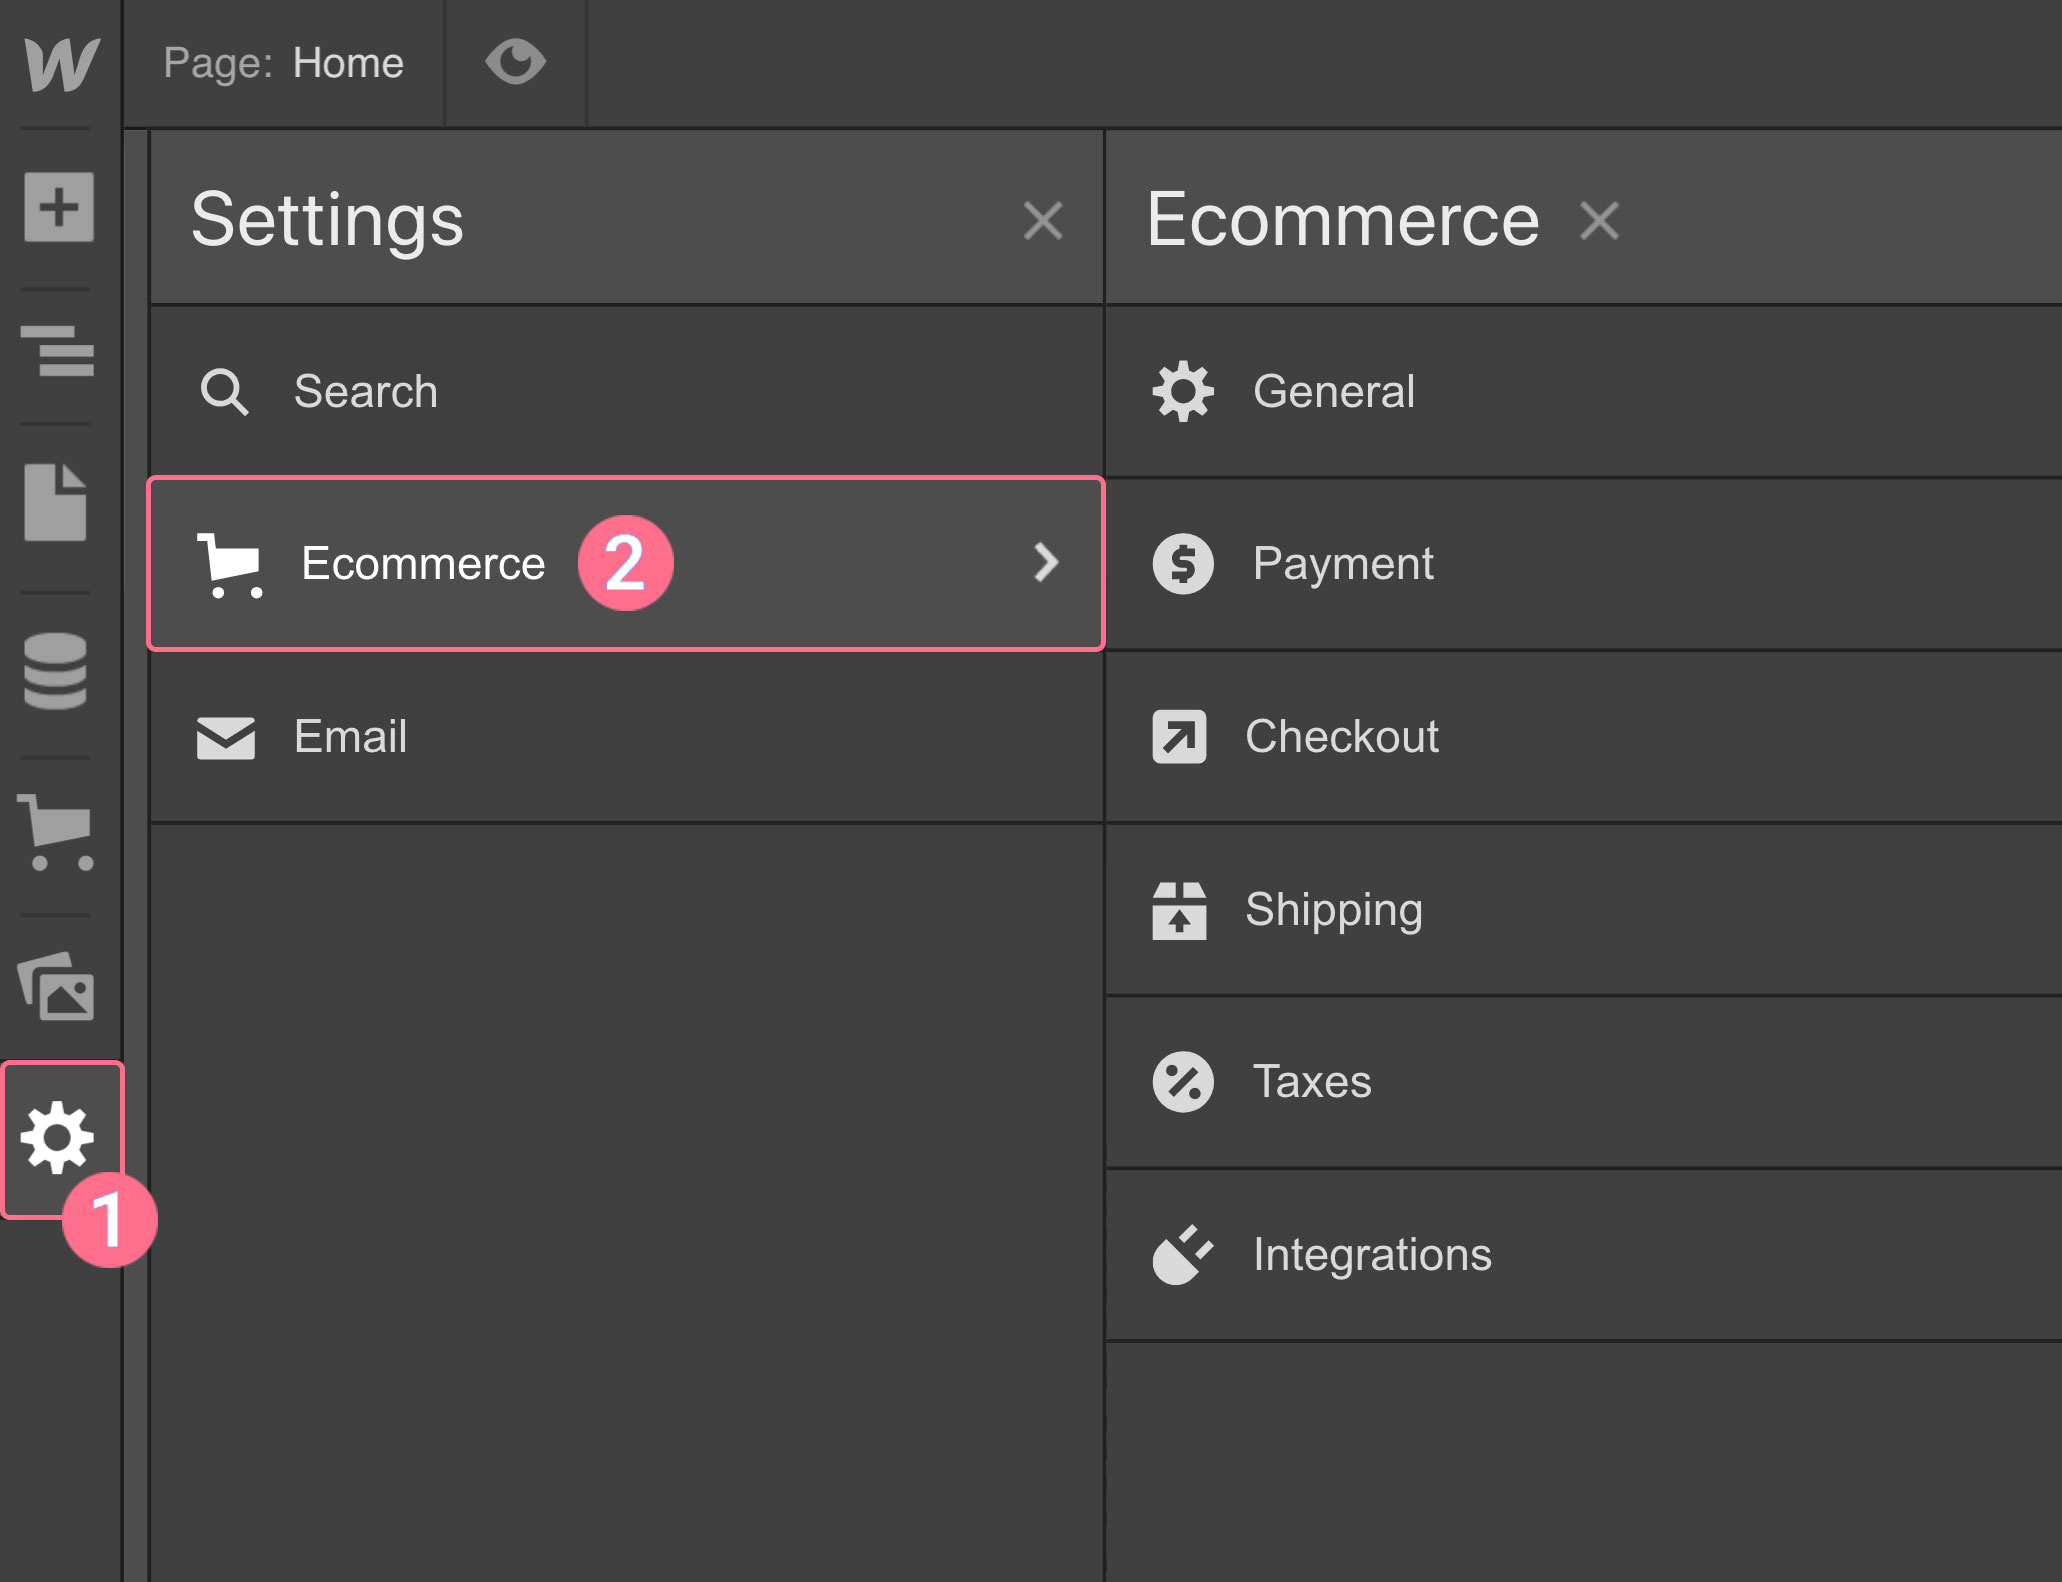
Access the Ecommerce settings in the Designer
Open the Settings panel from the left sidebar, then choose Ecommerce to access the settings.
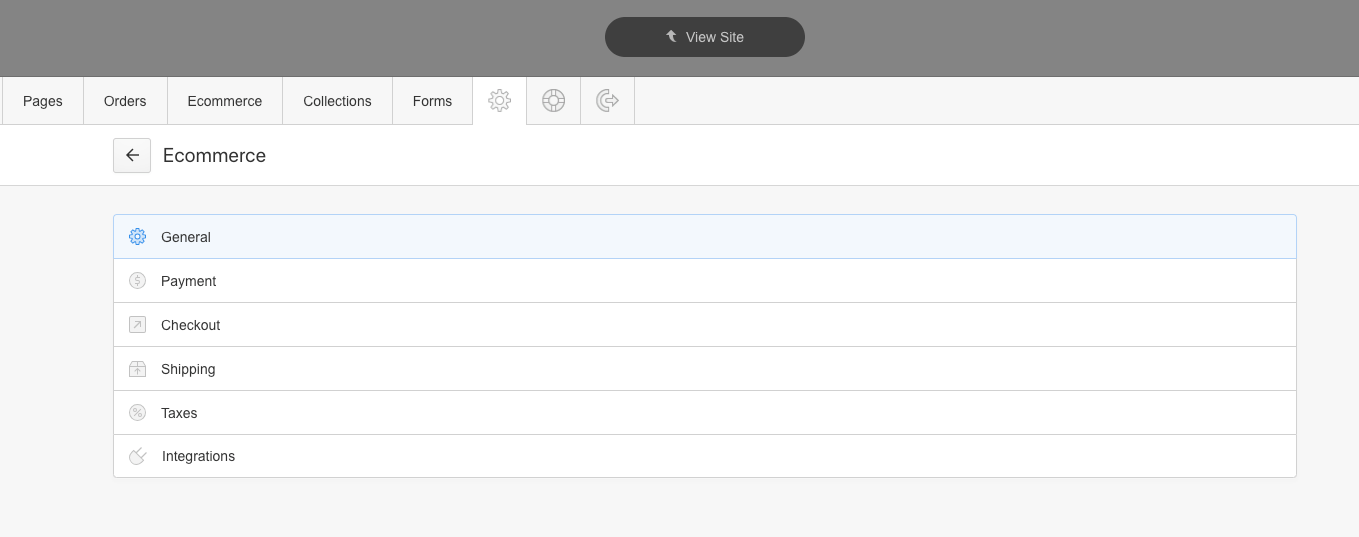
Access the Ecommerce settings in the Editor
Open the Settings panel from the Editor toolbar, then choose Ecommerce to access the settings.
General settings — Business address and information
You can add your address in the getting started workflow that you can access from the Ecommerce panel. This allows us to set intelligent defaults for many of the other store settings: currency, unit system (imperial vs metric), initial shipping zone (store's country), and initial tax settings. You can, of course, update these settings at any time from within the Designer or the Editor. Then, you can continue setting up your store under Settings → Ecommerce.

Here, you can set up the following:
- Business Info — Store name and customer support email address
- Business address — Business name, country and full address.
- Currency — the currency that will be appended to the price field of your products collection and shipping rates. You'll need to set the currency of your store before adding products and creating shipping rules. See the note in this section to learn more.
- Unit system — the unit system of weights and lengths of products. Choose between the imperial or metric systems.
HIGHLY IMPORTANT
Changing the currency does not change existing price values of products and existing shipping methods, and all products will be saved as draft. You will need to manually update the price of each product and republish your site. You’ll also need to reconfigure any Shipping Methods that you may have set.
Payment settings
Next, you need to connect to a payment gateway to accept credit card payments, process refunds, and get paid.
Learn more: Connecting to a payment gateway and payment related FAQs
Checkout
Once you’ve set a payment provider, add an Ecommerce site plan to your project. Then enable checkout, save the changes, and publish your now fully functional store.
Resources
Shipping configuration (defining regions, rules)
Once you’ve decided where you’ll ship, you can choose the places you’re fulfilling orders for. These settings can also be customized from the Editor as well, which allows your clients to set their own shipping zones and methods.
Learn more: Creating different shipping methods for different shipping zones
Taxes
Once you’ve specified your shipping zones, you can enable auto tax calculation for supported countries. You can also choose whether to include taxes in the product price or not.
Learn more: Configuring taxes
Integrations
You can integrate your Webflow store with services such as Facebook and Google to sync new and existing products with your stores on these other platforms.
Resources
- Inventory sync integrations
- Syncing products to Facebook Catalog Manager
- Setting up Instagram Shopping
- Syncing products to Google Merchant Center