
HTML tags allow you to kickstart your design process by setting default styles for a particular element type and styling large batches of elements at once. These default styles can then be overridden with classes and/or combo classes as you continue to design your site.
Pro tip: HTML tags are crucial for styling elements within rich text fields in Webflow. To learn more, check out our lesson on rich text fields.
In this lesson, you’ll learn:
- What tags can be styled
- How to style the Body (All pages) tag
- How to style heading tags
- How to style paragraph tags
- How to style link tags
- How to create a tag-based style guide
What tags can be styled
Tags are labeled pink, differentiating them from blue classes and green states. Here’s a list of the element types with tags that can be styled:
- Body (all pages)
- H1 Heading
- H2 Heading
- H3 Heading
- H4 Heading
- H5 Heading
- H6 Heading
- Paragraph
- Link (text links, buttons, link blocks)
- Image
- Unordered list
- Ordered list
- List item
- Label
- Strong (inline bold text)
- Ems (inline italic text)
- Block quote
- Figure (in rich text)
- Figure Caption (in rich text)
- All code
All other elements require styling using classes and/or combo classes.
How to style the Body (All pages) tag
Setting typography styles on the Body (All pages) tag will cascade down to all typography across the entire site. Here, “Body” refers to an entire site page, which contains all of the other elements on the page. It’s good practice to set the default font family, font size, and line height on the Body (All pages) tag and override those styles on H1-H6 heading tags.
You can style the Body (All pages) tag in 2 ways:
- Select the Body element and choose the Body (All pages) tag from the Selector field dropdown in the Style panel
- Select any element and choose the Body (All pages) tag from the inheritance menu in the Style panel — all elements inherit styles from the Body (All pages) tag

To access the Body (All pages) tag:
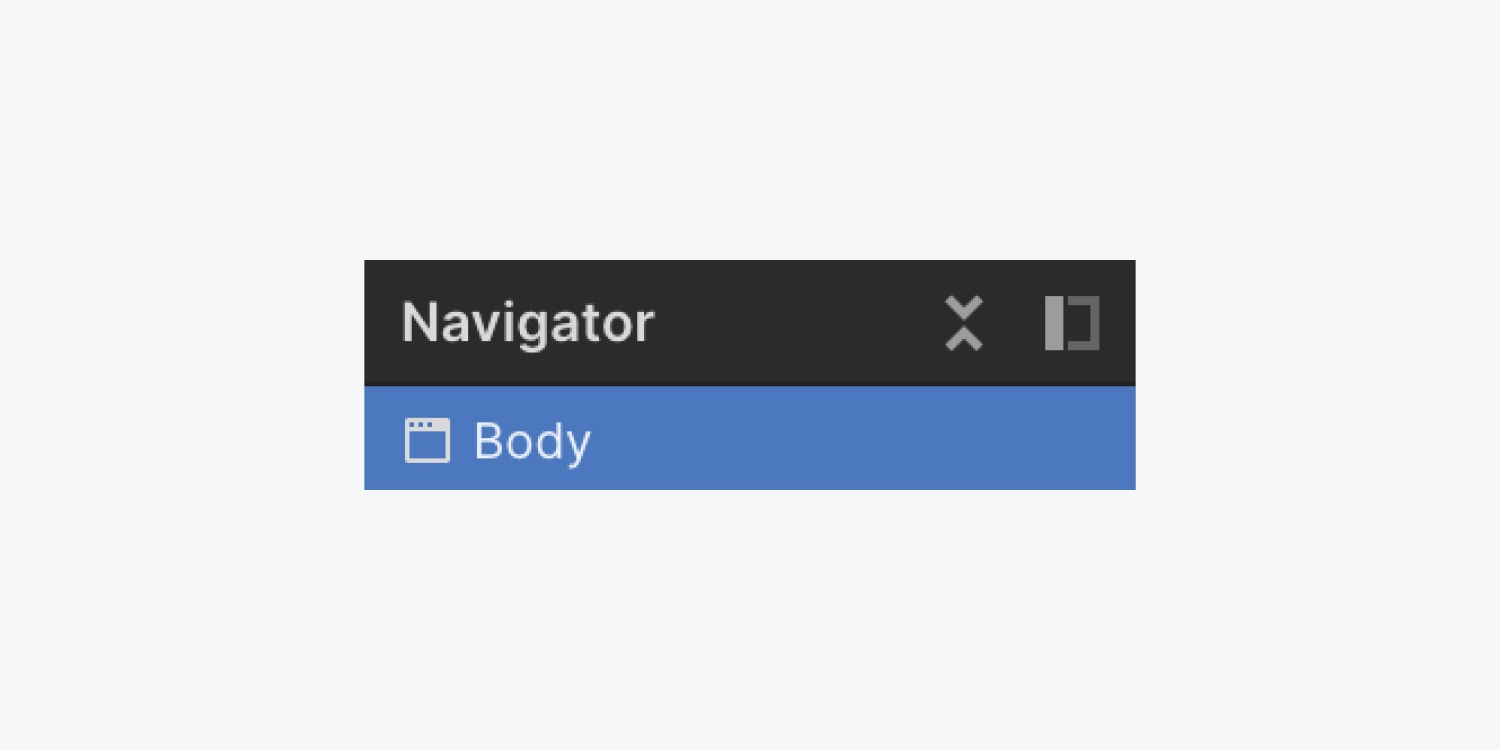
- Select the Body element on any page
- Click into the Selector field in the Style panel
- Choose the Body (All pages) tag from the dropdown

To view and select a tag on an element that has a class applied to it using the inheritance menu:
- Select an element with a class
- Click the inheritance menu link above the Selector field in the Style panel
- Select the tag (e.g., All paragraphs)
- Add styles
Changes you make in Body (All pages) are a starting point, which is an important distinction between tags and classes — tags let you set the default styling for entire batches of elements.
If you make style changes with the Body (All pages) tag selected, all new and existing elements will inherit styles from the Body (All pages) tag. The Body (All pages) tag lets you set default styles like font, font size, font color, line height, and a default background color.
You can use classes to override any default styles on your site.
How to style heading tags
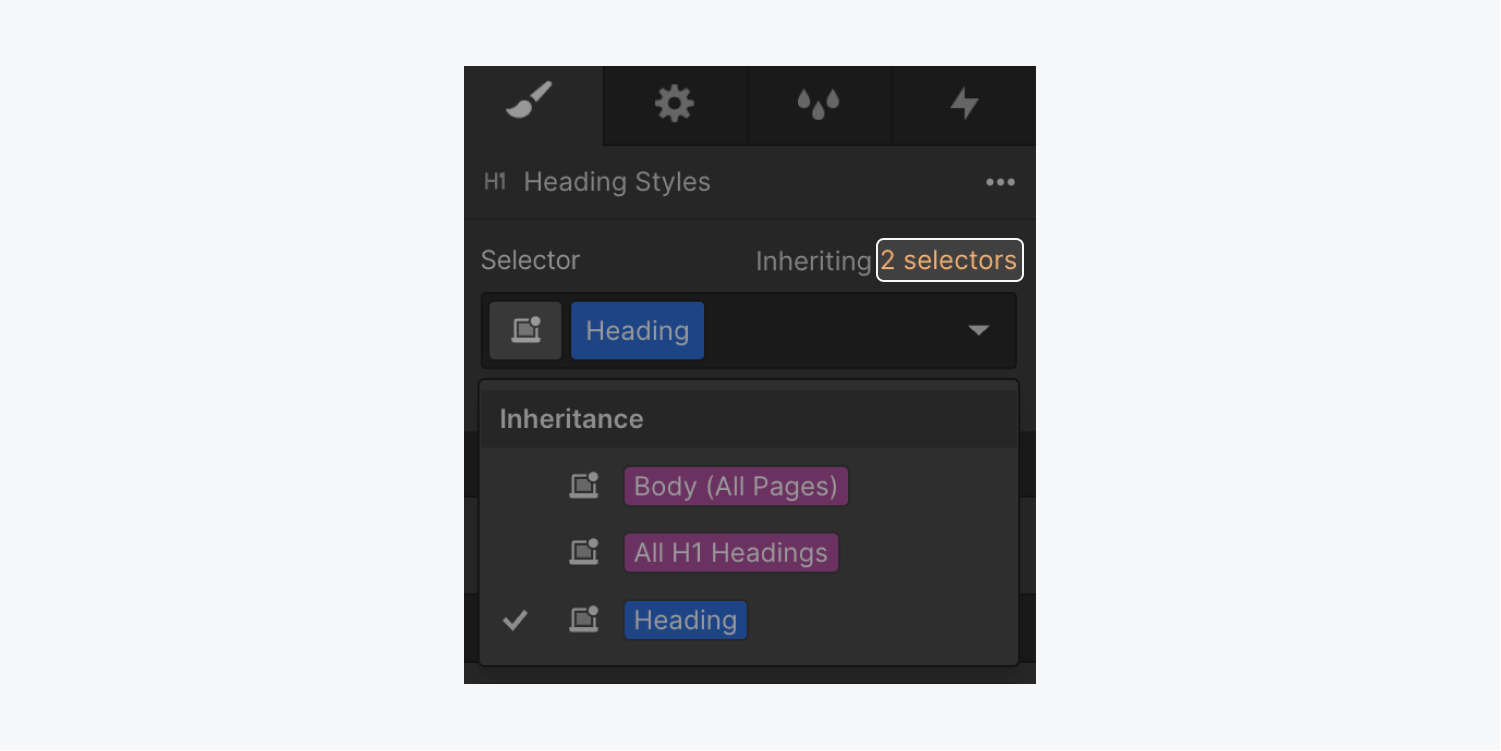
When you add a Heading to your site, it inherits any styles set on the Body (All pages) tag. (Don’t forget — you can check style inheritance using the inheritance menu above the Selector field in the Style panel.)

If you want to override a style without having to add that class to each heading, click into the Selector field and choose All H1 Headings. This will show the font is still being inherited from Body (All pages), which is expected. Now when you change the font, it will update all your H1s.
For example, if your default font is set to Tahoma on the Body (All pages) tag, the font on a new H1 heading will also default to Tahoma. But if you set All H1 Headings tag to Playfair font, your H1 headings will be Playfair. If you add a class to a specific H1 and set the font to Raleway, that H1 (and other H1s with that class) will be Raleway.
Note: Elements look up the hierarchy for the nearest styling information.
An element, like an H1, might have a class it uses to grab styling information. If that information is missing in the class, the H1 looks to the next level and takes its styling cues from the All H1 Headings tag, which takes its styling cues from the Body (All pages) tag.
Reminder: Tags help you set default styles, and classes let you override those defaults.
Pro tip: Typography styles on headings are usually set apart from paragraph styles. It’s common practice to set the same font family on each heading tag (H1-H6).
How to style paragraph tags
With any paragraph selected (that does not have a class applied to it), you can click into the Selector field in the Style panel and access the All Paragraphs tag to make style adjustments.

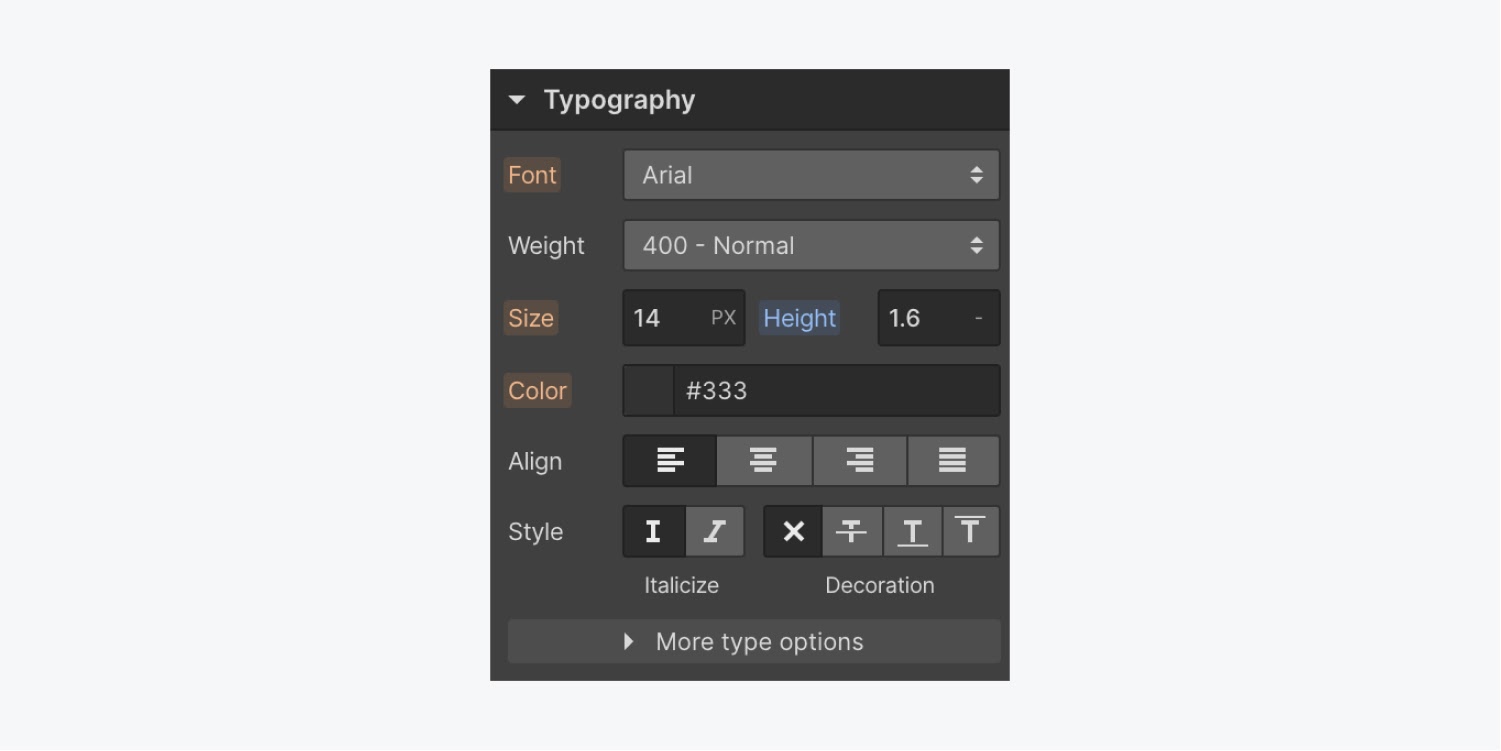
For example, you can set a unitless line height that affects each line of text:
- Click into the height field under Typography
- Adjust the value (e.g., to 1.6)
- Set it to unitless by typing a hyphen or choosing a hyphen from the unit dropdown
Pro tip: Unitless means the line height scales proportionally with the font size.
You can also use the All Paragraphs tag to create space between paragraphs, similar to what the “Return” or “Enter” key on a keyboard does. Line height makes sure text doesn’t bleed together from line to line, and bottom margin allows you to create vertical space between paragraphs.
How to style link tags
You can add a Link to your site by:
- Selecting it from the Add Elements panel
- Double-clicking into existing text on the canvas
- Highlighting the text you’d like to link and creating a nested text link
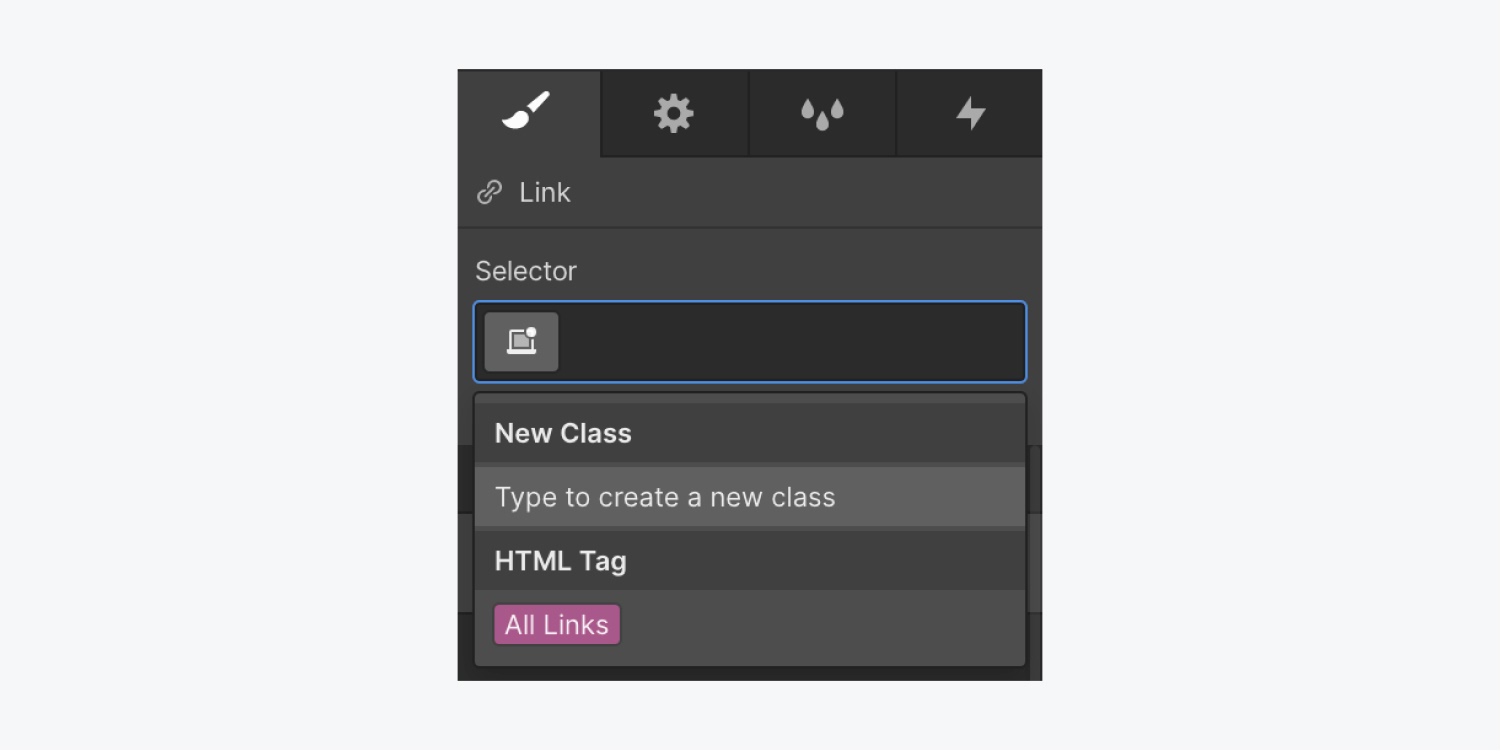
To make default style changes to your link:
- Click into the Selector field
- Select the All links tag
- Change text decoration or font color
Any new links you add will inherit any default styles you’ve set on the All links tag.
Important: The All links tag affects other types of links besides text links. For example, if you make changes to the All links tag font color with the hover state selected, and then add a button element, the button element will have the same hover effect as any other link element. In this example, you might want to override the hover state styles on your button class.
Tags are helpful for setting defaults, but they can make sweeping changes if you’re not tracking the elements using the tags, so be sure to do a visual inspection after making tag style changes.
How to create a tag-based style guide
A style guide lets you set site default styles early in the design process. Webflow created a tag-based style guide you can copy and paste to kickstart your next website with a clean style guide.

Note: Be sure to password protect or disable search engine indexing of the style guide if you don’t want it to show up on Google (or other search engines).
How to create your own simple style guide template
Style guides serve as dedicated pages where common elements are organized and styled to make it easy to preview all of your default styles. You can create a style guide template to make it faster and more efficient to create style guides for each new site you create.
To create a style guide template:
- Create a site with a single page
- Add a section onto the page
- Add at least one of each element that has an HTML tag you can style
- Don’t add any classes to these elements
To use this template on a new site:
- Create a new page in your new site
- Name your page (e.g., “Style guide”)
- Save the page as a draft
- Go to the template site
- Select and copy the section
- Paste into the “Style guide” page of your new site
- Select each element and style the HTML tag of that element
Important: Don’t forget to style the Body (All pages) tag — since you can’t copy/paste a page’s body, you can’t include it in your style guide. You can select the body element on the “Style guide” page in your new site, then select and style the Body (All Pages) tag. Learn more about the Body element.